
This post may contain affiliate links. See our disclosure policy.
Have you seen all the buzz online about fresh-milled flour and found yourself wanting to learn more? Maybe you’ve realized that whole-wheat flour really is one of the healthiest ways to enjoy baked goods. And now you’re ready to take the next step into fresh-milled baking—but the equipment choices feel a little overwhelming. I was right there too, friend. Here is my honest guide to help you get started, and truly, you don’t need much at all.
Simple Milling For Every Family
It doesn’t take much to be overwhelmed on the internet, so my goal here is to simplify the confusing.
There are just three things required to begin milling grains:
- A grain mill
- Grains
- Airtight storage
Yep. That really is it, friends.
Now, I won’t sugarcoat this, it is not a cheap start-up. Quality grain mills can range from $200-$650+. Grains, when purchased in bulk, will cost you at least $40 and you of course, need safe storage for your grains.
So—at the most modest—you will be spending around $400.
I don’t say that to discourage you, but to give you a clear picture, so that you can honestly weigh the price-tag of fresh-milled baking.
So let’s break down the most important piece of the puzzle—the grain mill—and what to look for as a beginner.
The Grain Mill: What to Look For (Beginner-Friendly Guide)
In writing this to you, I want to be clear: I cannot give comparison advice on specific grain mill models. I am a simple lady with a simple mill.
If you are interested in learning more about what to look for in the different types of mills, then please continue reading!
Types of Grain Mills
There are three types of mills available for home use:
- Impact mills (fast, fine flour)
- These mills produce fast, fine flour using high-speed stainless steel heads that pulverize the wheat berries. You typically have less control over your grind size. Impact mills tend to be louder but are generally more affordable. They cannot grind oil-bearing seeds.
- Popular brands include NutriMill Classic, NutriMill Impact, and WonderMill.
- Stone mills (quieter, don’t heat as much)
- These mills use two large stones—called millstones—to grind wheat berries into flour. You usually have more control over the grind size, and stone mills do not heat the flour as much as impact mills, which helps preserve nutrients.
- Popular brands include Mockmill, NutriMill Harvest, and the KoMo series.
- Burr mills (versatile, good for coarse-to-fine)
- These mills use either steel or stone abrasive surfaces (called burrs) to grind grain as it passes through. They’re very versatile but are often slower and more expensive. Many burr mills can handle oil-bearing seeds, though extra cleaning is needed.
- Popular brands include NutriMill, WonderMill, and KoMo.
Now that you have an overview of the different mills, let’s talk about what really matters for a beginner—how to choose the right one for your home and your baking goals.
Key Features to Consider
After milling for four years, I think these features are important to consider when shopping for a grain mill:
- Motor power
- This may be the most important factor. There are many mills on the market with a lower price tag, but be honest with yourself: how serious are you about moving to a whole-wheat diet? If you are very serious, you need a mill with a strong motor that will make your life easy. I recommend keeping motor power foremost in mind. Your goal should be a reputable mill, not the cheapest option possible.
- Noise level
- Noise isn’t a deal breaker for me, as you can usually mill when it’s most convenient. If that means milling at an awkward time to avoid waking the baby and storing the flour in the fridge or freezer until you can use it, that’s no big deal.
- Counter footprint
- Counter space was the second deciding factor for me. I fully intended to keep my mill on the counter, and I’ve succeeded for four years. Some mills are quite large, so consider where your mill will be housed.
- Ability to grind different grains
- This depends on the type and brand you choose. Some mills can handle oily seeds, others cannot. While burr mills can crack wheat, impact mills usually cannot. Different brands also offer more or less control over grind size. Personally, after four years of baking fresh-milled bread, I still primarily use a fine grind.
- Ease of cleaning
- Consider how much effort you’re willing to spend cleaning your mill. My mill is very simple—I run white rice through it very infrequently. I would steer clear of cumbersome cleaning processes.
- Cost/budget considerations
- This is a big one. Grain mills are expensive—no way around it. You want something quality, but it doesn’t have to be out of reach. My mill sits somewhere in the middle of price ranges. Your main priority should be a mill with a great reputation, whether it’s a NutriMill or a KoMo.
Now that you know the key features to look for, let’s break down how all of this comes together in a real home kitchen. I’ll share what I’ve learned over four years of fresh-milled baking and how to make your mill work best for your family.
The Mill I Use in My Kitchen
I chose my mill for three reasons:
- Size
- Price
- Simplicity
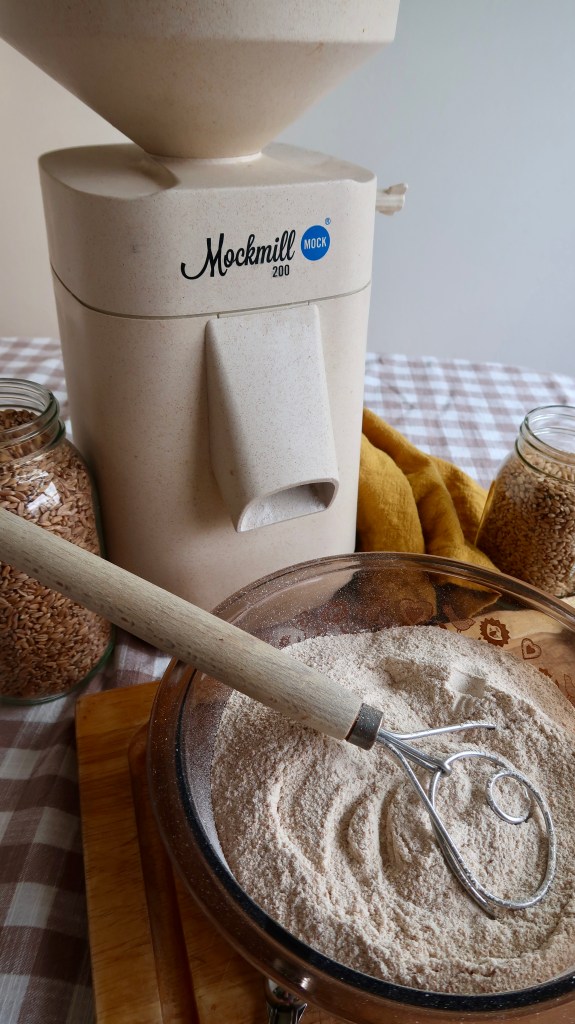
The MockMill 200 is ultimately the grain mill I felt best suited my family.
Though the price for the MockMill 200 is not particularly low, it was on the lower end of the price range for a mill that takes up very little counter space—something that was extremely important in our home at the time. We had very limited counter space, and I truly had nowhere else to store it. This made having a compact grain mill a top priority.
Adding to the need for it to sit on the counter, I also wanted it to be attractive. The bamboo version was definitely out of my price range, but I felt the simple aesthetic of the MockMill 200 was pleasant, too.
Lastly, once you understand how it works, the MockMill 200 is very easy to use. A simple lever on the side changes the fineness of your grind. Cleaning is simple, and the flour is minimally heated—helping preserve more nutrients in your flour.
Now that you’ve seen the mill I use and why it works for my family, let’s look at a few simple tools that make fresh-milled baking even easier.
Tools That Make Fresh-Milled Baking Easier
Tools That Make Fresh-Milled Baking Easier
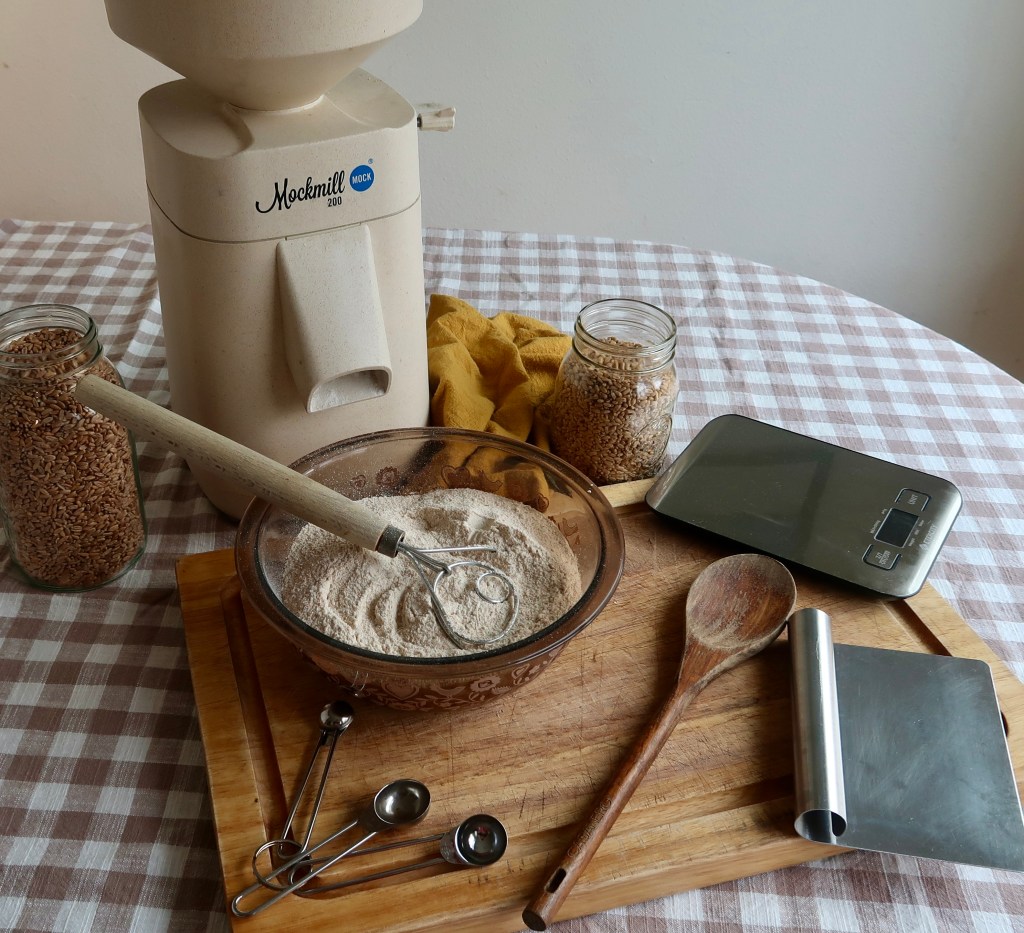
Must-Have Tools
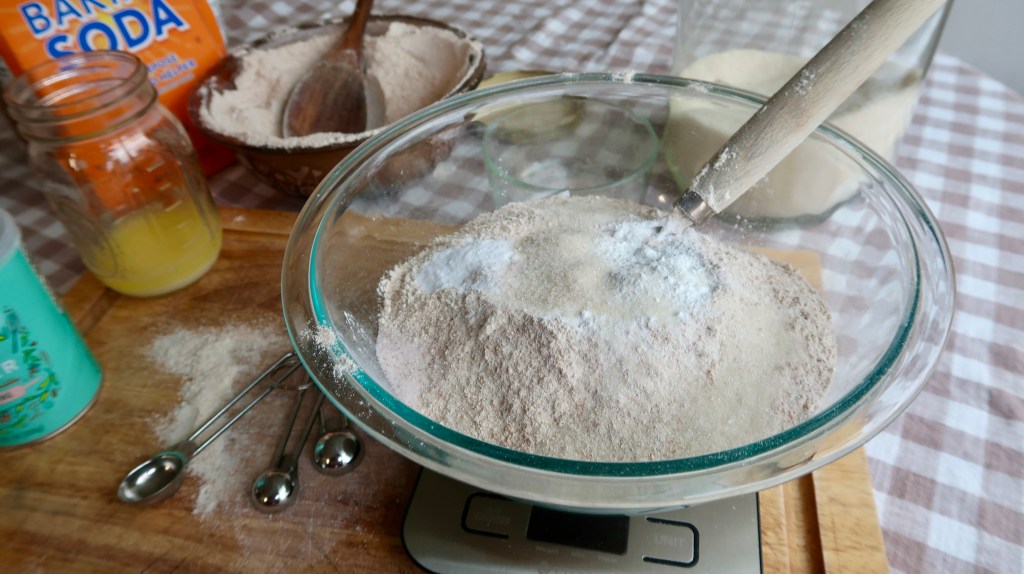
- Kitchen Scale
- This is really important in any baking. A kitchen scale will elevate your baking. Baking is truly a science and accuracy in measurements matters. Plus—it helps to eliminate tons of extra dishes to clean!
- Airtight Grain Storage
- You need two types of storage: buckets for bulk grains and containers for kitchen grain storage.
- It really is the most efficient to buy 25-50 lbs at a time if you are going to be a consistent fresh-milled baker. This requires food grade buckets, and I highly recommend gamma seal lids. I personally have never felt the need to use oxygen absorbers because I only buy enough grains to last 6 months.
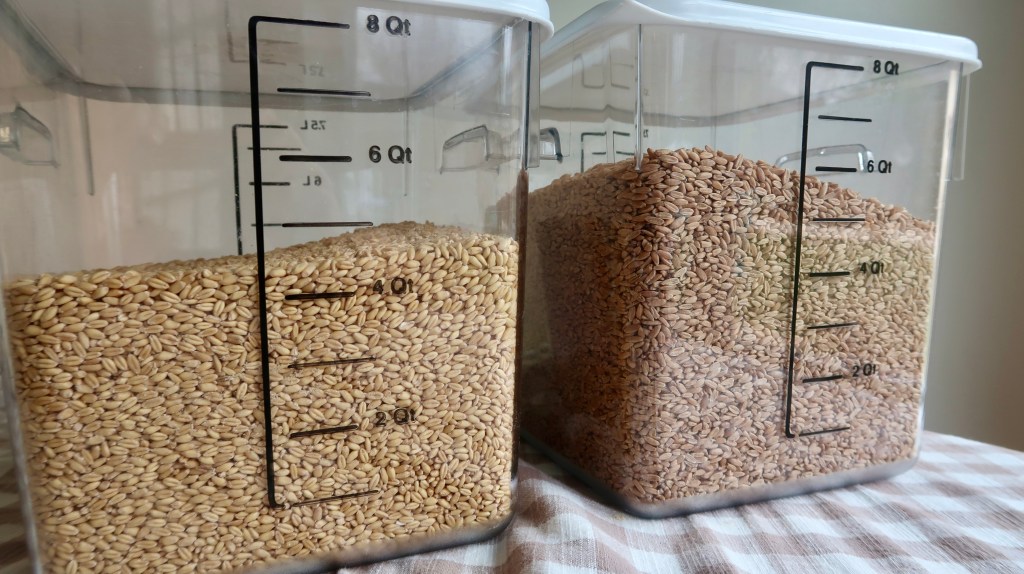
- The second type of storage I recommend for your grains is kitchen or pantry storage. Now this can really vary based on your space, budget and aesthetics. I really love the restaurant style square food storage buckets. And if you have multiple containers, they fit really well together versus a round container.
- I recommend using tape to label your grains on your containers. I wrote on my buckets, and wish I hadn’t.
- You need two types of storage: buckets for bulk grains and containers for kitchen grain storage.
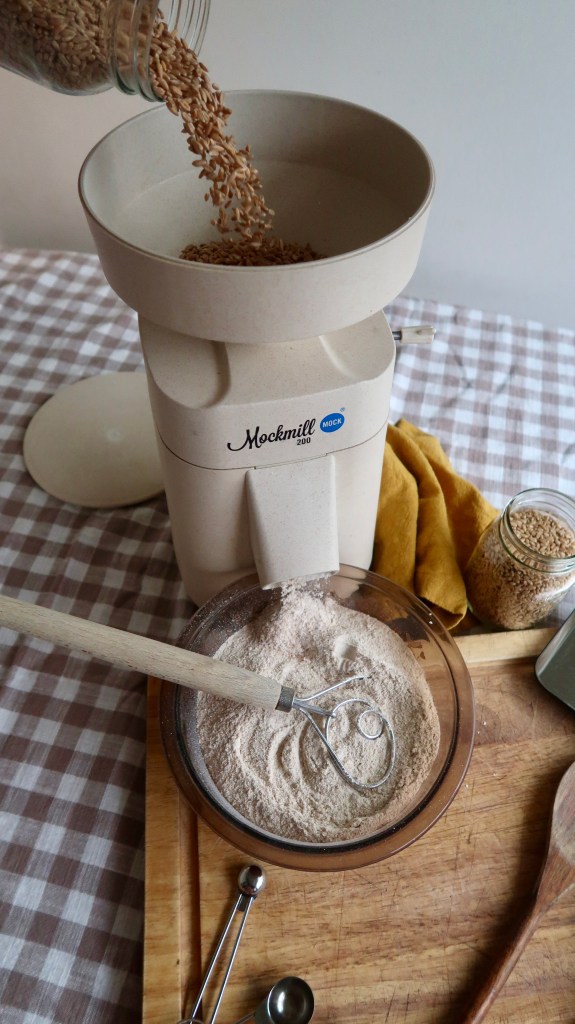
- A bowl to catch flour
- This is a simple thing, but having a bowl to catch flour as it comes out of the grain mill is essential. I use the same pyrex glass bowls that were a wedding present 10 years ago. Use what you have.
- Mixing Utensil
- Again, use what you have. I will say though that I think danish whisks are super awesome. I highly recommend them!
- Baking Pans and Sheet Pans
- Baking pans are necessary for bread loaves, quick breads, cakes, etc. Sheet pans are essential for cookies, biscuits, scones, and similar baked goods.
- Dutch oven
- Dutch ovens are very helpful for artisan loaves. Because they allow you to create steam by keeping the lid on, achieving a high-rising loaf becomes much easier.
- Bannetons and Proofing baskets
- Especially helpful in sourdough baking, bannetons and proofing baskets help your loaves maintain a distinct shape.
- Tea towels and Linen cloths
- Tea towels are an excellent way to keep your dough covered while it’s rising, though I personally tend to use plastic wrap. Linen cloths (commonly called a linen couche) are very helpful when shaping French breads or baguettes.
- Measuring Spoons and Cups
- You likely already have these, but being able to measure accurately is crucial in baking.
Helpful Tools (Not Required, But Game-Changers)
- Stand Mixer
- I say this as a helpful tool because, you can actually live without a stand mixer. If baking sourdough, you can use the stretch and fold method. Or with yeasted breads, you can actually knead them by hand (letting the dough autolyse, more on that later, will be necessary for this though).
- But…a quality stand mixer was a game changer for me.
- Fresh-Milled bread needs a tough stand mixer. One that specifically has its motor on the base. This gives more surface area for the motor to push harder on the dough, which is required with whole-wheat kneading times.
- If you already have a stand mixer with its motor on top (like a Kitchen Aid), please don’t fret. Autolysing your dough, simply letting your dough sit for a time having only added the flour and water, then adding the other ingredients later on does help tremendously. Though, you may need to let the stand mixer knead partly, then finish it up yourself by hand. Or, make baked goods using a portion whole wheat and a portion all-purpose.
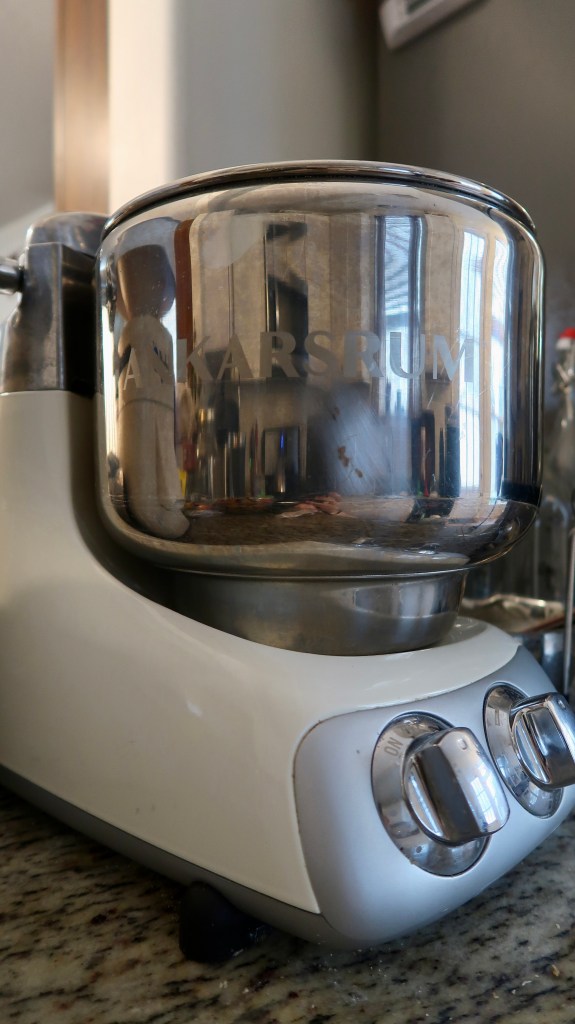
- My stand mixer is an Ankarsrum. Very pricey, but absolutely fabulous. I purchased it after 3 years of working with fresh-milled flour. If it is out of your budget, no problem, you can be a fabulous baker without a fancy stand mixer.
- A good sifter (fine-mesh)
- If you want to get more bang for your buck, a sifter is a great inexpensive tool to have. As a beginner, you may want to practice with a ratio of whole wheat to all purpose flour.
- You can really save money by simply using a sifter to remove some of the bran and germ from your milled flour to create all purpose flour. All purpose flour is more expensive to purchase than bulk wheat berries.
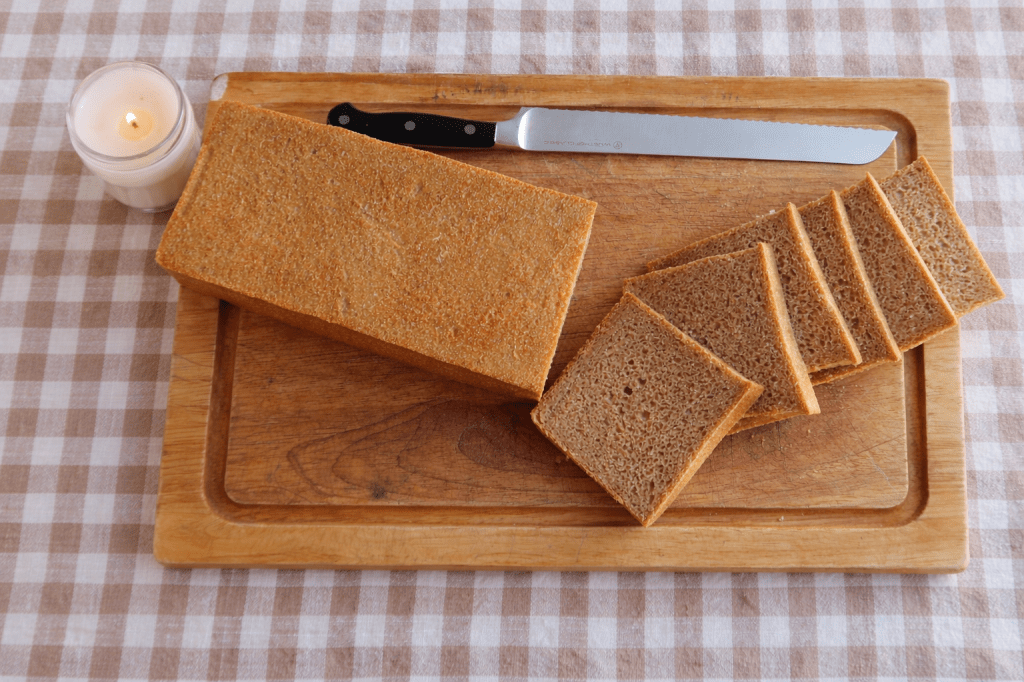
- A bread knife
- After purchasing a grain mill, my next big purchase was an excellent bread knife. This is very important if you plan to bake primarily from home. A sharp serrated knife is crucial for this. Nothing is more unpleasant than cutting bread with a flimsy knife.
- Instant-read thermometer
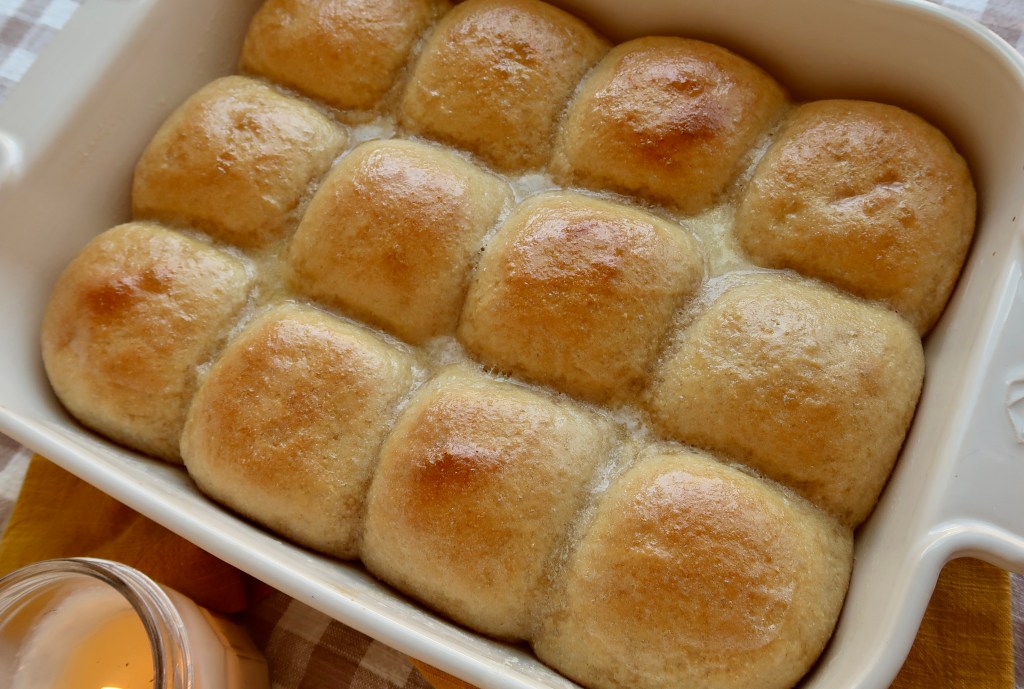
- As a beginner, but really any baker, using an instant read thermometer is a life saver. Literally yesterday I quadrupled a dough (I don’t recommend this, it was a mistake 😅), but because of the larger quantity, I had to whip out my instant-read thermometer to make sure the rolls were finished. And thank goodness I had that or it would have been a mess!
- Bench scraper
- This is the most wonderful, inexpensive item to have in your baker’s arsenal. A bench scraper is perfect for sticky doughs, cutting and cleaning up your workspace. I will add that a metal bench scraper, and a pliable one is a great combination. The pliable is perfect for scraping your dough out of a bowl (you can also do this well with a canning lid).
Optional Upgrades (For After You Fall in Love With Milling)
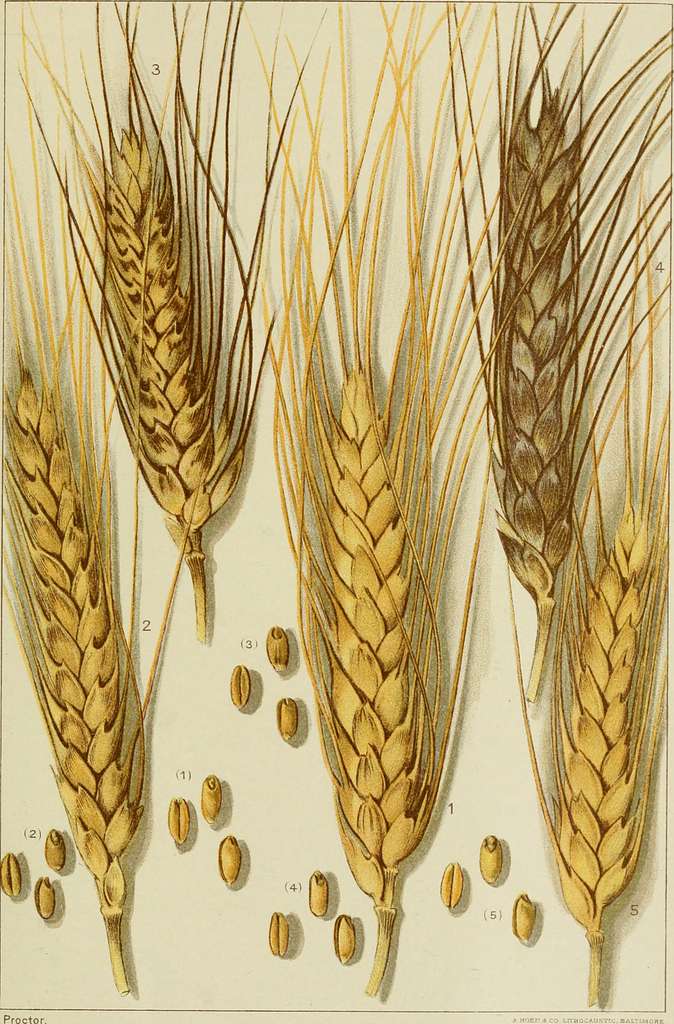
- Additional grain types for experimenting (spelt, rye, einkorn)
- I recommend keeping your grains very simple in the beginning. As you gain confidence with one type of grain, try adding on another. Every grain will yield slight to significant baking differences, as well as flavor.
- Grains that I have experience with are: spelt, hard red wheat, hard white wheat, soft white wheat, and einkorn. This is after years of baking primarily fresh-milled. It’s not a race. Add on only if you want, you could bake with hard and soft white wheat forever and make fabulous breads.
- Extra grain bins for organizing different wheat berries
- Of course purchasing more variety of wheat will require more storage containers. Always calculate that into your budget when considering a new grain variety.
Now that you know which tools will make fresh-milled baking simpler and more enjoyable, it’s equally important to understand how to properly store and organize your grains so they stay fresh and ready to use.
Understanding Grain Storage & Organization

Wheat berries can last 25 years or more when stored in a cool, dark, and dry place.
Airtight storage with oxygen absorbers is crucial if you plan to store grains for several years. If you plan to use your grains within a year, oxygen absorbers aren’t necessary.
It’s important to store your grains in a place where they are least affected by light and temperature changes. A basement or cellar is ideal. I don’t have either option, so I store mine in a large closet.
I highly recommend having one food-grade bucket per grain type with a gamma seal lid for bulk storage, as well as a smaller container for kitchen or pantry use. This will keep you from constantly opening the bulk storage and risking contamination from pests or other unwanted things.
The amount you purchase depends on your family size and baking habits. I have a family of seven and purchase grains about every six months. I exclusively bake with wheat berries and recommend buying 25–50 lbs of one grain type. Keep track of when you purchase them and how long it takes to use them. This will give you a clear idea of how long your grains will last your family.
Common Beginner Questions (FAQ)
Do I need a sifter for fresh-milled flour?
No, unless you plan to make all-purpose flour from your fresh-milled flour.
How do I clean my mill?
This depends entirely on the model of mill you purchase. Be sure to thoroughly read your manual.
What grains should I start with?
I recommend starting with a hard white wheat and a soft white wheat.
Do I need special containers?
Yes. You’ll need a food-grade bucket with an airtight lid for bulk storage, as well as whatever airtight container you prefer for pantry storage.
Can I use my blender or food processor instead of a mill?
Honestly, no. Grains are not soft, and it’s likely you’d damage your blender or food processor. You can make cream of wheat, which is especially delicious with einkorn berries, using a blender—but that’s about it.
Now that we’ve tackled some of the most common beginner questions, let me share my honest, practical advice for getting started with fresh-milled baking—simple steps you can follow right away.
My Honest Advice If You’re Just Starting Out
For any beginner, I suggest keeping things simple.
Purchase your mill, grain storage, and two grains in bulk: hard white wheat and soft white wheat. I would buy 25–50 lbs at one time.
Then, learn how your mill works—how to clean it and how to vary the size of the grind.
Next comes the fun part! Start with two simple recipes: one for hard white wheat and one for soft white wheat.
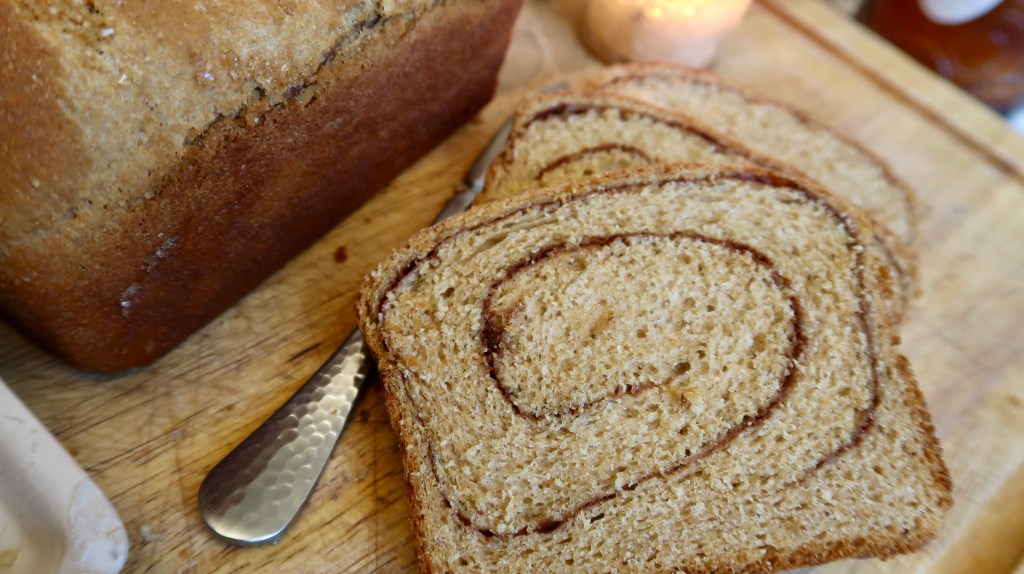
For hard white wheat: I recommend my Everything Bagel Sandwich Bread with Fresh-Milled Flour. Make it a simple sandwich loaf by omitting the everything bagel seasoning, and don’t worry about the braided top—just roll into a tight loaf.

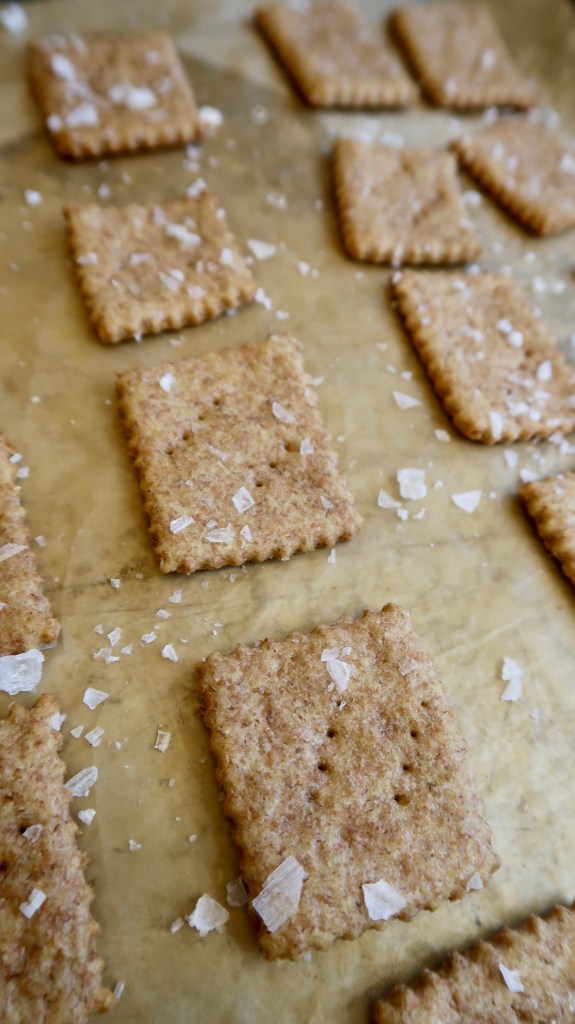
For soft white wheat: Try my Easy Buttermilk Drop Biscuits with Fresh-Milled Flour. This is a very forgiving recipe and a simple way to start learning the fresh-milled baking ropes.

CONCLUSION
All new skills—especially one as seemingly complicated as milling grains—will have a learning curve. But fear not, dear reader: if a simple gal like me can learn, so can you!
Take it one recipe at a time and practice until it becomes second nature. Before you know it, you’ll have loads of confidence and delicious baked goods to share.
If you enjoyed this post, check out my other introductory posts on fresh-milled baking:

I’d love to hear from you in the comments about a grain mill you’re considering or the one you currently have!
Blessings,
Payton


Leave a comment