
This post may contain affiliate links. See our disclosure policy.

Do you love baking with fresh-milled flour? Do you want simple, no-fuss ways to incorporate its benefits into your family’s diet?
Look no further.
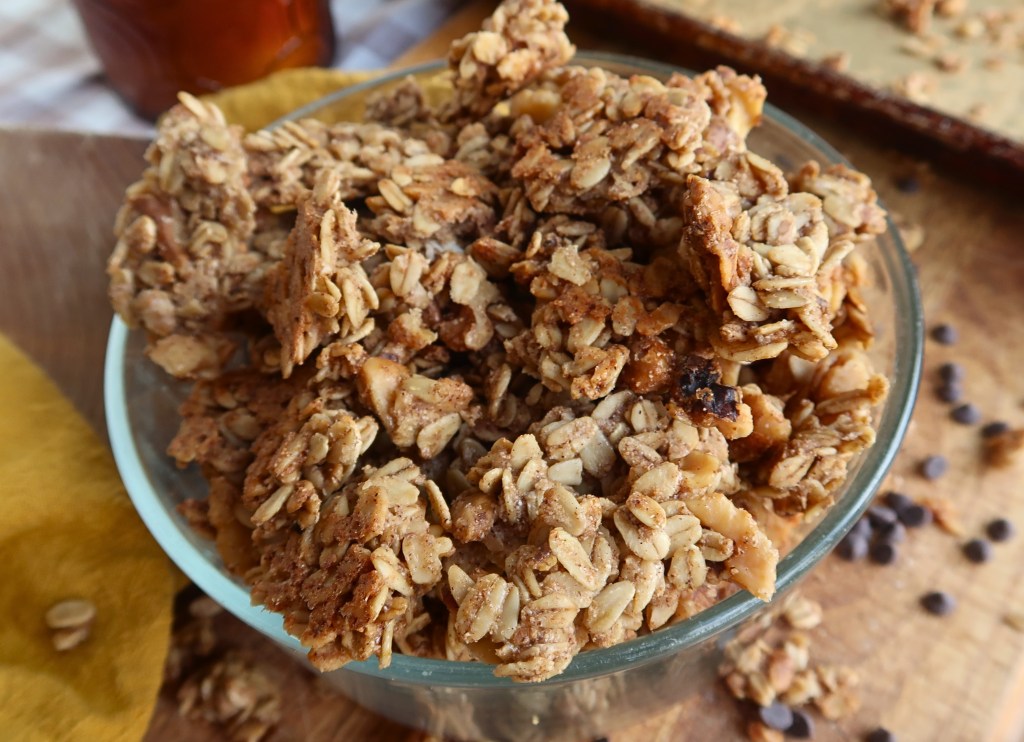
My Everyday Fresh-Milled Granola is packed with nutrition and is as versatile as it gets. It’s an easy way to add fiber, vitamins, and minerals to your day with minimal effort.
Enjoy this granola on its own, with yogurt, as a hearty cereal, or sprinkled over a favorite dessert. I love simple wins in the kitchen, and I hope this recipe becomes one for you as well.
Why Bake with Fresh-Milled Flour?
Simply put, it is much more nutrient-rich.
When wheat is milled, and the bran and germ are removed to create all-purpose flour, most of the fiber, vitamins, minerals, and healthy fats are lost. What remains is mostly starch and some protein. Because starch is rapidly broken down into glucose, baked goods made with white flour can cause a much sharper rise in blood sugar compared to whole-grain versions.
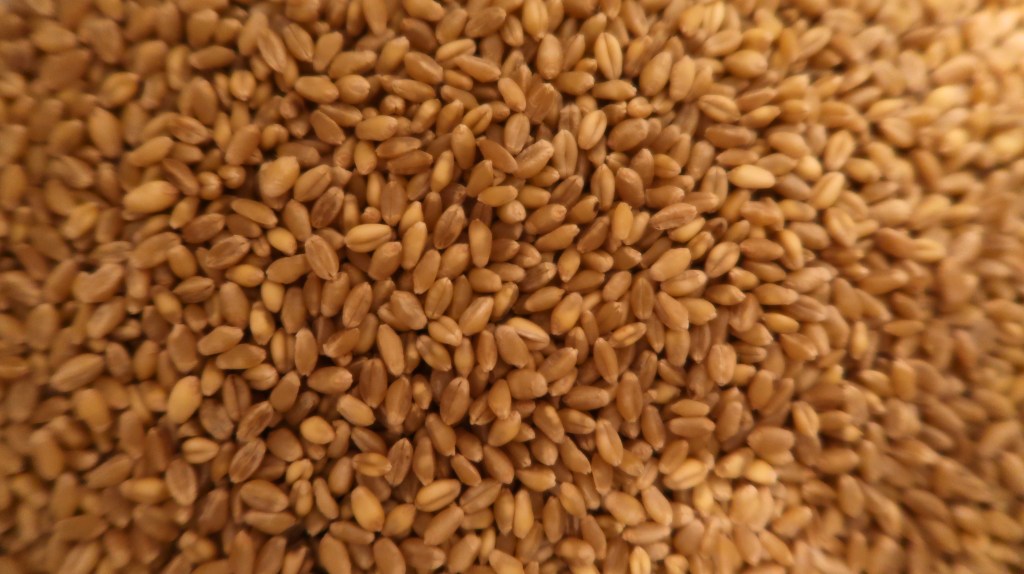
Below is a chart listing all of the nutrients contained in the simple, whole wheat berry. It’s amazing!
✨ Nutrients in Fresh-Milled Whole Wheat Flour
Fresh-milled flour is rich in naturally occurring nutrients that are often lost in store-bought white flour. By milling your own grains at home, you retain the full spectrum of vitamins, minerals, and fiber—exactly as God designed it.
Macronutrients
- Protein
- Healthy Carbohydrates
- Dietary Fiber
- Natural Fats (small amounts)
Key Vitamins
- Thiamine (B1)
- Riboflavin (B2)
- Niacin (B3)
- Pantothenic Acid (B5)
- Pyridoxine (B6)
- Folate (B9)
- Vitamin E
Essential Minerals
- Iron
- Magnesium
- Phosphorus
- Potassium
- Calcium
- Zinc
- Selenium
- Copper
- Manganese
- Natural Sodium (very low)
Note: Nutrient content can vary depending on the wheat variety and freshness, but fresh-milled flour is always more nourishing than refined alternatives.
✨Check out my blog post here for a more thorough breakdown of the benefits of fresh-milled flours.
Now that we understand the benefits of freshly milled flour, let’s take a look at which wheat berries work best for baking granola.
Best Grains to Use (and How to Swap Them)
The wheat you choose to use when making granola is entirely flexible. In this recipe, the flour acts as a binder alongside the water, egg, and oil—it simply helps hold everything together.
But this is where fresh-milled flour becomes even more valuable: you get all the added nutritional benefits as well. Use whatever wheat you have on hand, or choose one you find especially nourishing. Spelt is an excellent option.
✨Check out my blog post that gives more information on wheat berries and their uses.
Now that you’ve selected your wheat, let’s prepare the simple tools needed for success.
Tools You’ll Need
- Grain mill
- Mixing bowl
- Kitchen scale or measuring utensils
- Mixing utensil
- Baking tray
- Parchment paper
If you’re just getting started with fresh-milled baking, I’ve rounded up my thoughts on grain mill shopping and everyday baking essentials in my post on top tools for fresh-milled baking.
Ingredients

- Rolled oats
- Flour
- Salt
- Sugar
- Cinnamon
- Water
- Egg
- Oil
- Vanilla
- Raw, chopped nuts
Step-by-Step: How to Make Granola with Fresh-Milled Flour
Step 1:
Mill your grains and preheat your oven to 325°F.
Step 2:
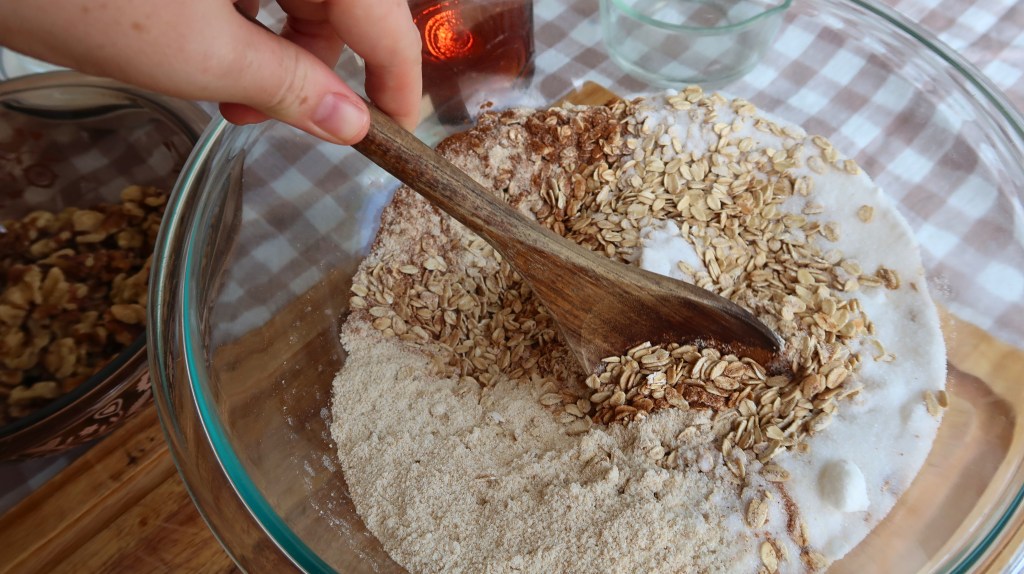
In a large bowl, mix together the rolled oats, sugar, flour, cinnamon, and salt.
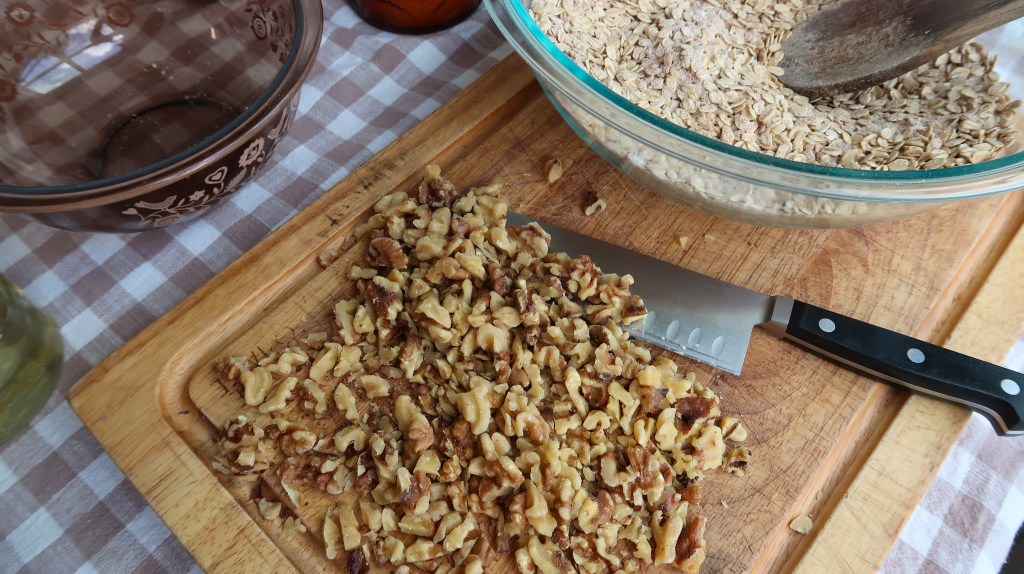
Chop your raw nuts.
Step 3:
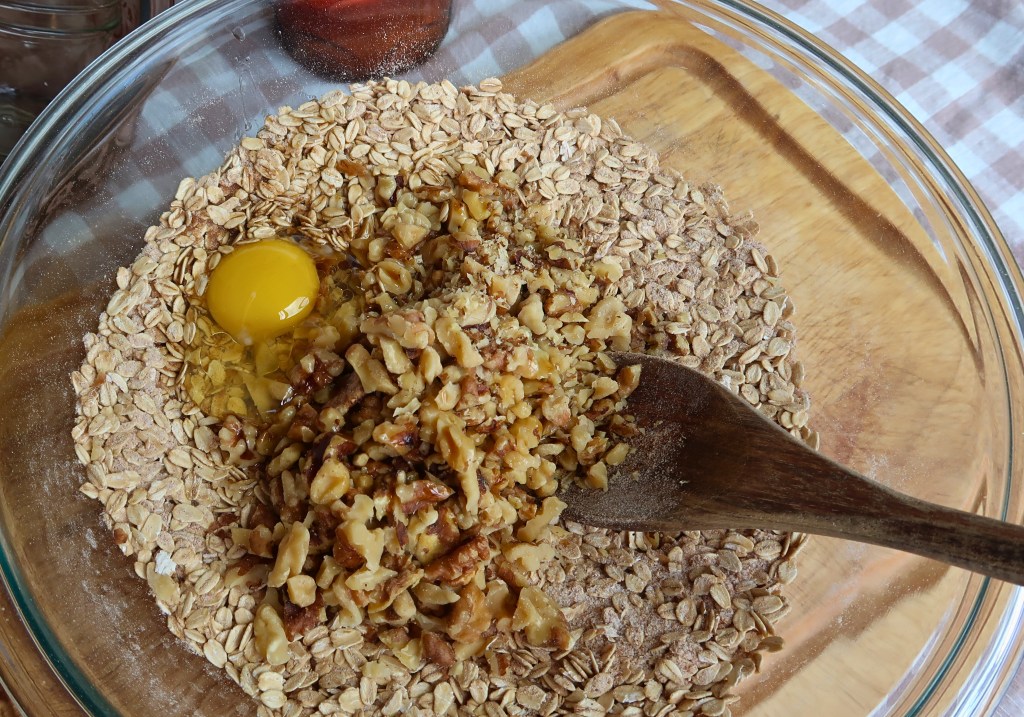
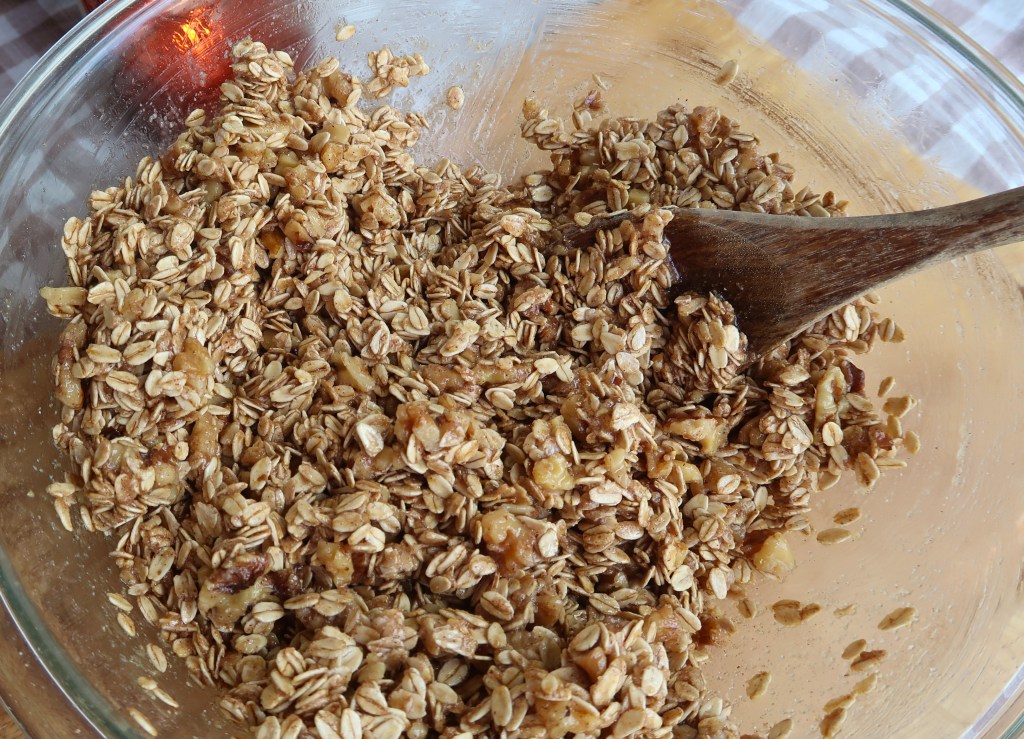
Add the oil (melted if needed), chopped nuts, water, egg, and vanilla. Stir until everything is evenly coated and fully incorporated.
Step 4:
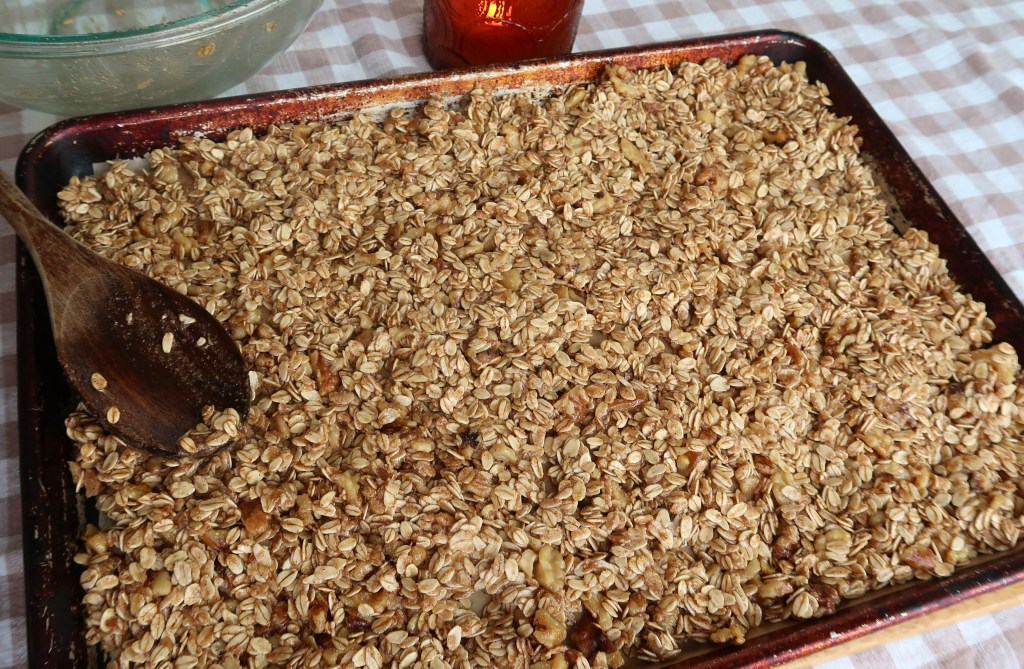
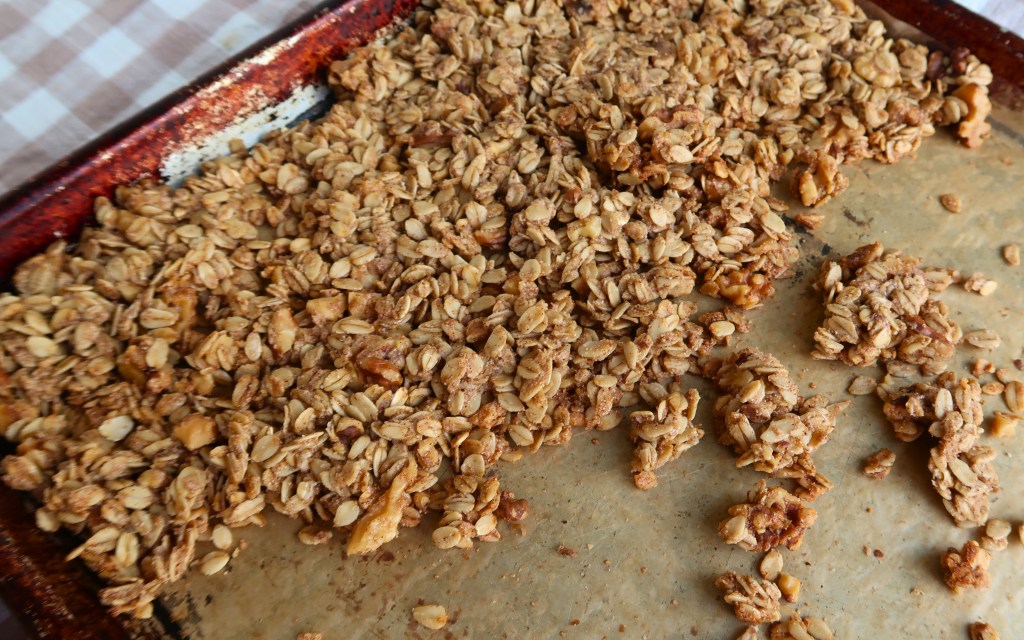
Line a baking sheet with parchment paper. Spread the granola evenly across the pan, then gently press it down with the back of a spoon.
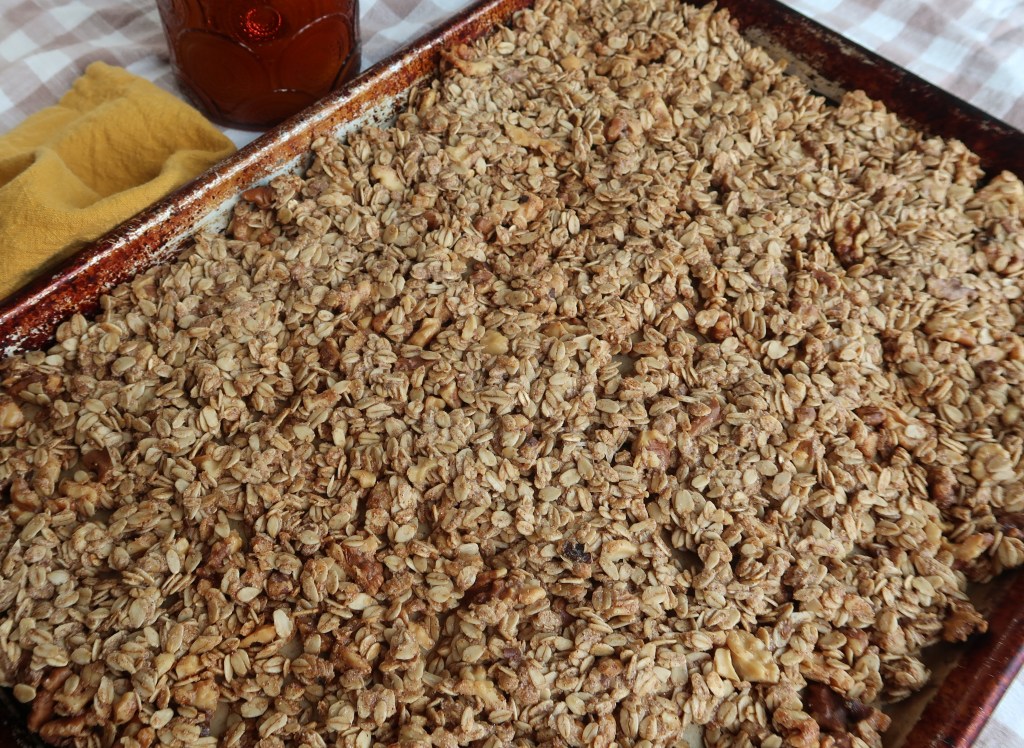
Step 5:
Bake for 20 minutes. Rotate the pan, then bake for another 20–25 minutes, or until the granola is lightly golden. It may still feel slightly soft, but it will crisp up as it cools.
Step 6:
Allow the granola to cool completely in the pan. Once cooled, break it into your desired cluster size and store it in an airtight container.
Everyday Fresh-Milled Granola (A Flexible Base Recipe)
Important: Use a kitchen scale for best results with fresh-milled flour. Gram measurements are most accurate. Volume estimates are provided only as a convenience.
Ingredients
- 419 g rolled oats (3 cups)
- 78 g freshly milled flour (½ cup)
- 115 g sugar (½ cup)
- 5 g salt (1 tsp)
- 5 g ground cinnamon (2 tsp)
- 14 g vanilla extract (2 tsp)
- 66 g water (¼ cup)
- 1 egg
- 106 g neutral oil (½ cup, melted if needed)
- 156 g raw, chopped nuts (1½ cups)
Step 1 – Prep
Mill your grains and preheat your oven to 325°F.
Step 2 – Mix Dry Ingredients
In a large bowl, mix together the rolled oats, sugar, flour, cinnamon, and salt.
Step 3 – Add Wet Ingredients
Add the oil (melted if needed), chopped nuts, water, egg, and vanilla. Stir until everything is evenly coated and fully incorporated.
Step 4 – Spread and Press
Line a baking sheet with parchment paper. Spread the granola evenly across the pan, then gently press it down with the back of a spoon.
Step 5 – Bake
Bake for 20 minutes. Rotate the pan, then bake for another 20–25 minutes, or until the granola is lightly golden. It may still feel slightly soft, but it will crisp up as it cools.
Step 6 – Cool and Store
Allow the granola to cool completely on the pan. Once cooled, break it into your desired cluster size and store in an airtight container.
Recipe Notes
This recipe makes one standard baking sheet of granola and is designed as a flexible base. Add dried fruit, chocolate chips, or seeds after baking if desired.
For larger clusters, press the granola firmly before baking and avoid stirring during the bake time.
How to Customize This Granola
Sweetener Swaps
I typically use sugar, but you can easily substitute honey, maple syrup, or coconut sugar.
Fat Swaps
I usually reach for coconut oil, but any neutral oil will work well. Coconut oil will need to be melted if it is solid.
Spice and Extract Ideas
Cinnamon is my go-to, but nutmeg, a small pinch of cloves, or allspice would also be lovely. Almond extract is a delicious addition as well.
Add-Ins After Baking
The options for post-baking add-ins are endless. Try chocolate chips, dried fruit, freeze-dried fruit, or extra seeds. If using coconut or chia seeds, add them before baking for best results.
Storage & Shelf Life
I have stored this granola on the counter in an airtight container for several weeks. However, to do this safely, you need to ensure the granola is fully crisp and thoroughly dried.
To be safe, I recommend storing it at room temperature for up to 1 week. For longer storage, allow it to cool completely, then place it in a labeled, freezer-safe container.
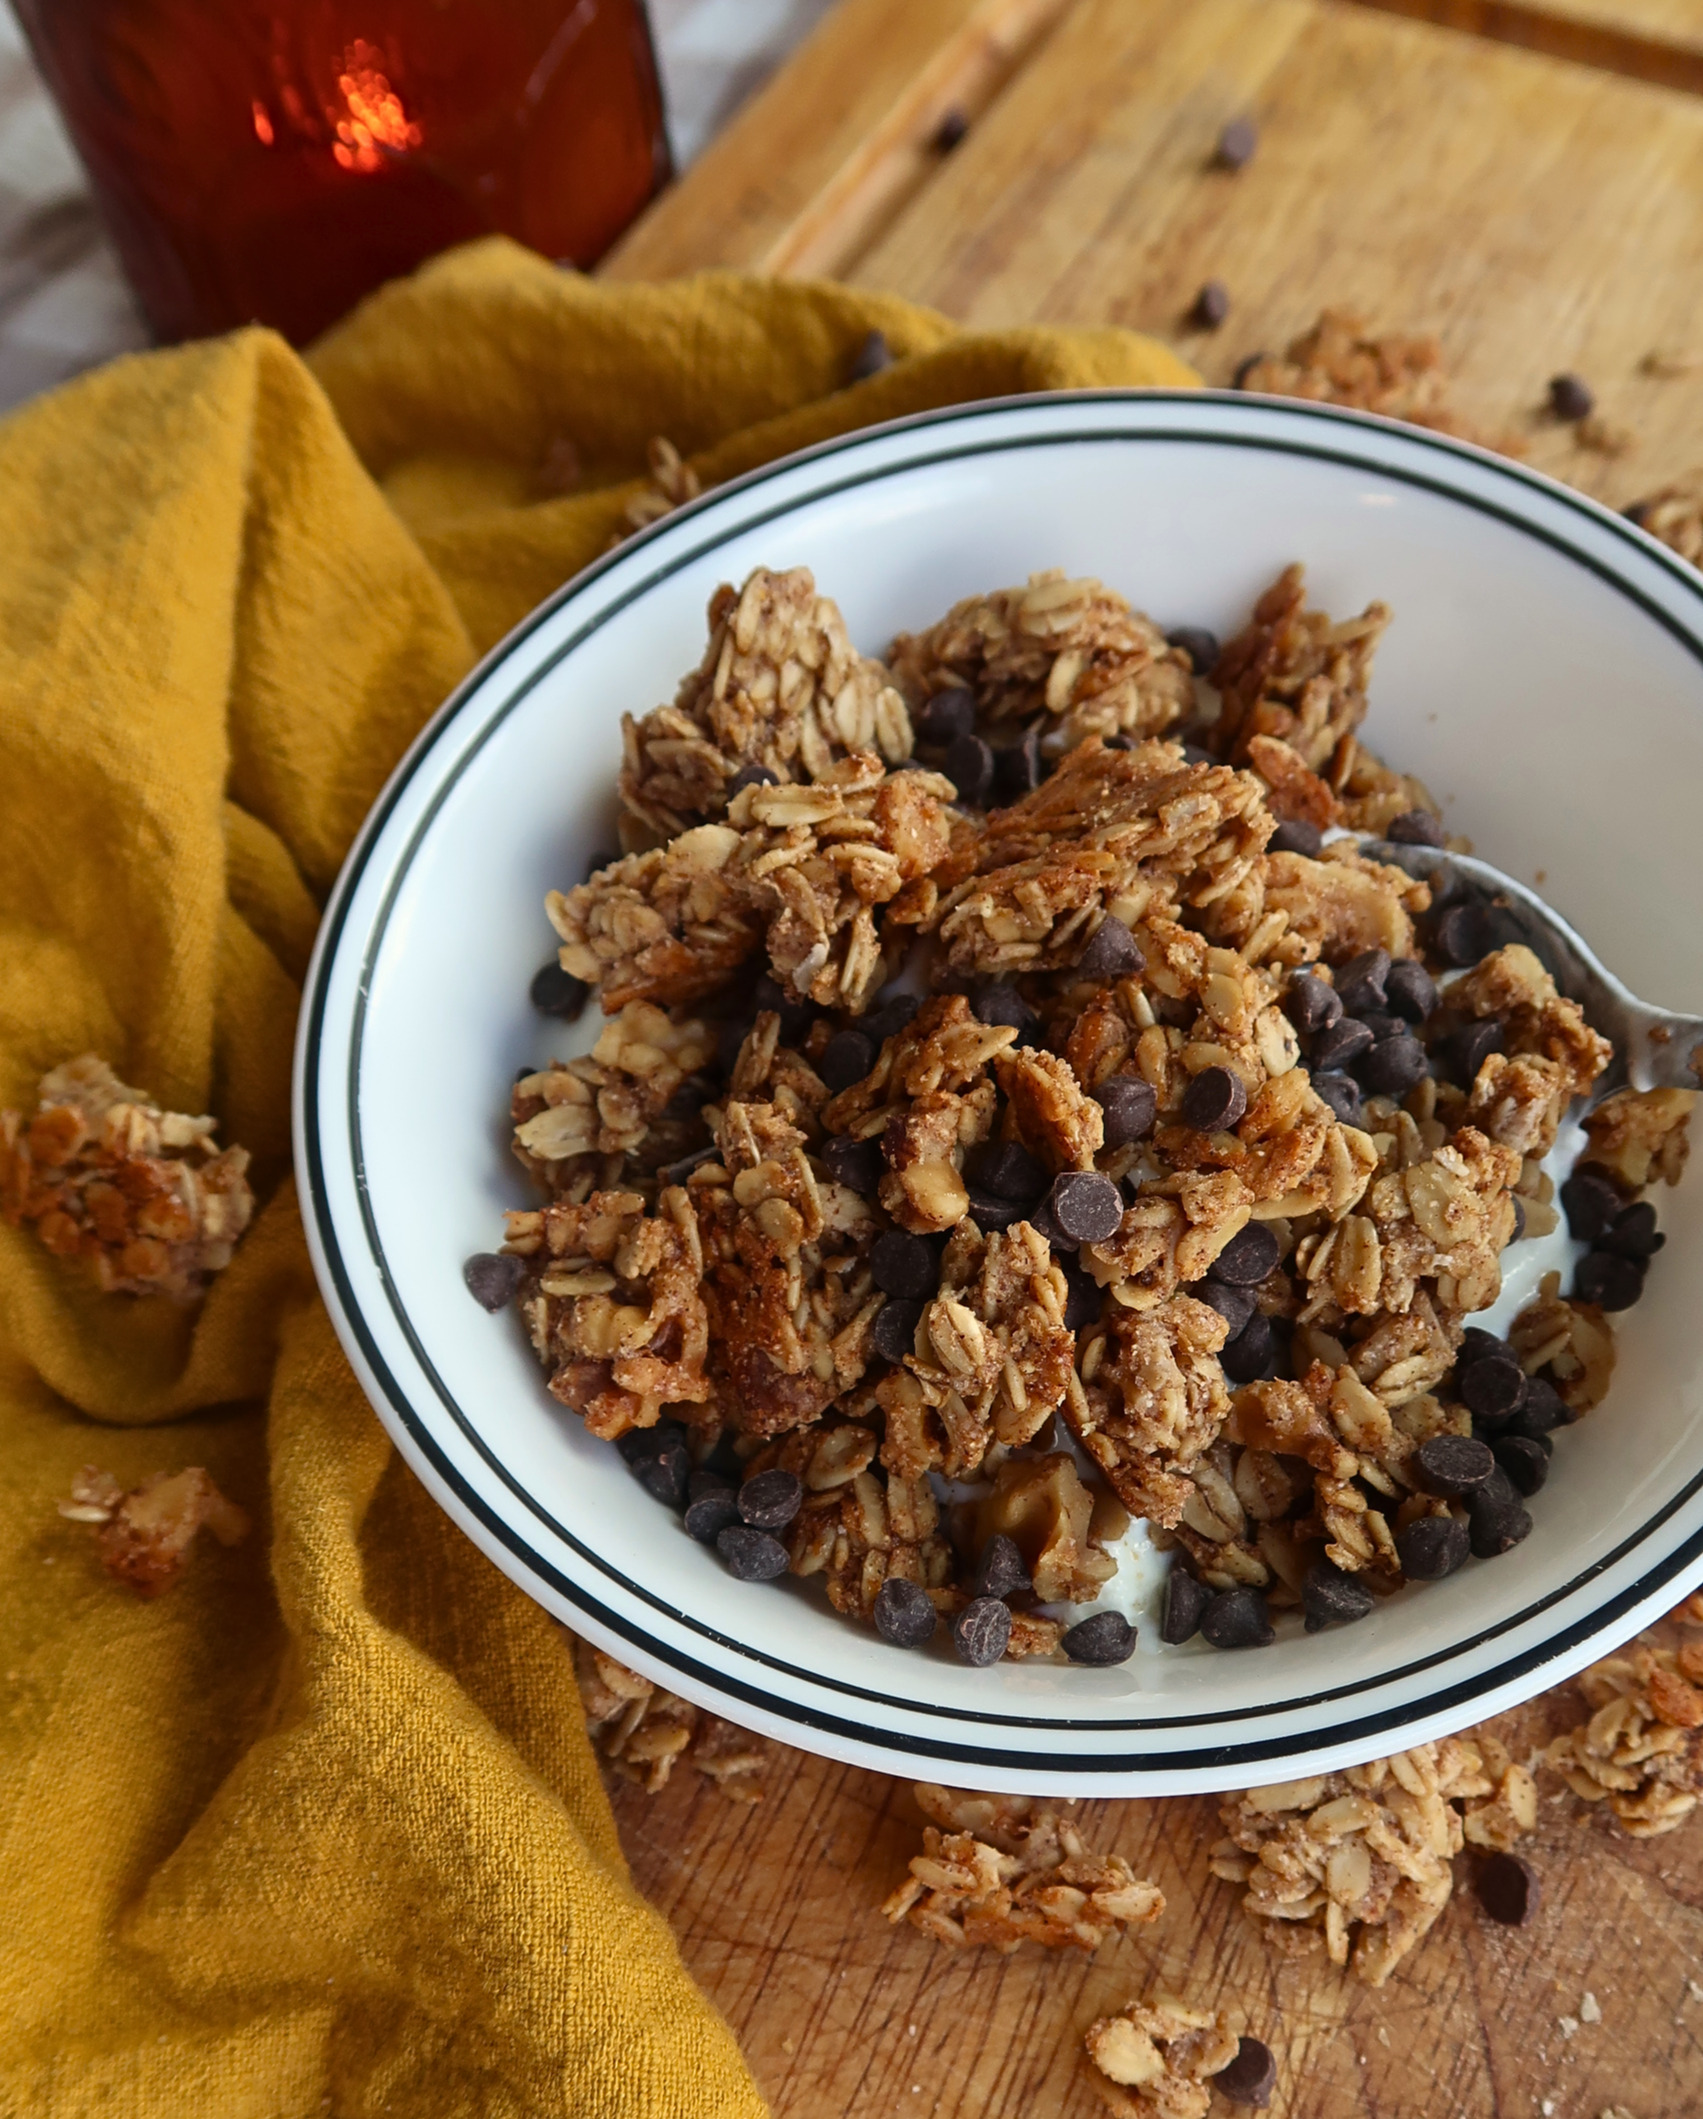
Serving Ideas
There are so many ways to enjoy this granola. Here are a few favorites:
- A crunchy topping for yogurt
- Served as cereal with milk
- Left in large clusters and packed for on-the-go snacks
- My personal favorite: with dark chocolate chips and milk for a late-night treat
FAQ
Can I use an oat flaker?
Using an oat flaker to make this granola would be ideal, though I do not have experience with it. I’d love to have one someday, but alas, the budget does not allow it. Try it out and let me know if it works for you!
Can I make it oil-free?
I do not recommend making this oil-free. The oil recipe assists in binding and drying the granola to make it crisp and clump easily.
Why does mine clump/not clump?
If you want larger clumps, be sure to not stir the granola at all during baking. After the granola has completely cooled, you can break it apart to your desired size.
If you still are not getting as sturdy clumps as you’d like, I recommend adding one extra egg white for extra binding power to the recipe.
Can I double the batch?
Absolutely! I double the batch often, and like to store the extra in the freezer. But it also has an excellent shelf life when fully cooled and stored in an air-tight container.
Granola is such a fun, low-cost way to enjoy fresh-milled grains at home. Not everything made with whole grains needs to be complicated, and this recipe is as simple as it gets.
I hope your family enjoys my freshly milled granola as much as ours has over the years! What’s your favorite way to enjoy Everyday Fresh-Milled Granola? Let me know in the comments below!
Blessings,
Payton


Leave a comment