
This post may contain affiliate links. See our disclosure policy.

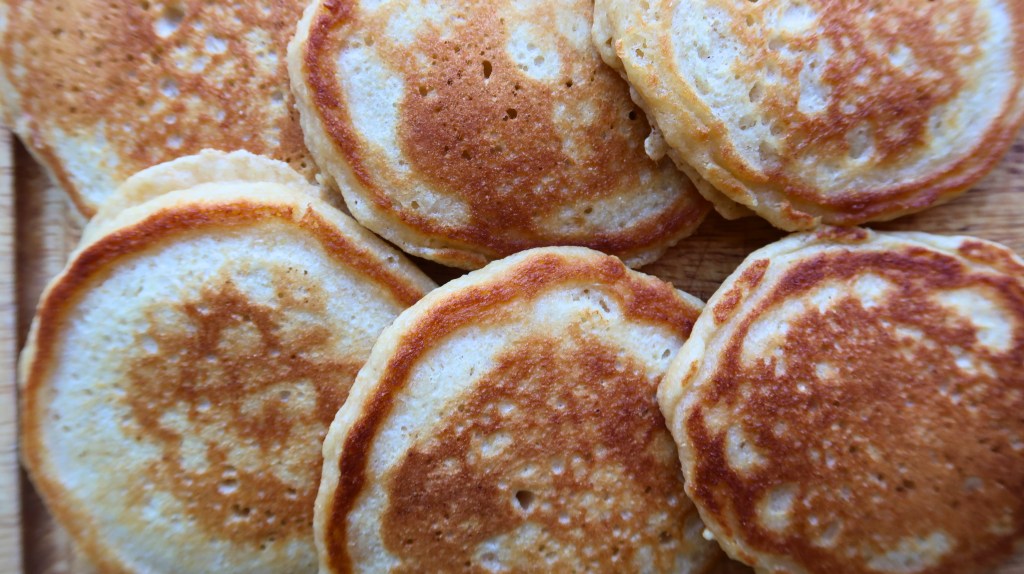
Does your family love buttery, soft pancakes for breakfast? Are you looking for a simple way to boost everyone’s nutrition at once?
My fresh-milled buttermilk pancakes don’t trade nutrition for flavor. With this recipe, you truly get the best of both worlds—wholesome ingredients and perfectly tender, fluffy pancakes.
Make these once, and your old pancake recipes may never taste quite the same.
Why You’ll Love These Fresh‑Milled Buttermilk Pancakes
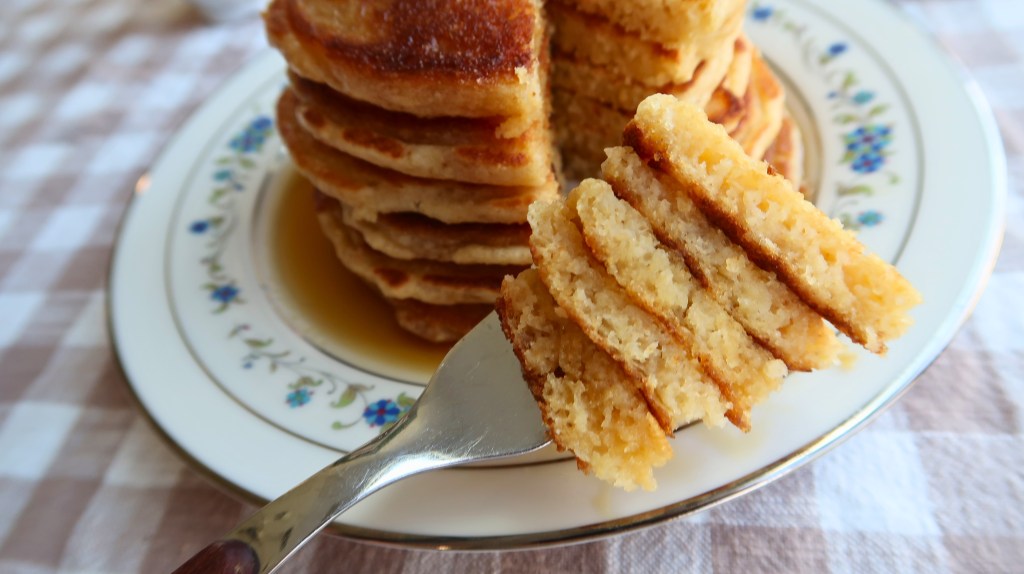
- Light, soft, and fluffy—not dense or dry like many whole-grain recipes. These pancakes have a tender texture that your family will love.
- Rich, nutty flavor—freshly milled soft wheat creates a naturally sweet, deeply satisfying pancake.
- Truly nourishing—you get all the benefits of whole grains without sacrificing taste or texture.
- Perfect for meal prep—make a double batch and freeze for quick breakfasts or easy snacks on the go.
- Made with simple pantry ingredients—and if you’re out of buttermilk, a quick milk + lemon juice or vinegar substitute works beautifully.
Why Bake with Fresh-Milled Flour?
Simply put, it is much more nutrient-rich.
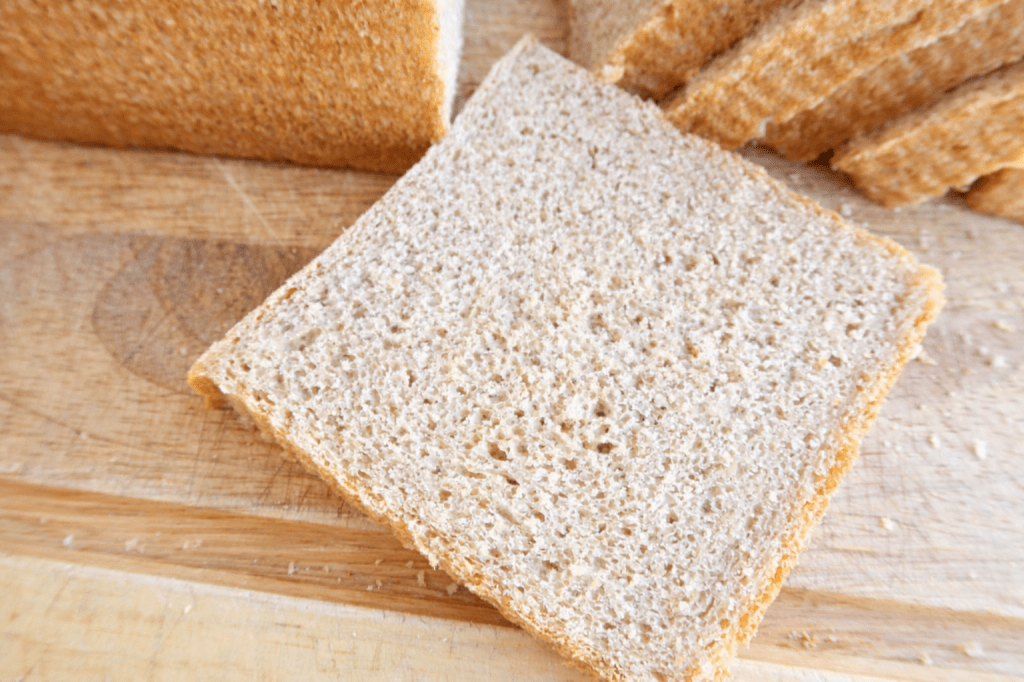
When wheat is milled, and the bran and germ are removed to create all-purpose flour, most of the fiber, vitamins, minerals, and healthy fats are lost. What remains is mostly starch and some protein. Because starch is rapidly broken down into glucose, baked goods made with white flour can cause a much sharper rise in blood sugar compared to whole-grain versions.
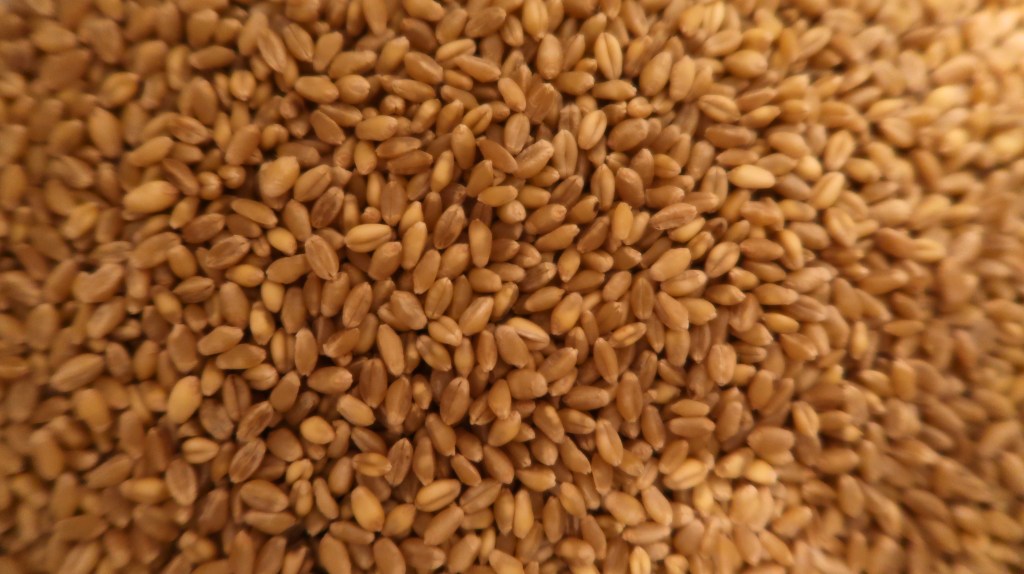
Below is a chart listing all of the nutrients contained in the simple, whole wheat berry. It’s amazing!
✨ Nutrients in Fresh-Milled Whole Wheat Flour
Fresh-milled flour is rich in naturally occurring nutrients that are often lost in store-bought white flour. By milling your own grains at home, you retain the full spectrum of vitamins, minerals, and fiber—exactly as God designed it.
Macronutrients
- Protein
- Healthy Carbohydrates
- Dietary Fiber
- Natural Fats (small amounts)
Key Vitamins
- Thiamine (B1)
- Riboflavin (B2)
- Niacin (B3)
- Pantothenic Acid (B5)
- Pyridoxine (B6)
- Folate (B9)
- Vitamin E
Essential Minerals
- Iron
- Magnesium
- Phosphorus
- Potassium
- Calcium
- Zinc
- Selenium
- Copper
- Manganese
- Natural Sodium (very low)
Note: Nutrient content can vary depending on the wheat variety and freshness, but fresh-milled flour is always more nourishing than refined alternatives.
✨Check out my blog post here for a more thorough breakdown of the benefits of fresh-milled flours.
Now that we understand the benefits of freshly milled flour, let’s take a look at which wheat berries work best for buttermilk pancakes.
Best Grains to Use (and How to Swap Them)
Different wheat berries contain varying amounts of protein, and two key proteins are essential for creating a strong gluten network: glutenin and gliadin.
- Glutenin – Gives dough strength and elasticity, helping bread hold its shape and rise.
- Gliadin – Makes dough stretchy and extensible, allowing it to expand during fermentation and baking.
When these two proteins work together, you get a strong, resilient gluten network that produces a perfect rise.
For buttermilk pancakes, I recommend using a soft white or red wheat. These wheat berries have a low enough protein content to create soft, fluffy pancakes.
If you enjoy experimenting with ancient grains, feel free to mix them with your soft wheat or use them in place of it. A perfect way to introduce ancient grains into your diet is with a quick bread like pancakes. You may get a slightly lower rise, but they will still be very delicious.
✨Check out my blog post that gives more information on wheat berries and their uses.
Now that you’ve selected your wheat, let’s prepare the simple tools needed for success.
Tools You’ll Need
- Grain Mill
- Kitchen scale or measuring utensils
- Mixing bowl
- Mixing utensil
- Electric griddle or skillet
✨Explore my favorite baking tools here.
Ingredients
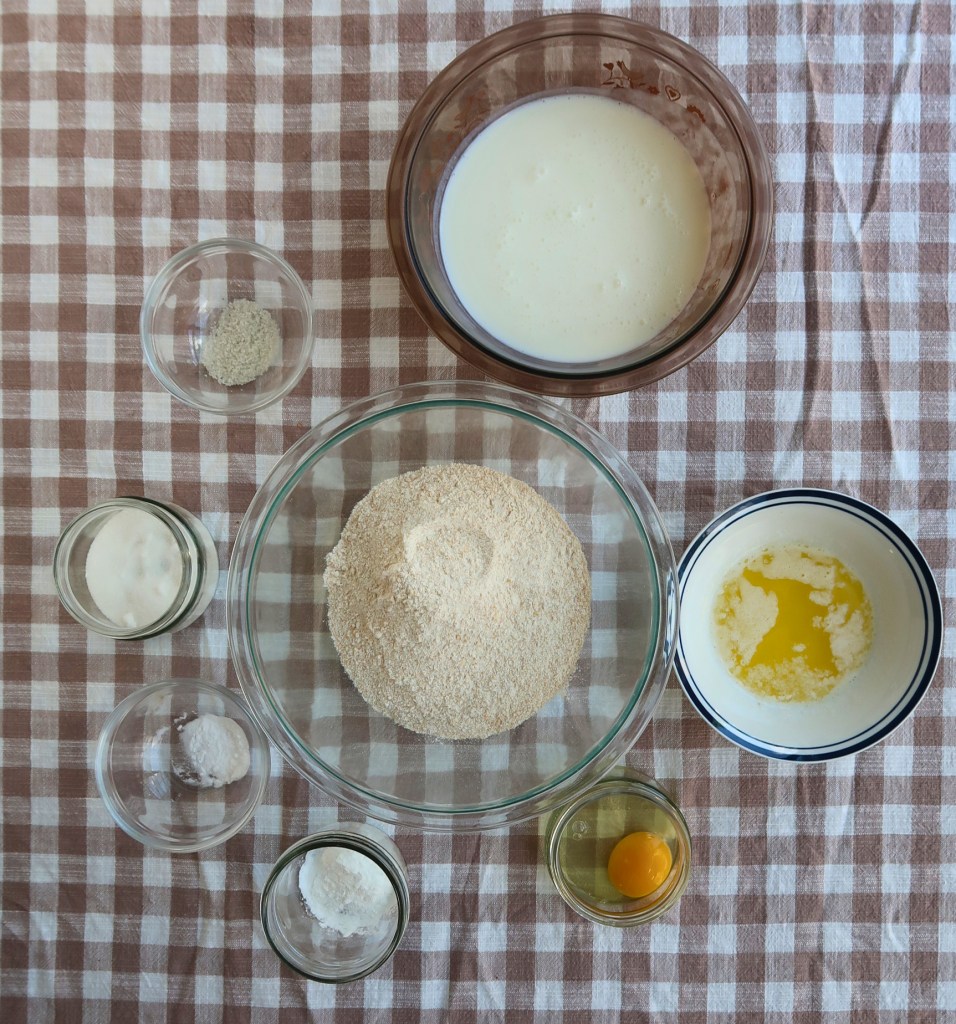
- Freshly milled soft white wheat
- Baking powder
- Baking soda
- Salt
- Sugar
- Melted, unsalted butter
- Buttermilk
- Egg
Step‑by‑Step Instructions
Step 1: Mill Grains
Mill your soft white wheat. If desired, you can add ancient grains such as spelt or einkorn. Melt your unsalted butter and set it aside.
Step 2: Mix Dry Ingredients
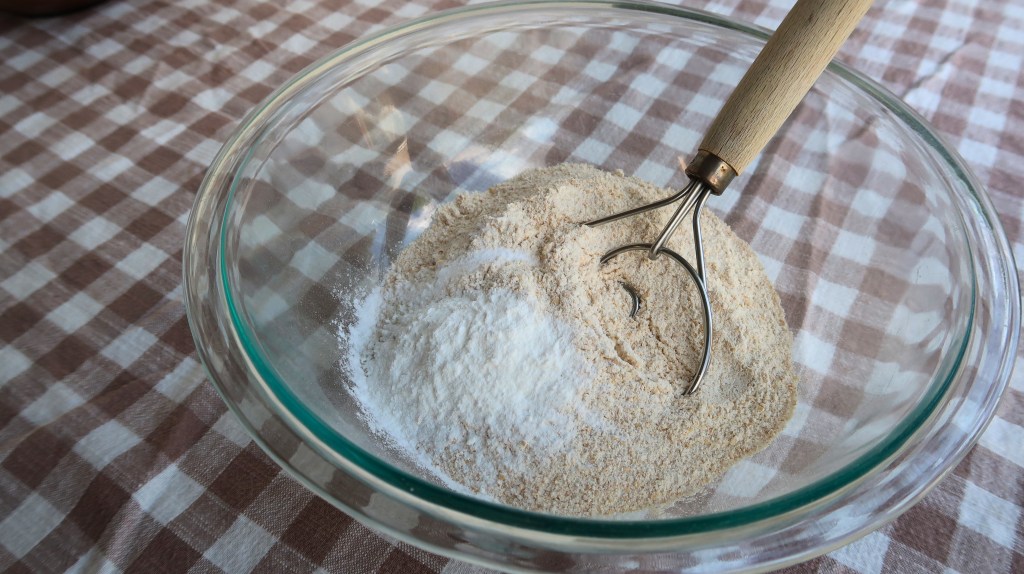
Mix your flour, salt, baking powder, and baking soda together.
Step 3: Mix Wet Ingredients
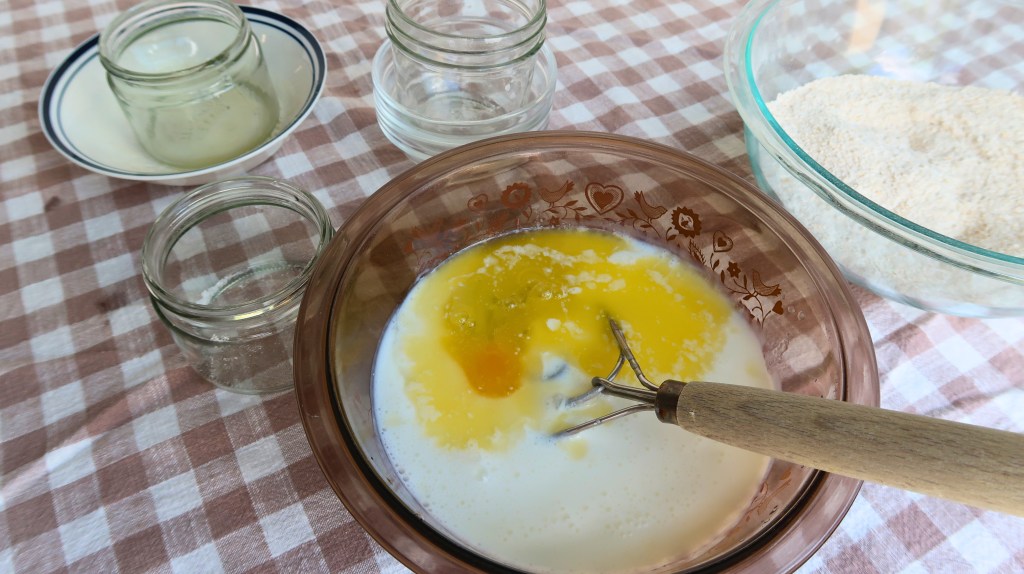
Mix your melted butter, egg, sugar, and buttermilk.
Step 4: Mix Wet Ingredients into Dry Ingredients
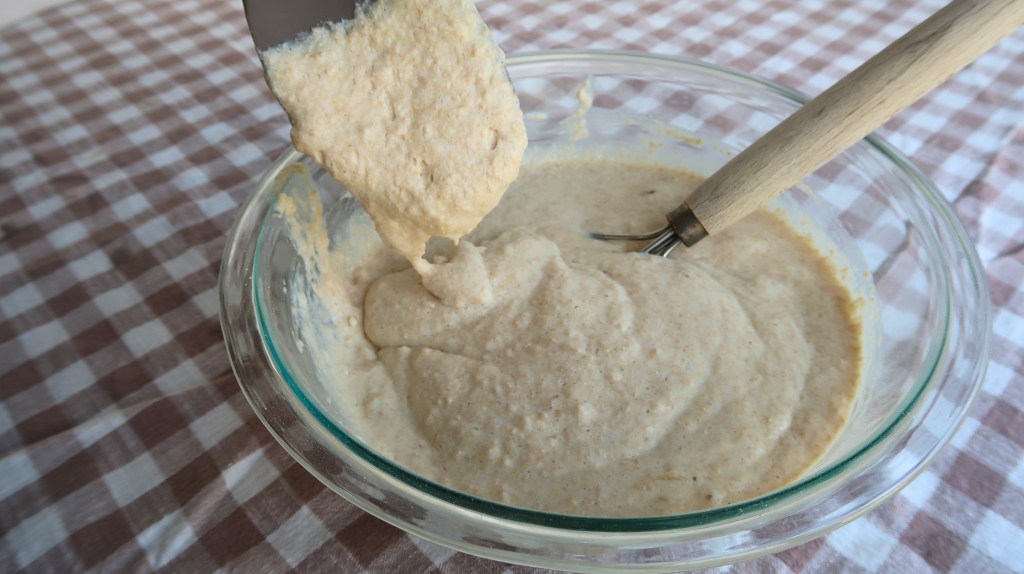
Pour the wet ingredients into the dry and mix until just combined. The batter will be very wet; this consistency helps it absorb the liquid needed for fresh-milled flour.
Step 5: Rest Batter and Heat Griddle
Let your batter rest for at least 10 minutes, allowing the bran and germ to soak up the liquid. Meanwhile, heat your griddle or skillet over medium-low heat and grease it with coconut oil.
Step 6: Cook Pancakes
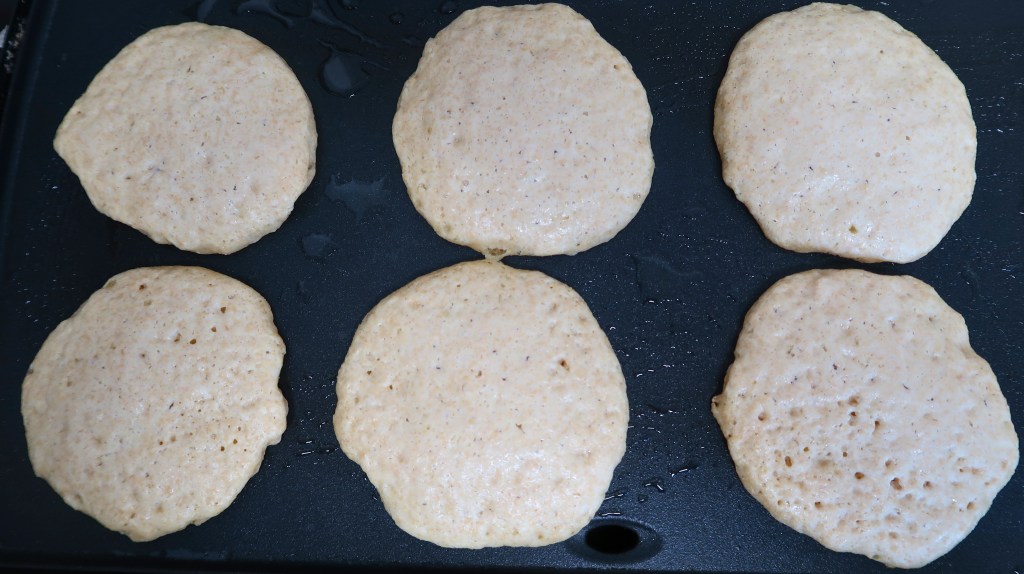
I use a 1/4-cup cookie scoop to measure the pancakes, or make them whatever size you like. Do not flip the pancakes until many bubbles have formed on top and the edges look set. Flip them and continue to cook for 2-3 more minutes.
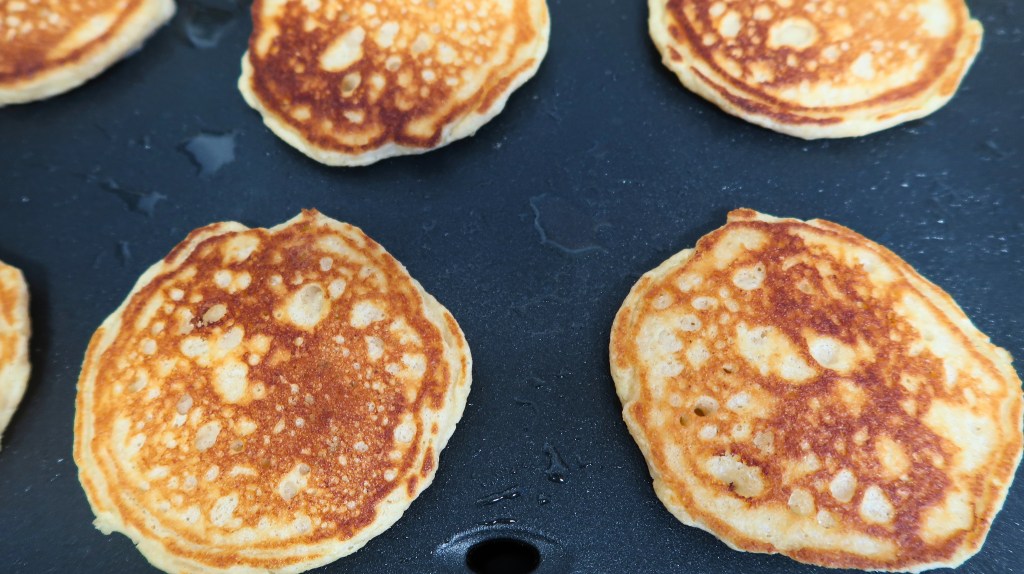
Finish cooking your pancakes and serve them warm with your favorite toppings.
Fresh-Milled Buttermilk Pancakes

Important: Use a kitchen scale for best results with fresh-milled flour. Gram measurements are most accurate. Volume estimates are provided only as a convenience.
Ingredients
- 250 g soft white wheat (≈2 cups)
- 4 g salt (≈¾ tsp)
- 10 g baking powder (≈2 tsp)
- 2 g baking soda (≈½ tsp)
- 3 tbsp melted unsalted butter
- 40 g sugar* (≈2½ tbsp)
- 1 large egg
- 454 g buttermilk* (≈2 cups)
Step 1 – Mill Grains
Mill your soft white wheat. If desired, you can add ancient grains such as spelt or einkorn. Melt your unsalted butter and set it aside.
Step 2 – Mix Dry Ingredients
Combine the flour, salt, baking powder, and baking soda in a large bowl.
Step 3 – Mix Wet Ingredients
Mix the melted butter, egg, sugar, and buttermilk together in a separate bowl.
Step 4 – Combine Wet and Dry Ingredients
Pour the wet ingredients into the dry and mix until just combined. The batter will be very wet; this consistency helps it absorb the liquid needed for fresh-milled flour.
Step 5 – Rest Batter and Heat Griddle
Let the batter rest for at least 10 minutes, allowing the bran and germ to soak up the liquid. Meanwhile, heat your griddle or skillet over medium-low heat and grease with coconut oil.
Step 6 – Cook Pancakes
Use a 1/4-cup cookie scoop (or your preferred size) to portion the pancakes. Do not flip until many bubbles have formed on top and the edges look set. Flip and cook 2–3 more minutes. Serve warm with your favorite toppings.
Notes
- *For a less sweet pancake, try 20 g of sugar.
- *If you do not have buttermilk, curdle your milk by adding 1 tbsp lemon juice or white vinegar per 1 cup of milk. Give at least 10 minutes to thicken. Also, add slightly less of this milk for a pourable, but not runny batter.
Tips for Best Results
- Use a wheat berry with a low protein content, like soft white wheat.
- Mix just until your ingredients are incorporated. Airiness = fluffiness.
- Let your batter rest at least 10 minutes for the bran and germ to absorb the liquid.
- Don’t let your skillet get too hot, to avoid a burnt outside and raw inside.
- Let your pancake form lots of bubbles before flipping.
Variations & Add‑Ins
- Grated apple and cinnamon
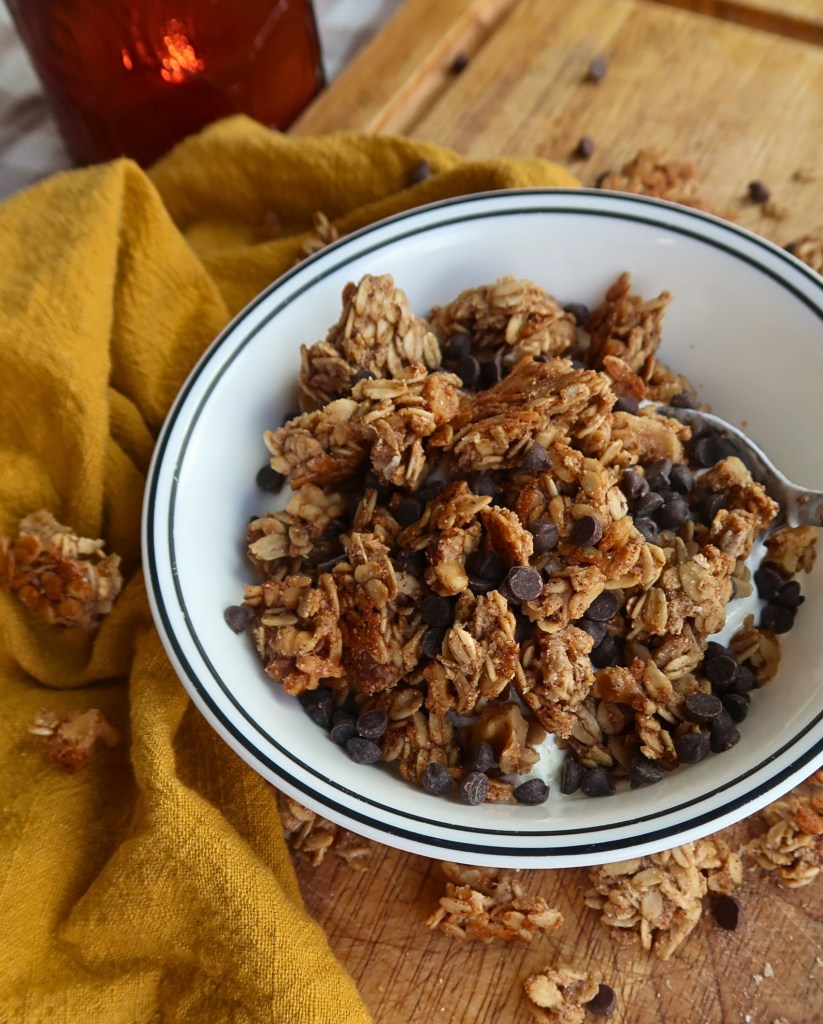
- Chocolate chips
- Blueberries
- A dash of almond extract with slivered almonds
- Lemon zest, juice, and poppy seeds
- Bananas and chopped walnuts
Toppings & Serving Suggestions
There are many ways to top a pancake. Here are a few of my ideas:
- Classic: butter and real maple syrup
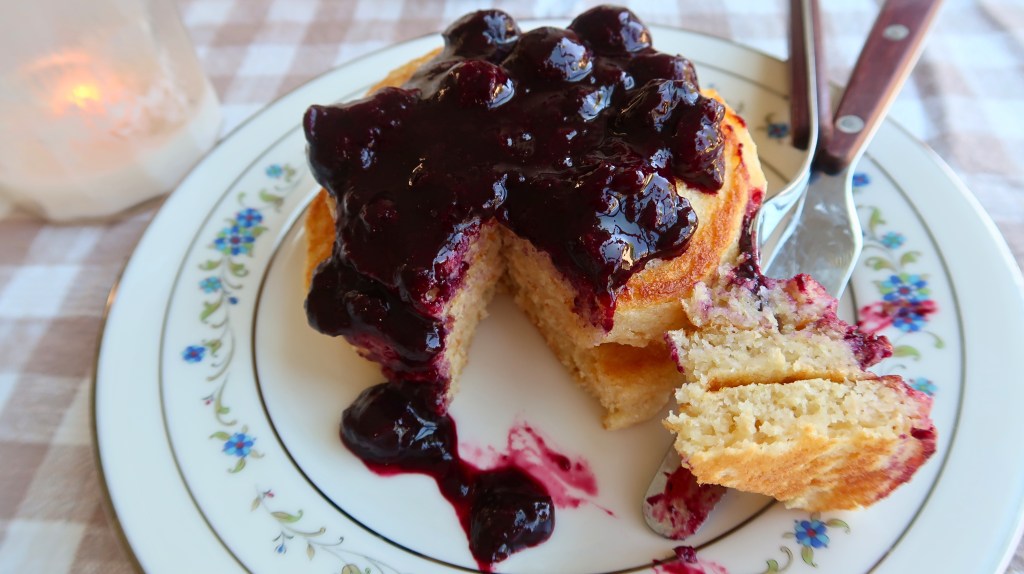
- Seasonal: berry compote, whipped cream, fruit
- Savory: yogurt and honey
- Decadent: melted chocolate and powdered sugar
FAQ
Can I use store‑bought flour instead?
You absolutely can! I’d slightly decrease the amount of buttermilk called for. If you use store-bought whole-wheat flour, you may be fine with the amount in the recipe. Check the pictures earlier in this post to see the right batter consistency.
How to store/freeze pancakes?
I like to store cooked pancakes in the fridge in an airtight container.
Pancakes are an excellent freezer prep item! Cook them as you would normally and let them completely cool. Placing a layer of parchment paper between each pancake is helpful but not strictly necessary. Lay the pancakes in a Ziploc bag, remove excess air, and freeze.
Best substitute for buttermilk?
You can use regular milk instead. For every 1 cup of milk, stir in 1 tablespoon of lemon juice or white vinegar and let it sit for at least 10 minutes to curdle and thicken. Use slightly less of this curdled milk than the amount of buttermilk called for in the recipe.
Pancakes are such a fun way to start the day, and making them with freshly milled flour gives them a ton of nutrition. You don’t have to sacrifice great texture and flavor with fresh-milled flour. I think my Fresh-Milled Buttermilk Pancakes are a great example of that!
I hope your family enjoys this recipe as much as mine! Share your favorite way to top a freshly milled buttermilk pancake in the comments below.
Blessings,
Payton


Leave a comment