
This post may contain affiliate links. See our disclosure policy.

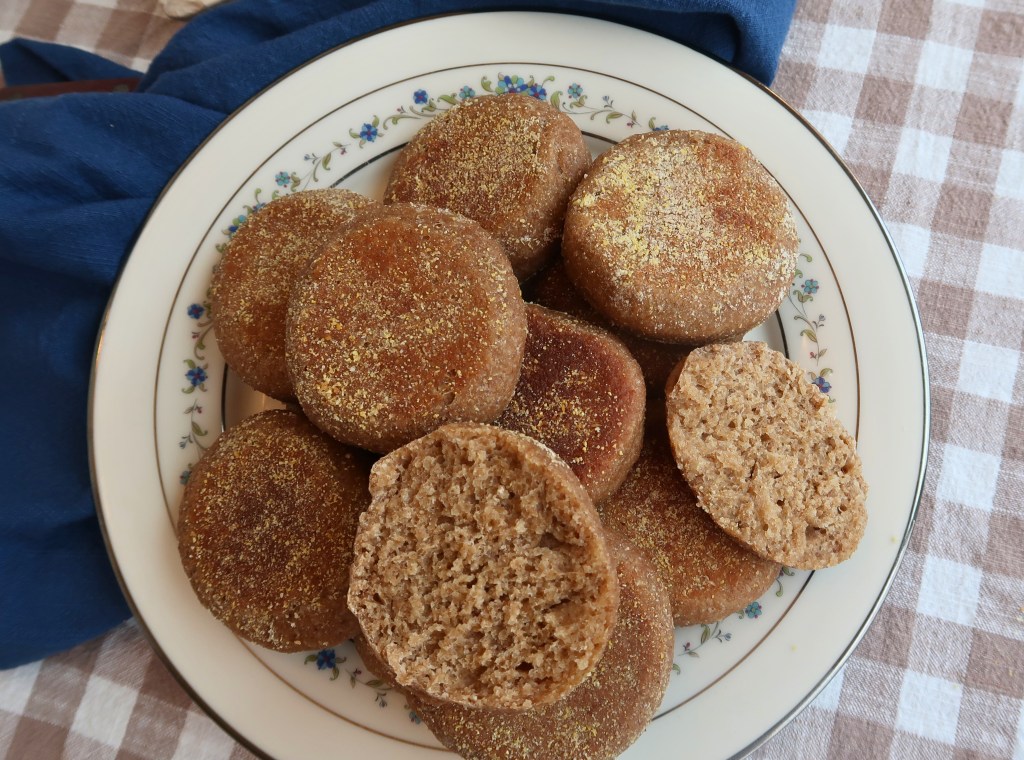
Fresh-milled Sourdough English Muffins are one of my favorite ways to make an easy, nutritious breakfast for my family. Not only does the sourdough enhance the nutrition and flavor, but it also makes the muffins really simple to make. Create a levain in the middle of the day (or activate your starter), mix the dough at night with a few stretch-and-folds, and let it rest all night. By morning, you have a perfect dough ready to cut and fry!
Simple breakfasts, packed with flavor and health, are every home baker’s dream!
Why Bake with Freshly Milled Flour?
Simply put, it is much more nutrient-rich.
When wheat is milled, and the bran and germ are removed to create all-purpose flour, most of the fiber, vitamins, minerals, and healthy fats are lost. What remains is mostly starch and some protein. Because starch is rapidly broken down into glucose, baked goods made with white flour can cause a much sharper rise in blood sugar compared to whole-grain versions.
Below is a list of the nutrients in the humble wheat berry. It’s amazing!
✨ Nutrients in Fresh-Milled Whole Wheat Flour
Fresh-milled flour is rich in naturally occurring nutrients that are often lost in store-bought white flour. By milling your own grains at home, you retain the full spectrum of vitamins, minerals, and fiber—exactly as God designed it.
Macronutrients
- Protein
- Healthy Carbohydrates
- Dietary Fiber
- Natural Fats (small amounts)
Key Vitamins
- Thiamine (B1)
- Riboflavin (B2)
- Niacin (B3)
- Pantothenic Acid (B5)
- Pyridoxine (B6)
- Folate (B9)
- Vitamin E
Essential Minerals
- Iron
- Magnesium
- Phosphorus
- Potassium
- Calcium
- Zinc
- Selenium
- Copper
- Manganese
- Natural Sodium (very low)
Note: Nutrient content can vary depending on the wheat variety and freshness, but fresh-milled flour is always more nourishing than refined alternatives.
✨Check out my blog post here for a more thorough breakdown of the benefits of fresh-milled flours.
Now that we understand the benefits of freshly milled flour, let’s take a look at which wheat berries work best for baking a flavorful sourdough English muffin.
What Type of Wheat Berries Should I Use?
Different wheat berries contain varying amounts of protein, and two key proteins are essential for creating a strong gluten network: glutenin and gliadin.
- Glutenin – Gives dough strength and elasticity, helping bread hold its shape and rise.
- Gliadin – Makes dough stretchy and extensible, allowing it to expand during fermentation and baking.
When these two proteins work together, you get a strong, resilient gluten network that produces a perfect rise.
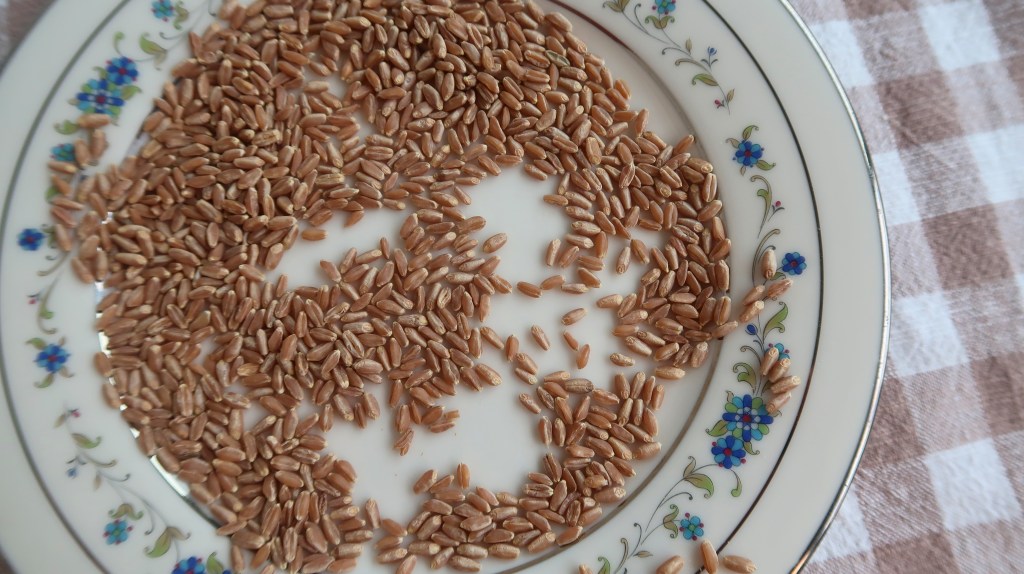
For sourdough English muffins, choose hard red or hard white wheat, which have enough protein to produce well-structured muffins.
I especially love using Yecora Rojo wheat berries in this recipe. They produce an incredibly soft crumb, rich flavor, and sturdy English muffin.
If using a lower-protein wheat variety, you may need slightly less liquid since weaker wheats absorb water differently and can struggle to hold the same structure.
If you enjoy experimenting with ancient grains, feel free to mix them with your hard wheat. I would avoid using only ancient grains for this recipe. They need very particular handling.
✨Check out my blog post that gives more information on wheat berries and their uses.
Why Fresh-Milled Sourdough Behaves Differently
If you have baked sourdough with all-purpose flour and then transitioned to fresh-milled flour, you may have experienced some frustration.
Freshly milled flour contains the entire wheat kernel, including the bran and germ, making it richer in nutrients and naturally occurring enzymes than all-purpose flour. As a result, sourdough made with freshly milled flour often ferments more quickly than sourdough made with all-purpose flour.
In general, your fresh-milled sourdough doughs may be ready to shape or bake sooner than their all-purpose counterparts. The key is to watch your dough for signs of readiness rather than relying solely on the clock. With a bit of practice, you’ll quickly learn how fresh-milled sourdough behaves and enjoy the incredible flavor and benefits of baking with freshly milled flour.
Tools You’ll Need
- Grain mill
- Kitchen scale or measuring utensils
- Mixing bowl
- Mixing utensil
- Bowl cover or tea towel
- Cast-iron skillet or griddle
- Cookie cutter
Ingredients You’ll Need
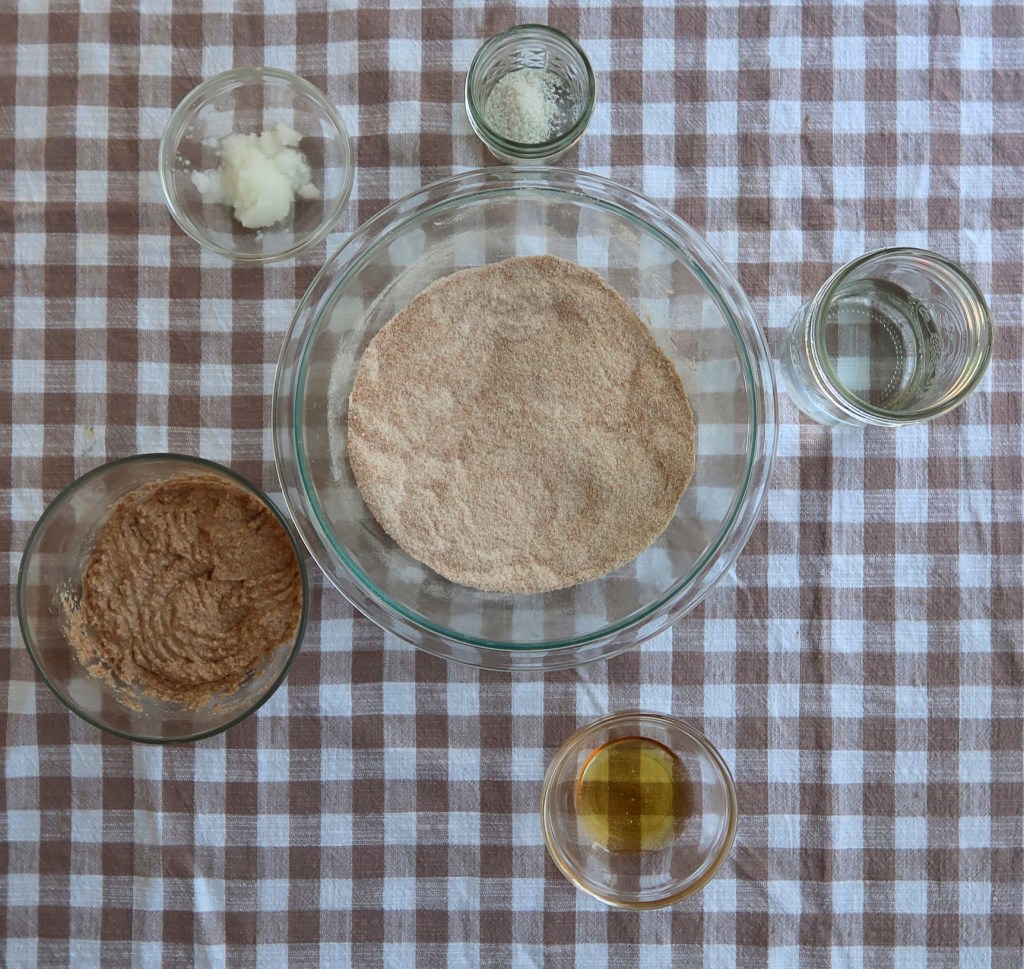
- Fresh milled hard red or white wheat (I like a hard red called Yecora Rojo)
- Levain (starter, flour, and water prepared ahead of time) or active starter
- Water
- Honey
- Melted coconut oil (or unsalted, softened butter)
- Salt
Step-by-Step: How to Make Freshly Milled Sourdough English Muffins
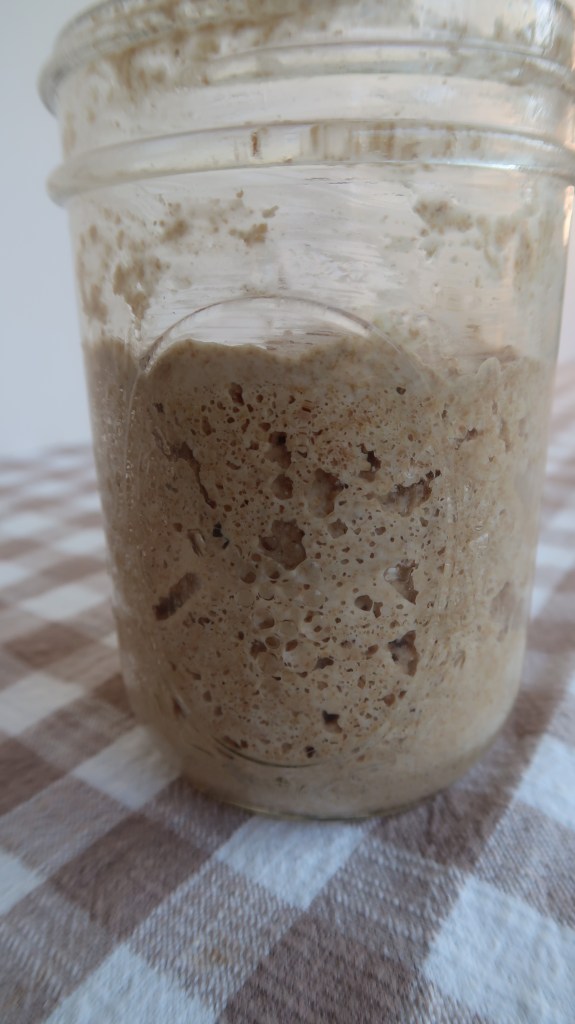
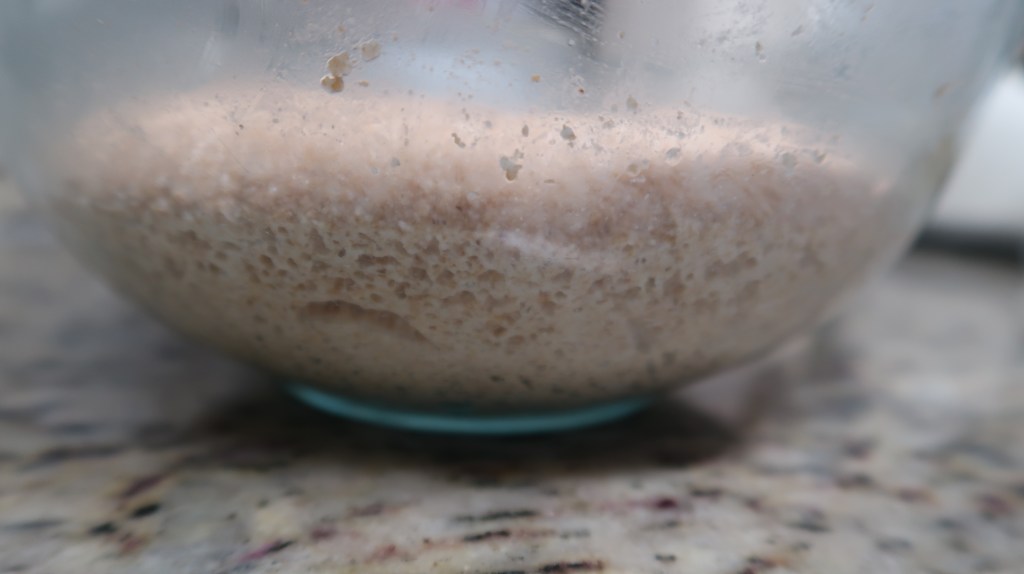
Step 1: Make Your Levain
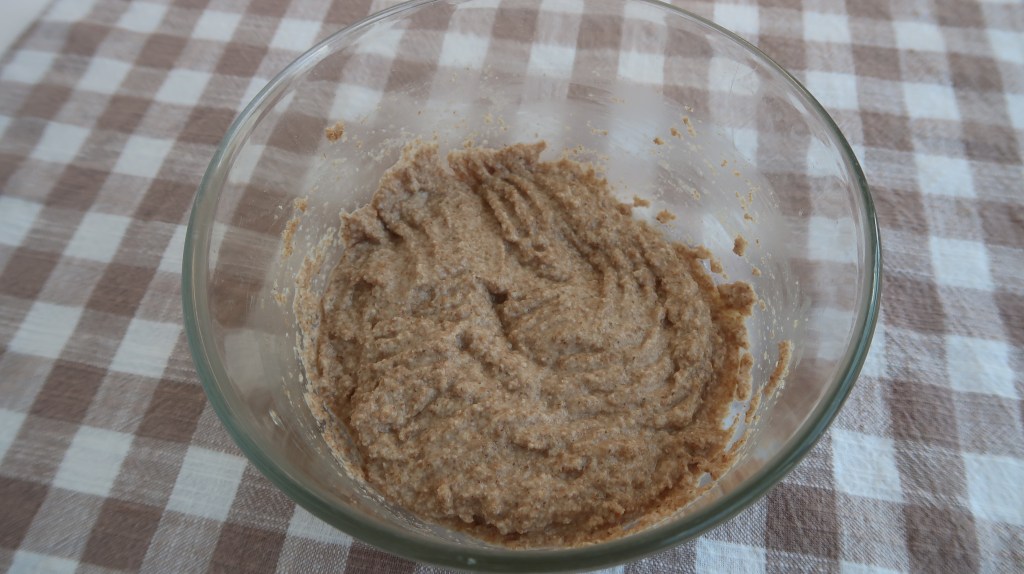
To make your levain, start earlier in the day. Beginning 4-6 hours before you plan to make your dough is best.
Mix 20 g of starter, 50 g of flour, and 50 g of water. Cover and let rest to activate.
Alternatively, you can activate your starter ahead of time if it is higher in hydration. The levain used in this recipe is 120 g and is at 100% hydration.
Step 2: Mill Your Flour and Make the Dough
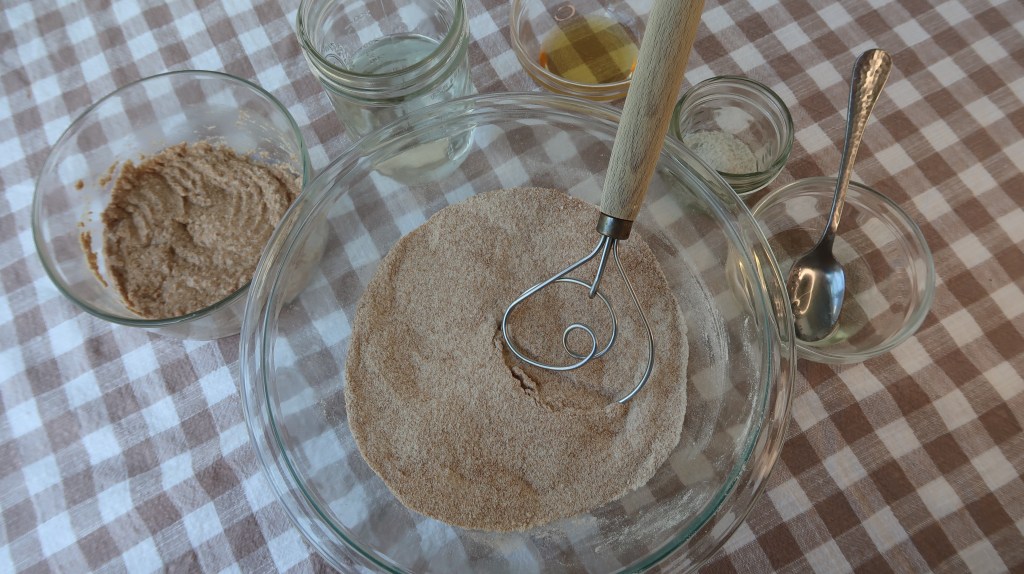
Mill your hard red or white wheat. My favorite wheat for this recipe is a hard red variety called Yecora Rojo.
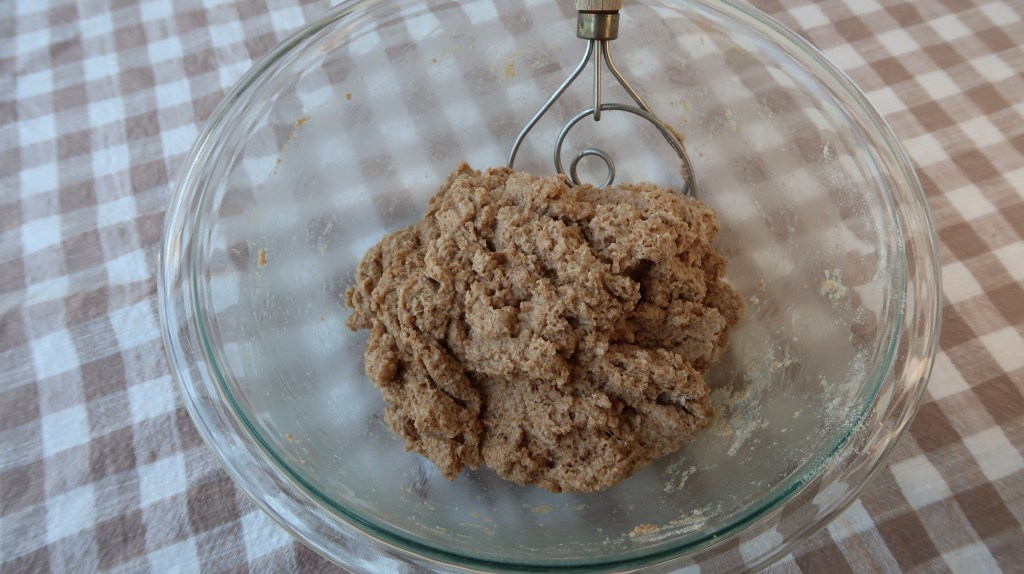
Now mix together your flour, water, levain, honey, coconut oil, and salt. When everything is well mixed, cover and let it rest for 15 minutes.
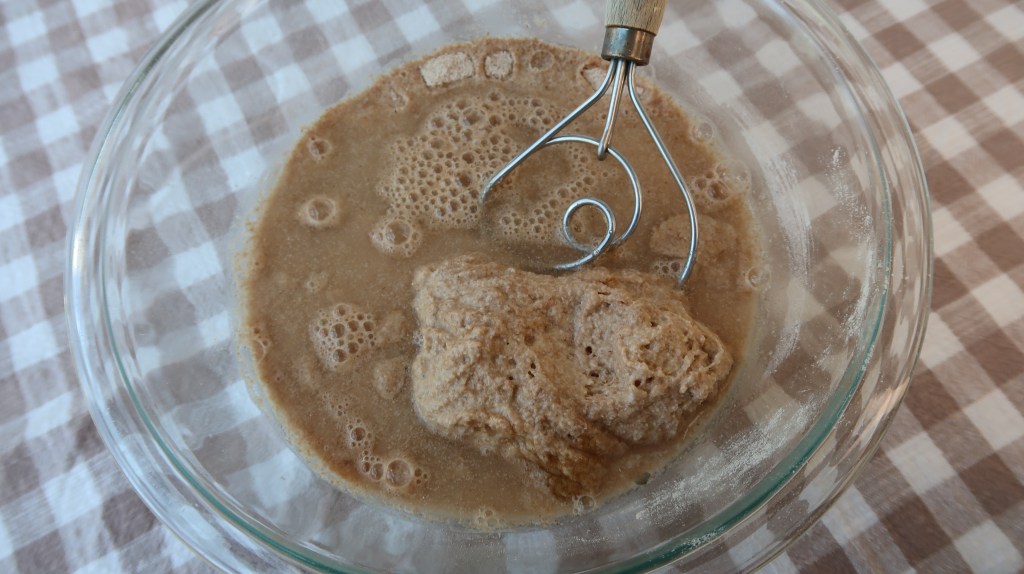
Step 3: Stretch and Fold and First Rise (Bulk)
After the 15-minute rest, perform 3 stretch-and-folds with 20-minute breaks in between each.
The first stretch-and-fold will tear easily. Do not be concerned, this is normal. Focus on pulling bits of the sides towards the center and form a ball. The next 2 rounds will come together much better.
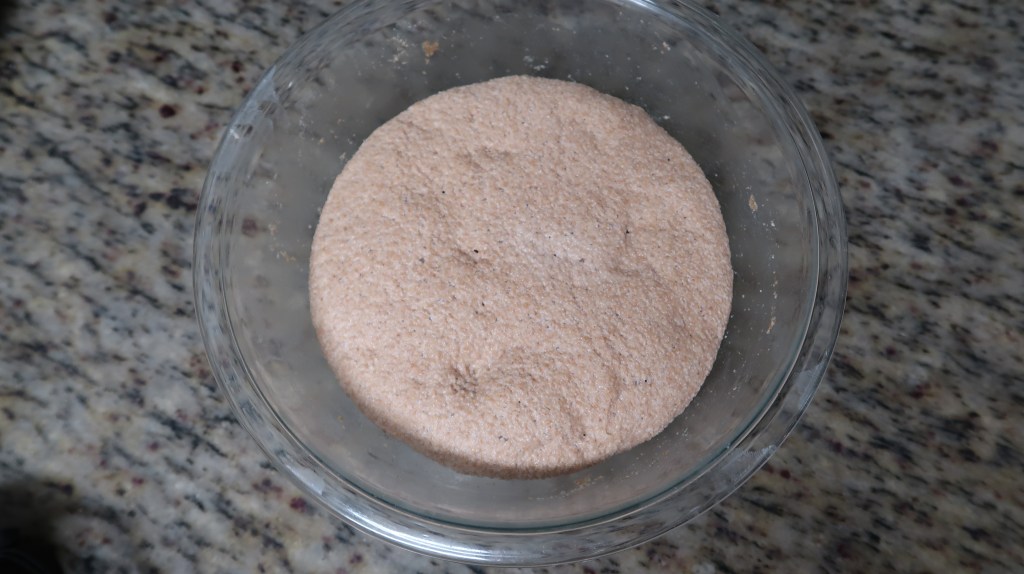
Cover your dough and let it bulk rise overnight.
Step 4: Second Rise (Shape)


Lightly grease your work surface with oil.
Place parchment paper on a baking sheet and lightly dust with cornmeal (if you are using it).
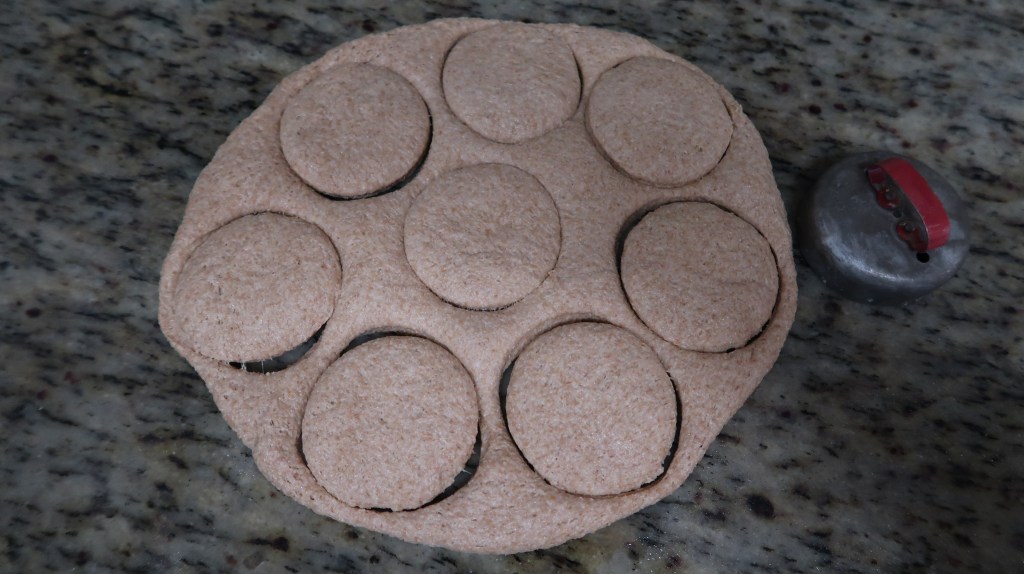
Gently place your dough onto the oiled surface and use the palm of your hands (or a rolling pin) to press the dough until it is about ¾” thick. Use a round cookie cutter to cut as many circles as you can. Be sure not to twist the cutter; rather, press down hard through the dough. This helps the muffin to rise well.
Place your cut English muffins onto your cornmeal-dusted baking sheet. If you have any dough left over, reform the dough to the right thickness and cut more. Once you are finished, grease plastic wrap and cover the dough. Let the muffins rise a second time until puffy. This time can vary greatly. At my house, which is 72°F, it takes about 1 hour.
Step 6: Cook the English Muffins


Preheat your cast iron or griddle to a medium-low temperature. Lightly dust the top of your muffins with cornmeal, if you are using it. Grease your pan with coconut oil.
Cooking the muffins is the trickiest part, and you may need to practice before you get perfect results. I find that cooking them at about 275℉ on my electric griddle for 8 minutes per side is just right. If you are using your stove with a heavy-bottomed pan, you may need less time.
When they are finished cooking, let them cool slightly. The best way to open an English muffin is to insert a fork into the side and gently pry it open.
Enjoy!
Fresh-Milled Sourdough English Muffins

Important: Use a kitchen scale for best results with fresh-milled flour. Gram measurements are the most accurate. Volume measurements are estimates provided only as a convenience.
For the Levain
- 20 g sourdough starter (about 1 tbsp)
- 50 g flour (about ⅓ cup)
- 50 g water (about 3 tbsp + 1 tsp)
For the Dough
- 310 g freshly milled hard red or hard white wheat flour (about 2½ cups)
- 210 g water (about ⅞ cup)
- 120 g levain (all of the levain)
- 20 g honey (about 1 tbsp)
- 20 g coconut oil, melted (about 1½ tbsp)
- 7 g salt (about 1¼ tsp)
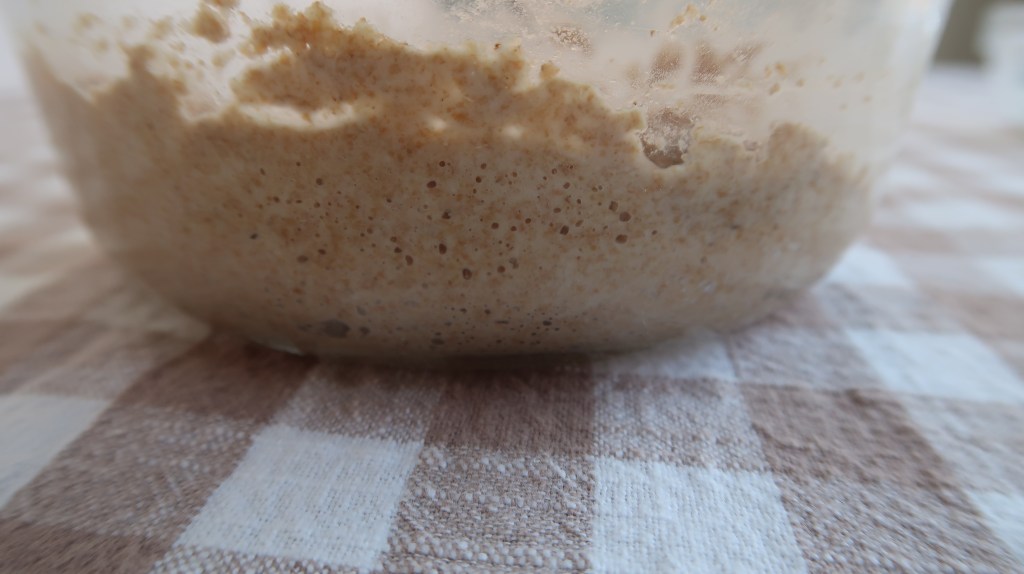
Step 1 – Build the Levain
4–6 hours before mixing the dough, combine the starter, flour, and water. Cover and allow the levain to become active and bubbly.
Step 2 – Mix the Dough
Mill your wheat. Combine the flour, water, levain, honey, coconut oil, and salt until fully incorporated. Cover and rest for 15 minutes.
Step 3 – Stretch and Fold
Perform 3 sets of stretch and folds with 20 minutes between each set.
Step 4 – Bulk Rise
Cover the dough and allow it to rise overnight at room temperature.
Step 5 – Shape and Proof
Lightly oil your work surface. Press the dough to about ¾-inch thick and cut with a round cutter. Place on a parchment-lined baking sheet dusted with cornmeal if desired. Cover and rise until noticeably puffy, about 1 hour.
Step 6 – Cook
If desired, lightly sprinkle the tops of your muffins with cornmeal. Heat a lightly greased cast iron skillet or griddle over medium-low heat. Cook the muffins about 8 minutes per side, or until golden brown and cooked through. On an electric griddle, 275°F works well.
Step 7 – Cool and Serve
Allow the English muffins to cool slightly. For the best texture and nooks and crannies, split them open with a fork rather than a knife.
Recipe Notes
Wheat Options: Hard red and hard white wheat both work well in this recipe. Yecora Rojo is a favorite for its exceptional flavor.
Cornmeal: Cornmeal is optional but helps create the classic English muffin appearance and prevents sticking during proofing.
Proofing Time: Rise times will vary based on the strength of your starter and the temperature of your kitchen. Look for puffy dough rather than relying solely on the clock.
Tips for Success

- Mill your grains on a fine setting.
- Use stretch-and-folds to strengthen your dough.
- Let your dough rise overnight.
- Give your cut muffins plenty of time to get puffy before frying.
Storage Tips
English muffins store well on the counter for up to 3 days. I use this bread bag for storage, but a bread box like this one would work well, too.
This would be an excellent opportunity to fill your freezer for a busy morning! Double or even triple this batch. Cook your English muffins, let them cool completely, put them in a freezer-safe bag, and remove as much air as possible. Don’t forget to label them along with the date. It is best to eat them within 3 months. If you want to pre-slice them before you freeze them, that would be a fine idea. Use a fork to open them in half rather than a knife.
FAQ
Can I use hard white wheat instead of hard red wheat for these sourdough English muffins?
Absolutely. You may find you need slightly less water, but try the recipe as is first.
Can I use an active sourdough starter rather than a levain?
Either works fine! I use a stiff sourdough starter, which means I always make a levain. Use your regular sourdough starter if desired, and be prepared to adjust your water or flour slightly. The levain is at 100% hydration.
How do I know when my English muffins are fully cooked?
This is the trickiest part of the recipe. I recommend cooking at a lower temperature to give them plenty of time to cook through. I would set a timer for each side and gauge it by how golden the sides are and whether they have puffed up well. I typically open one English muffin to see if it is done; that way, I can easily determine whether I need to cook the rest longer.
Can I freeze fresh-milled sourdough English muffins?
Absolutely! Check out my storage tips section for more details.

Sourdough English Muffins made with fresh-milled flour are one of the easiest yet most delicious breakfasts I make each week. I hope this gives you the confidence to try them at home!
What’s your favorite way to serve a sourdough English muffin made with freshly milled flour?
Blessings,
Payton


Leave a comment