
This post may contain affiliate links. See our disclosure policy.
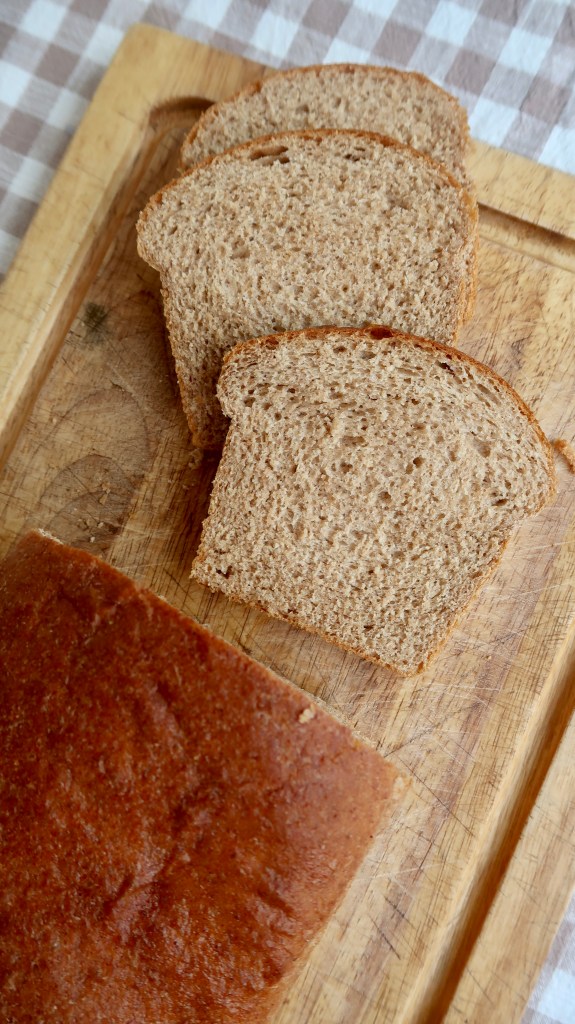
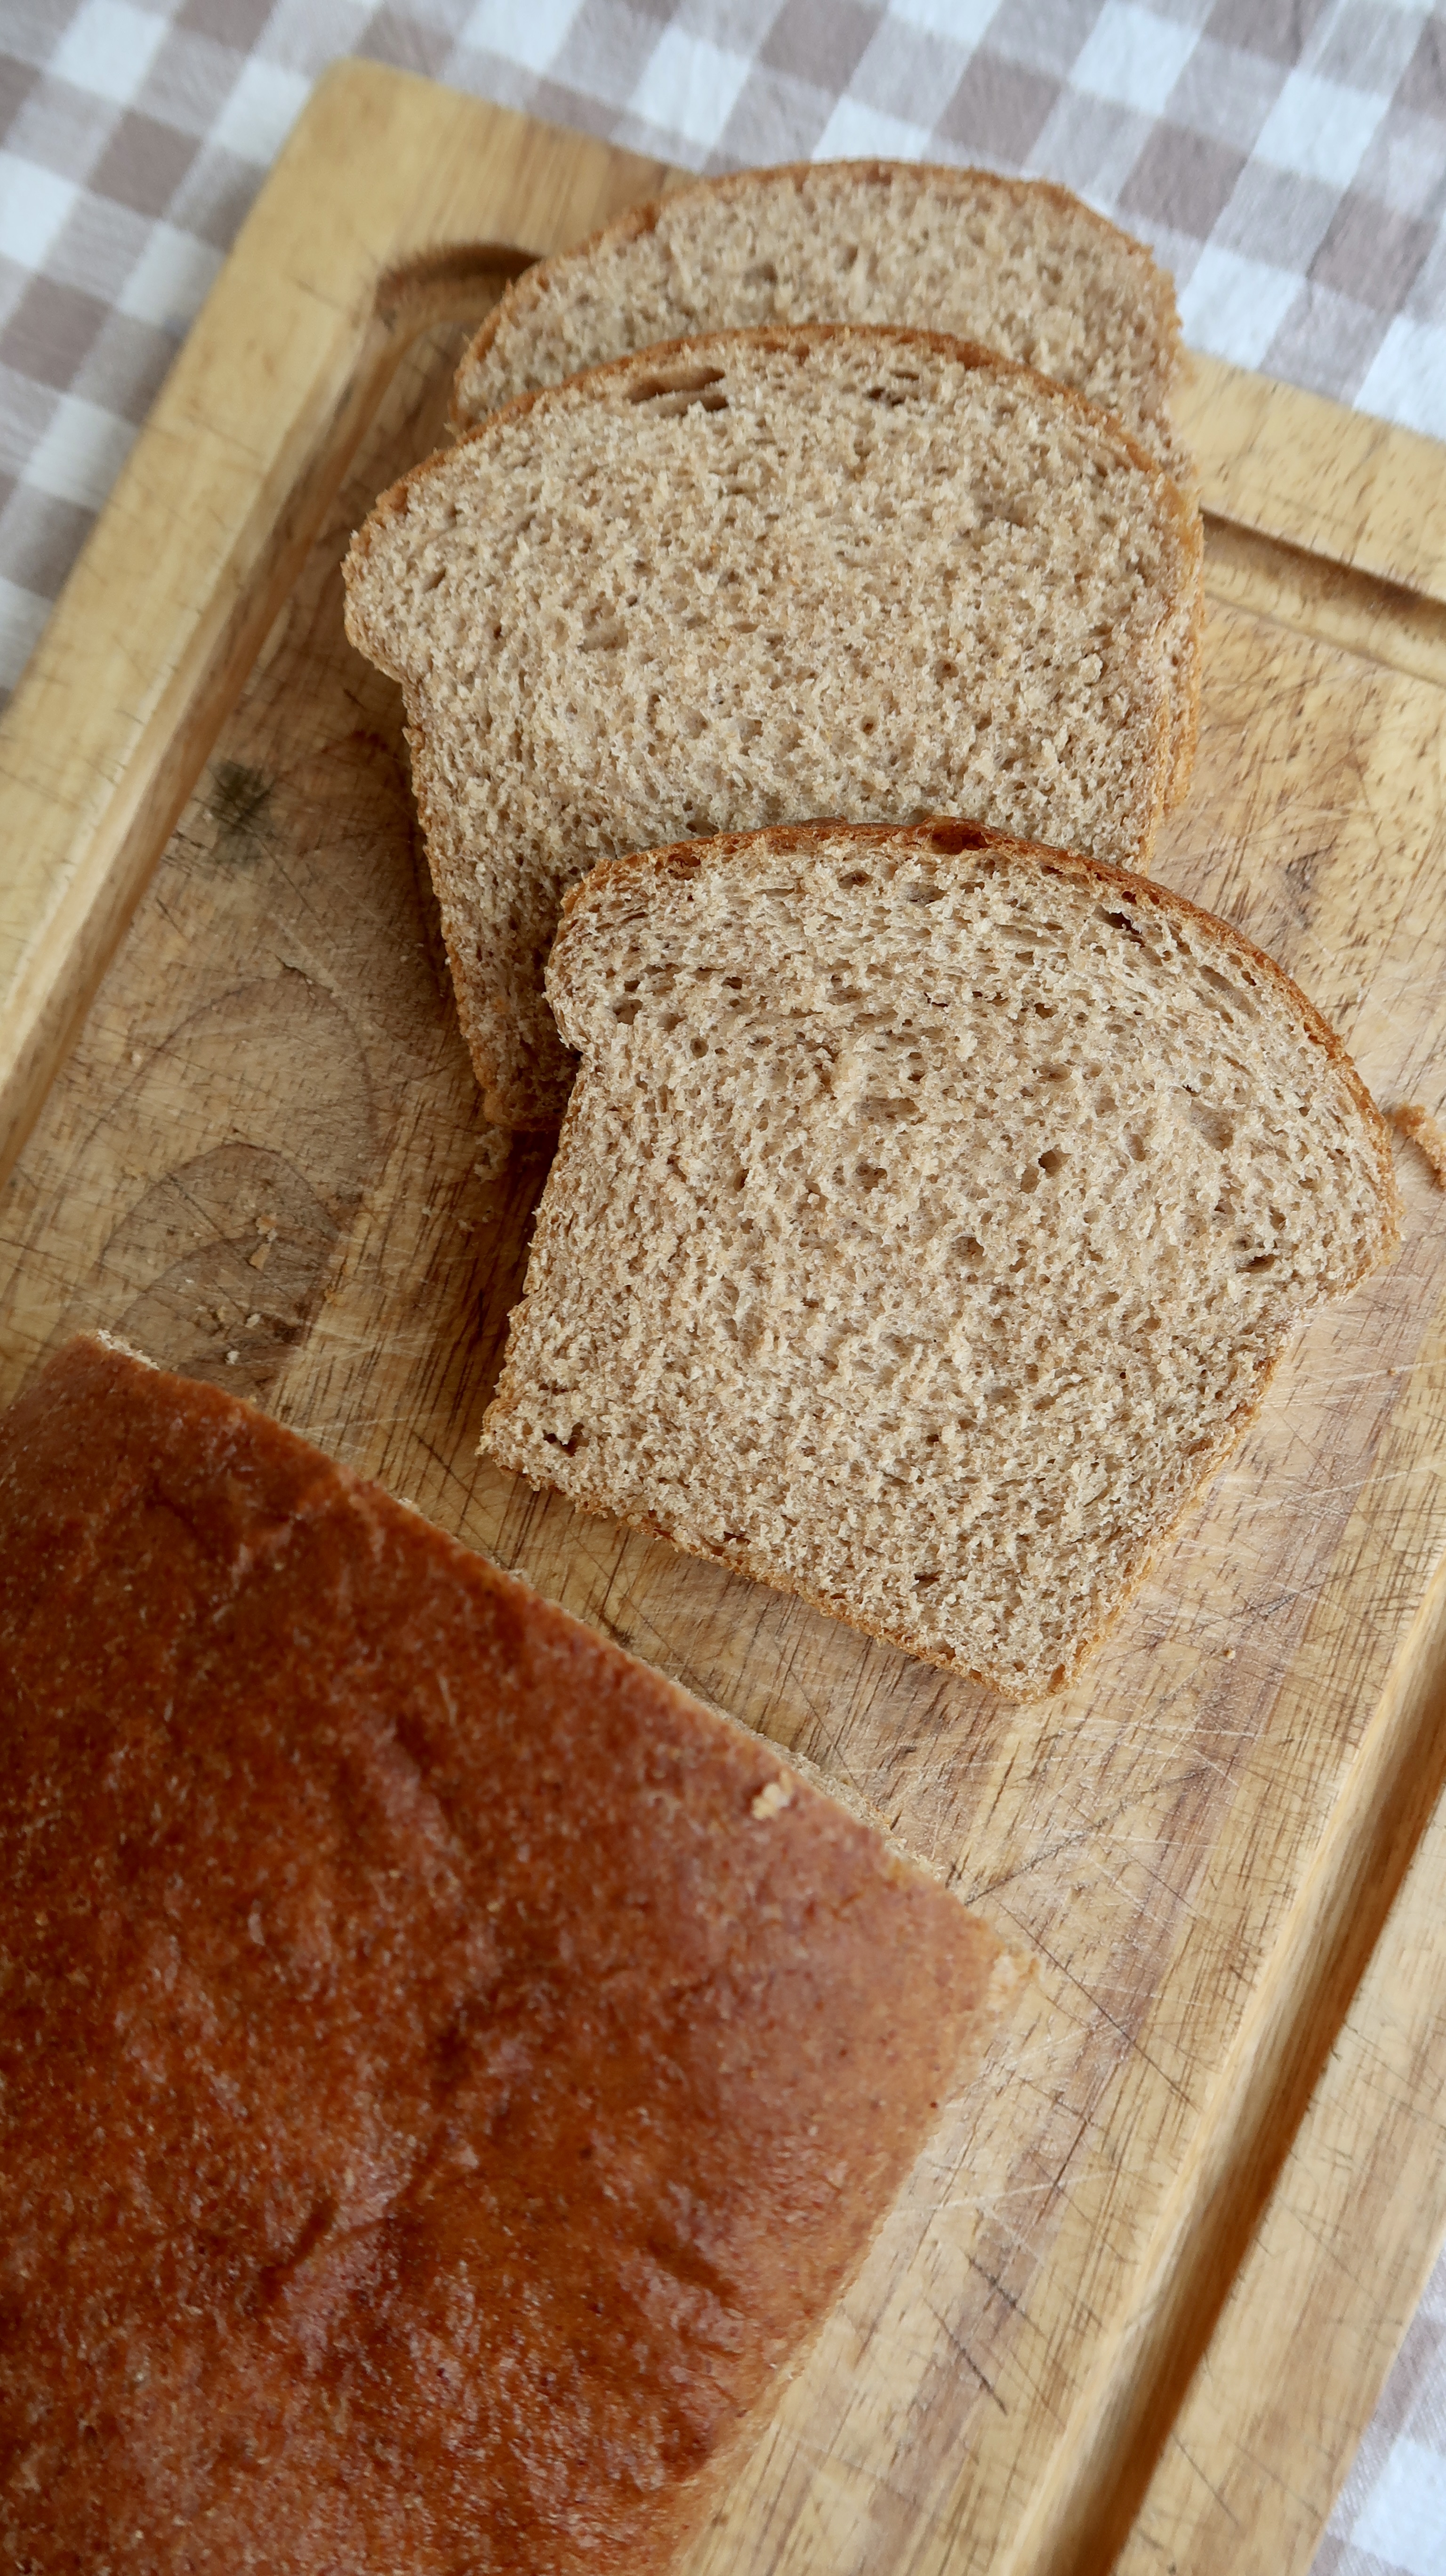
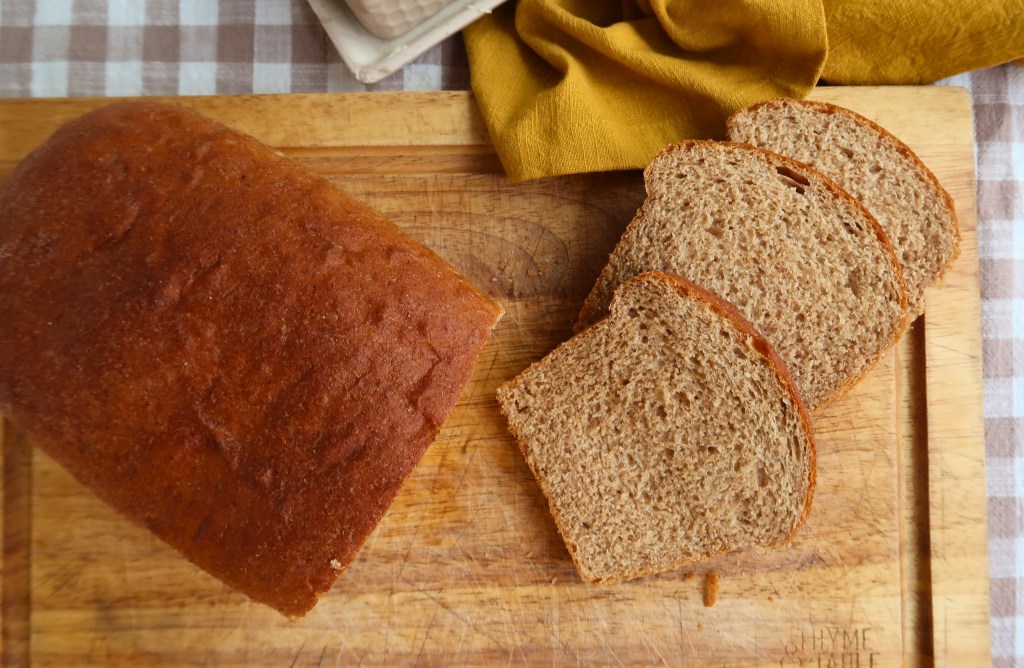
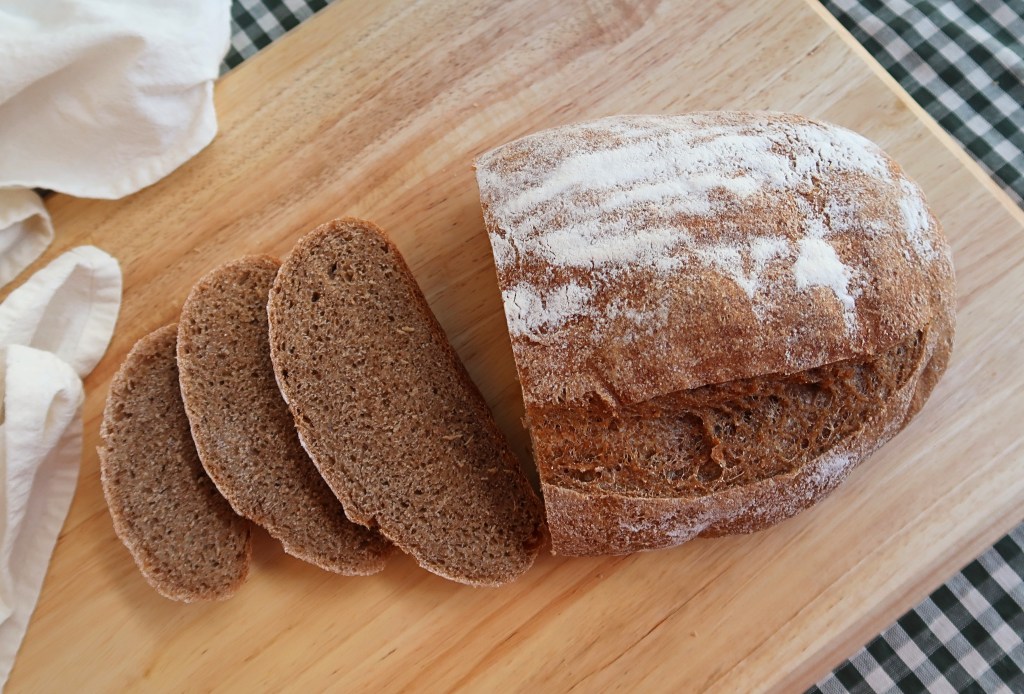
My Honey Wheat Sandwich Bread, made with freshly milled flour, pays homage to the traditional honey wheat loaf found in any grocery store. It offers excellent flavor, a soft interior, and enough sturdiness for perfect slices. Plus, the freshly milled flour brings vast nutritional benefits, while the honey adds a subtle sweetness—ideal for everyday sandwiches.
Why Bake with Freshly Milled Flour?
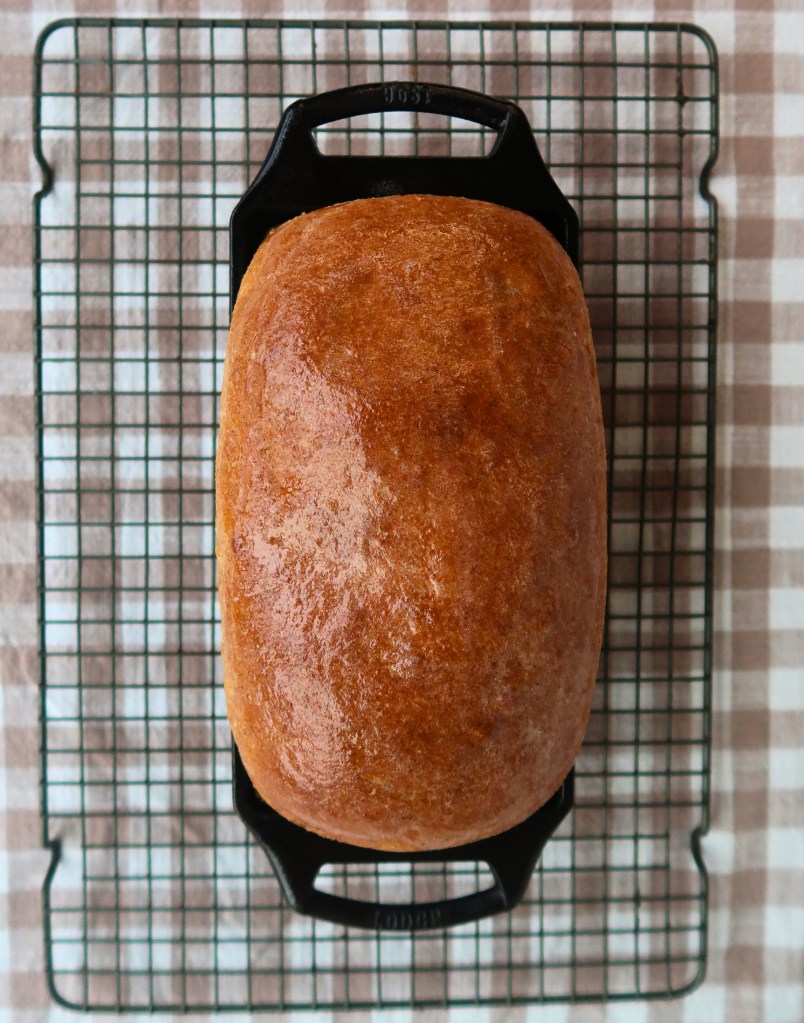
Simply put, it is much more nutrient-rich.
When wheat is milled, and the bran and germ are removed to create all-purpose flour, most of the fiber, vitamins, minerals, and healthy fats are lost. What remains is mostly starch and some protein. Because starch is rapidly broken down into glucose, baked goods made with white flour can cause a much sharper rise in blood sugar compared to whole-grain versions.
Below is a list of the nutrients in the humble wheat berry. It’s amazing!
✨ Nutrients in Fresh-Milled Whole Wheat Flour
Fresh-milled flour is rich in naturally occurring nutrients that are often lost in store-bought white flour. By milling your own grains at home, you retain the full spectrum of vitamins, minerals, and fiber—exactly as God designed it.
Macronutrients
- Protein
- Healthy Carbohydrates
- Dietary Fiber
- Natural Fats (small amounts)
Key Vitamins
- Thiamine (B1)
- Riboflavin (B2)
- Niacin (B3)
- Pantothenic Acid (B5)
- Pyridoxine (B6)
- Folate (B9)
- Vitamin E
Essential Minerals
- Iron
- Magnesium
- Phosphorus
- Potassium
- Calcium
- Zinc
- Selenium
- Copper
- Manganese
- Natural Sodium (very low)
Note: Nutrient content can vary depending on the wheat variety and freshness, but fresh-milled flour is always more nourishing than refined alternatives.
✨Check out my blog post here for a more thorough breakdown of the benefits of fresh-milled flours.
Now that we understand the benefits of freshly milled flour, let’s take a look at which wheat berries work best for baking a soft, dependable sandwich bread.
What Type of Wheat Berries Should I Use?
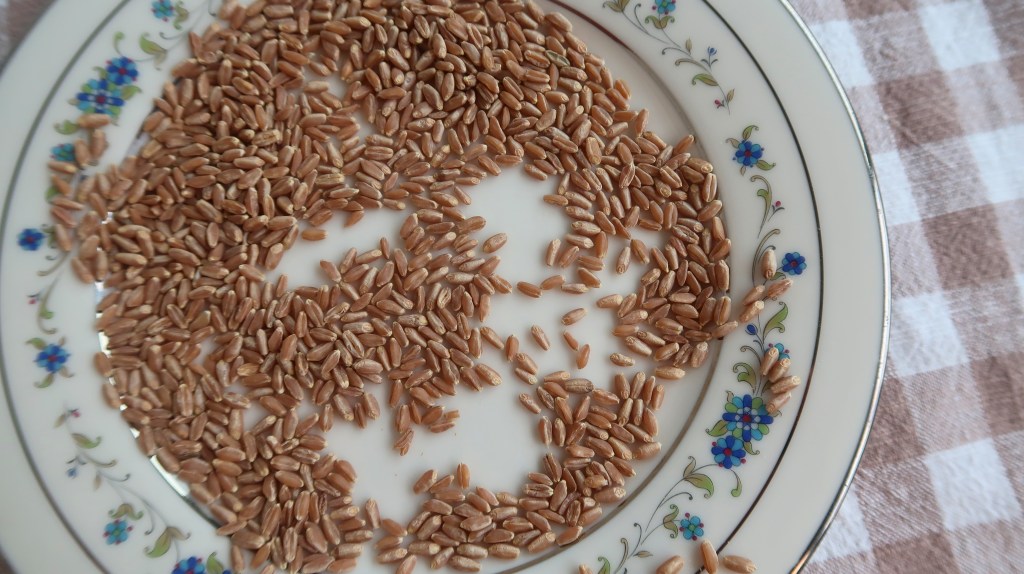
Different wheat berries contain varying amounts of protein, and two key proteins are essential for creating a strong gluten network: glutenin and gliadin.
- Glutenin – Gives dough strength and elasticity, helping bread hold its shape and rise.
- Gliadin – Makes dough stretchy and extensible, allowing it to expand during fermentation and baking.
When these two proteins work together, you get a strong, resilient gluten network that produces a perfect rise.
For yeasted breads, choose hard red or hard white wheat, which have enough protein to create soft, fluffy loaves.
I especially love using Yecora Rojo wheat berries in this recipe. They produce an incredibly soft crumb, rich flavor, and beautiful rise while still keeping the loaf tender enough for everyday sandwiches.
If using a lower-protein wheat variety, you may need slightly less liquid since weaker wheats absorb water differently and can struggle to hold the same structure in a tall sandwich loaf.
If you enjoy experimenting with ancient grains, feel free to mix them with your hard wheat. I would avoid using only ancient grains for this recipe. They need very particular handling.
✨Check out my blog post that gives more information on wheat berries and their uses.
Now that you’ve selected your wheat, let’s prepare the simple tools needed for success.
Tools You’ll Need
- Grain mill
- Stand mixer (optional, but helpful)
- Kitchen scale (preferred) or measuring cups and spoons
- Loaf pan (8.5″x4.5″)
Ingredients You’ll Need
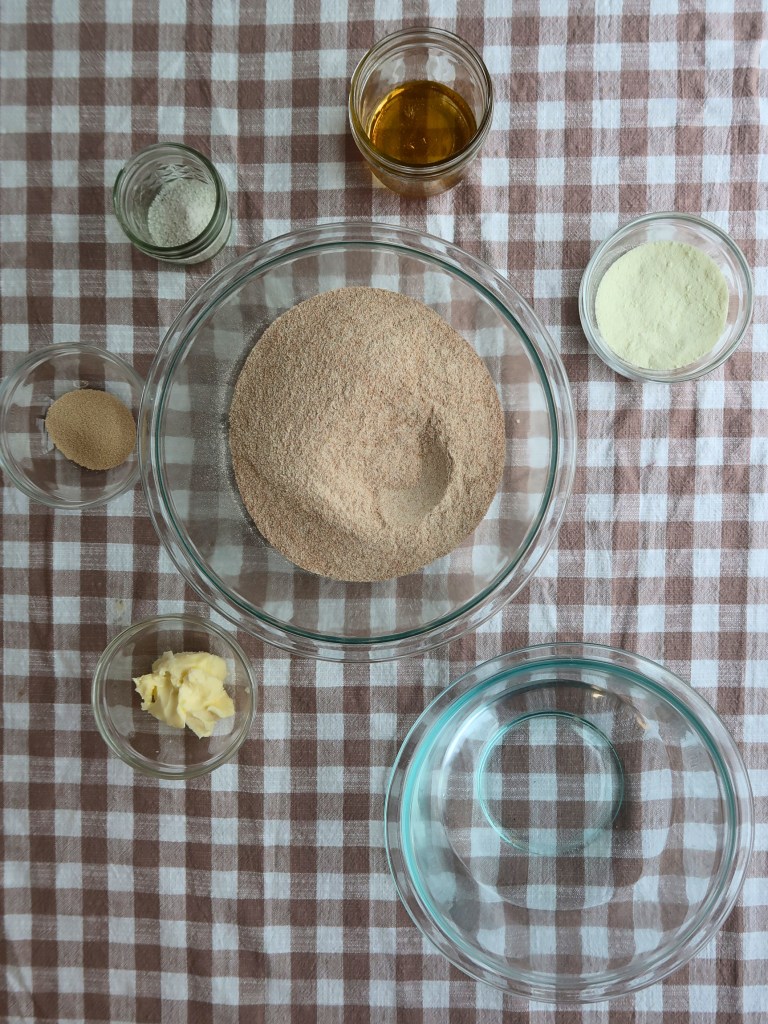
- Fresh-milled hard red wheat, hard white wheat, or a blend
- Water
- Powdered milk
- Honey
- Unsalted butter, room temperature
- Salt
- Instant yeast
Powdered Milk Note: I use powdered milk in many of my bread recipes because it is economical, shelf-stable, and easy to keep stocked in the pantry. If you prefer to use regular milk, you can generally replace the water with an equal amount of whole milk and omit the powdered milk. I develop and test my recipes using powdered milk, so the recipe below reflects that version.
Step-by-Step: How to Make Freshly Milled Honey Wheat Sandwich Bread
Step 1: Mill Your Flour
Mill your hard red or white wheat. My favorite wheat for this recipe is a hard red called Yecora Rojo.
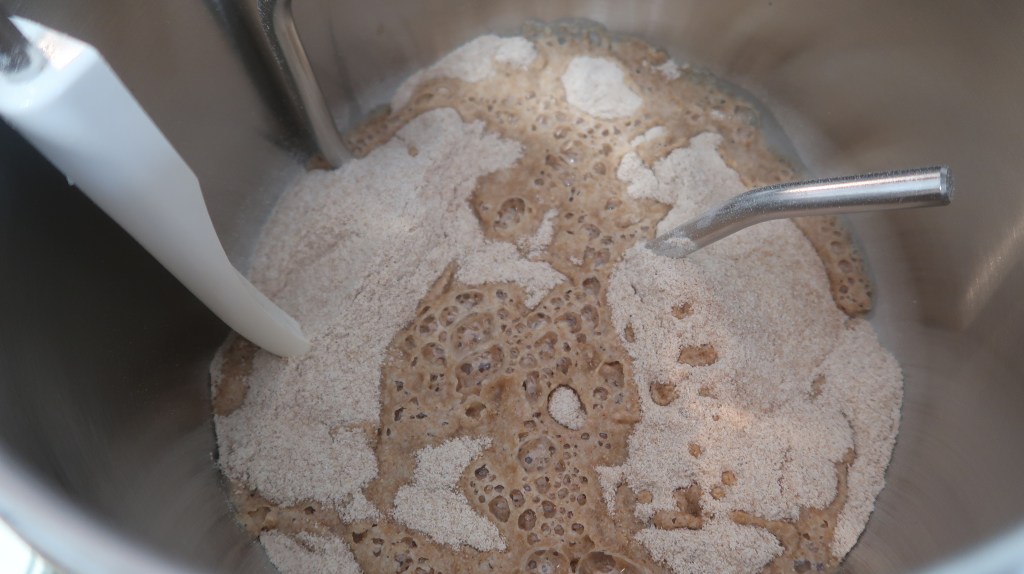
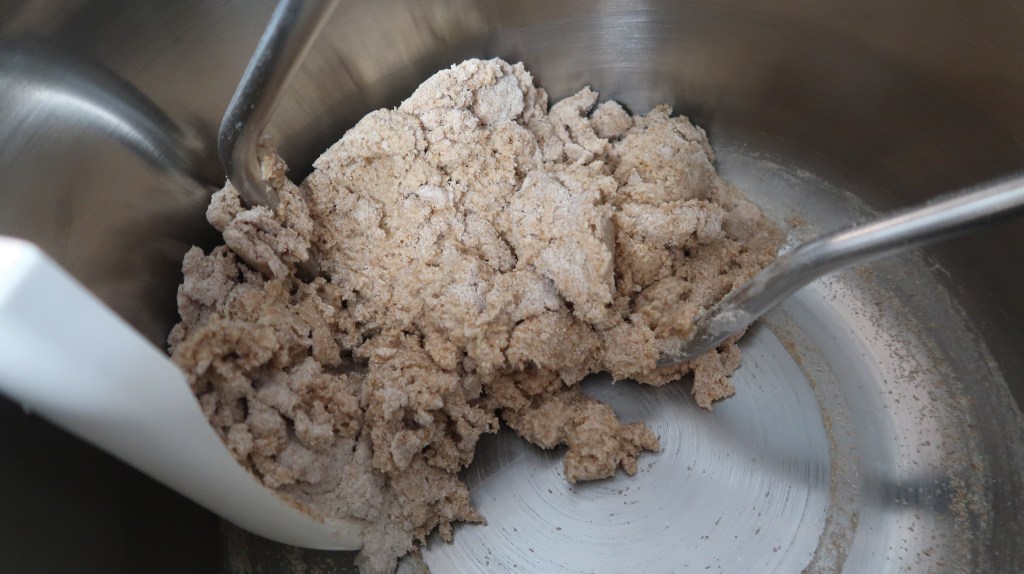
Mix your flour and water. Let the mixture sit (autolyse) for at least 30 min-1 hour, covered.
Step 2: Make the Dough
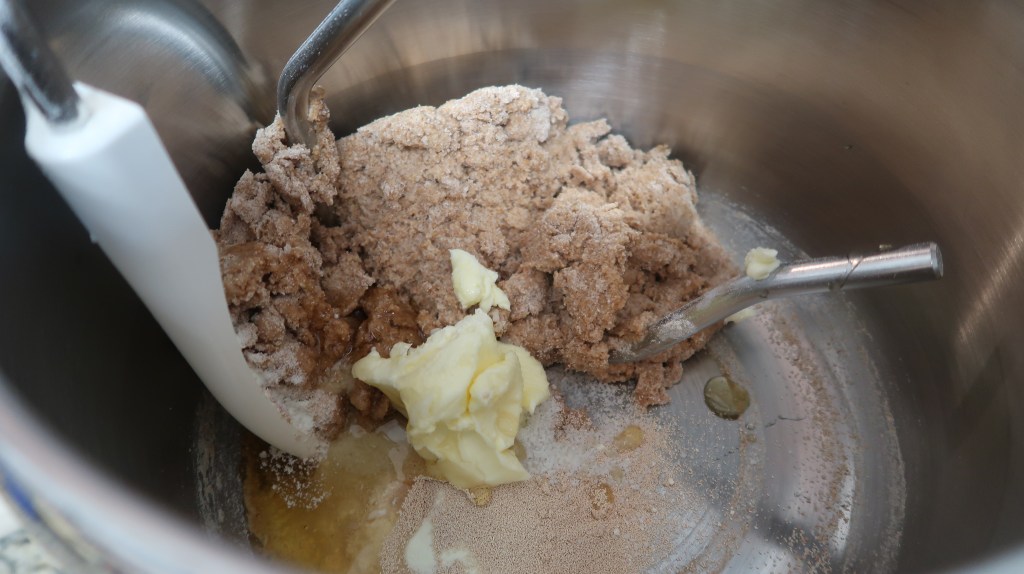
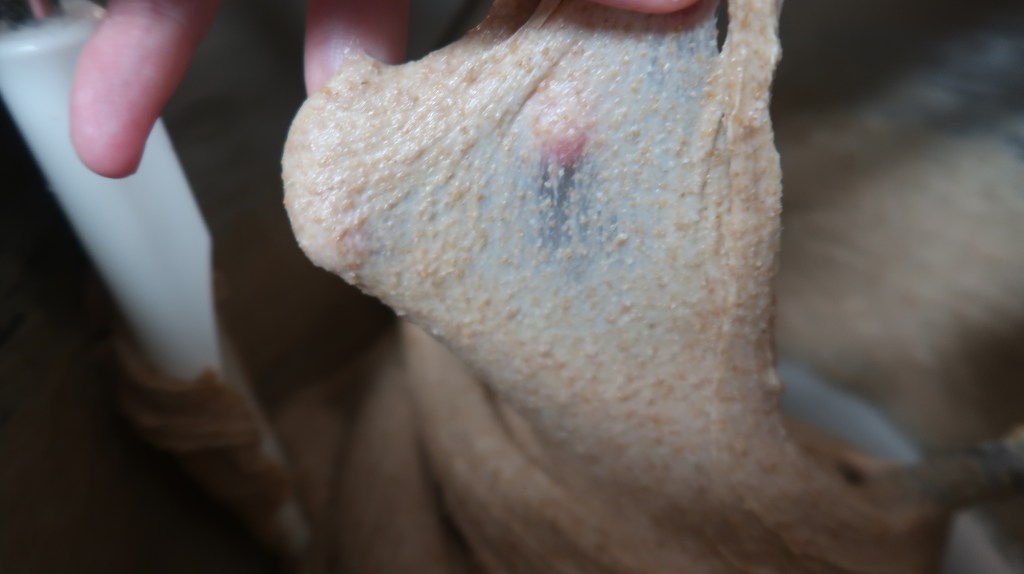
Now add your powdered milk, honey, unsalted butter, salt, and instant yeast. Knead until your dough does not instantly rip when stretched. A windowpane effect will give you the best results, but it is not entirely necessary.
Step 3: First Rise (Bulk)
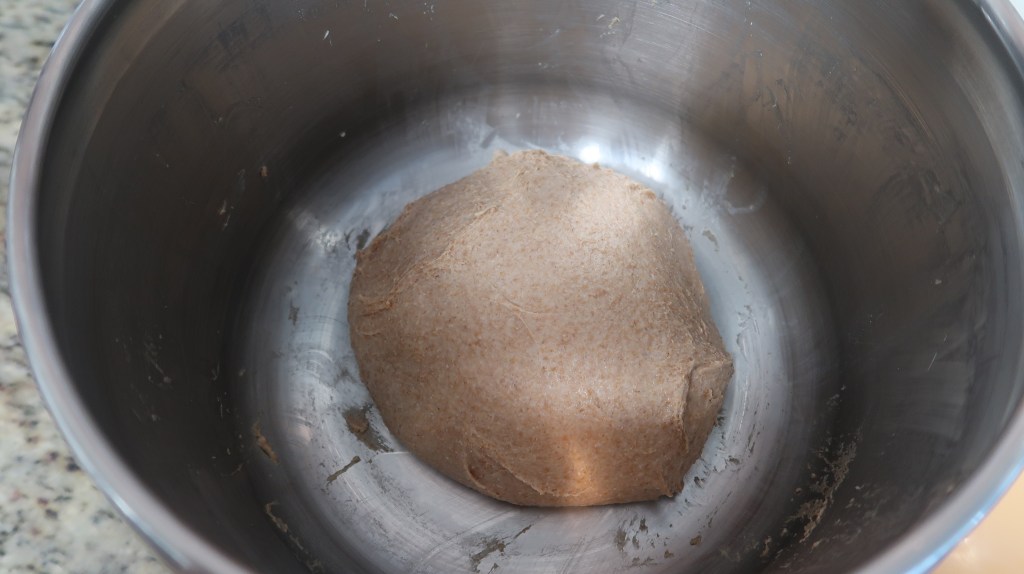
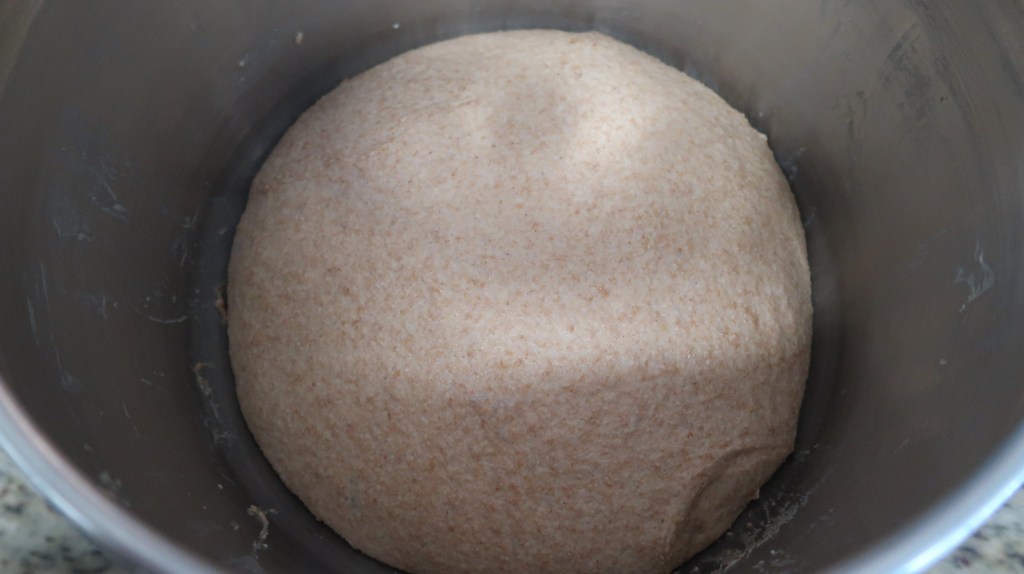
When you finish kneading, form your dough into a round and let it rise for 1-2 hours, covered, or until it is approximately doubled in size.
Step 4: Second Rise (Shape)
Preheat your oven to 350°F.
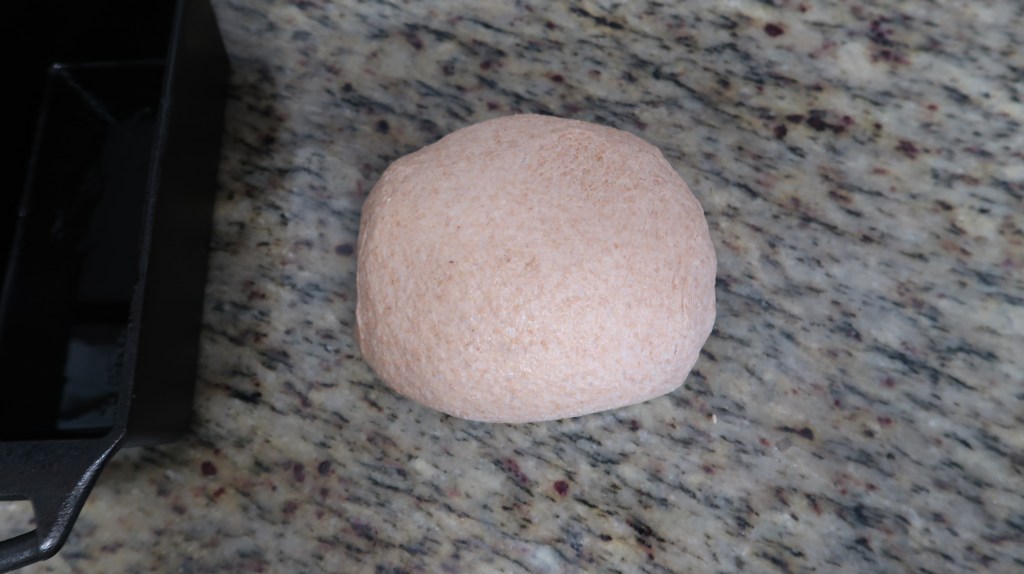
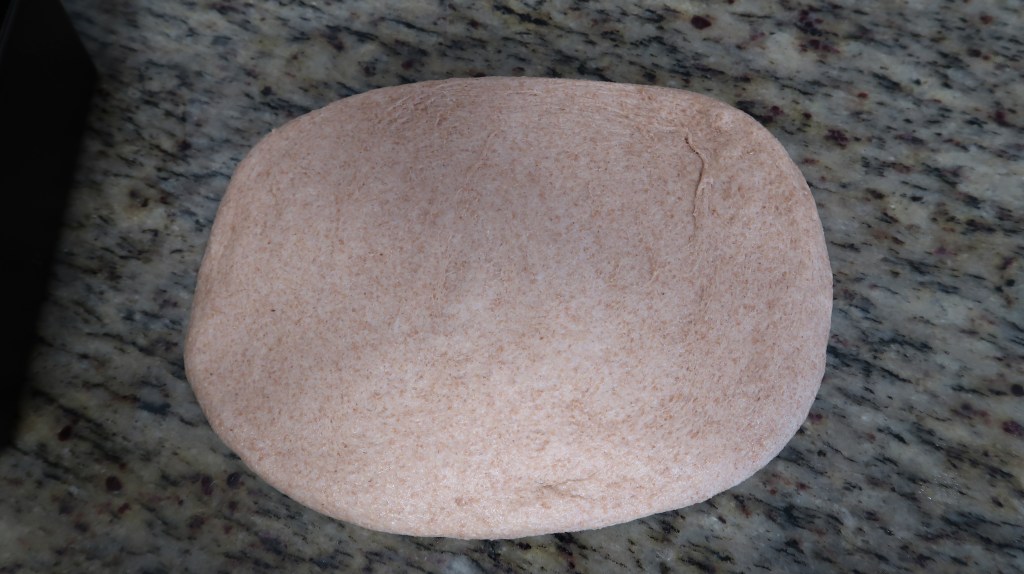
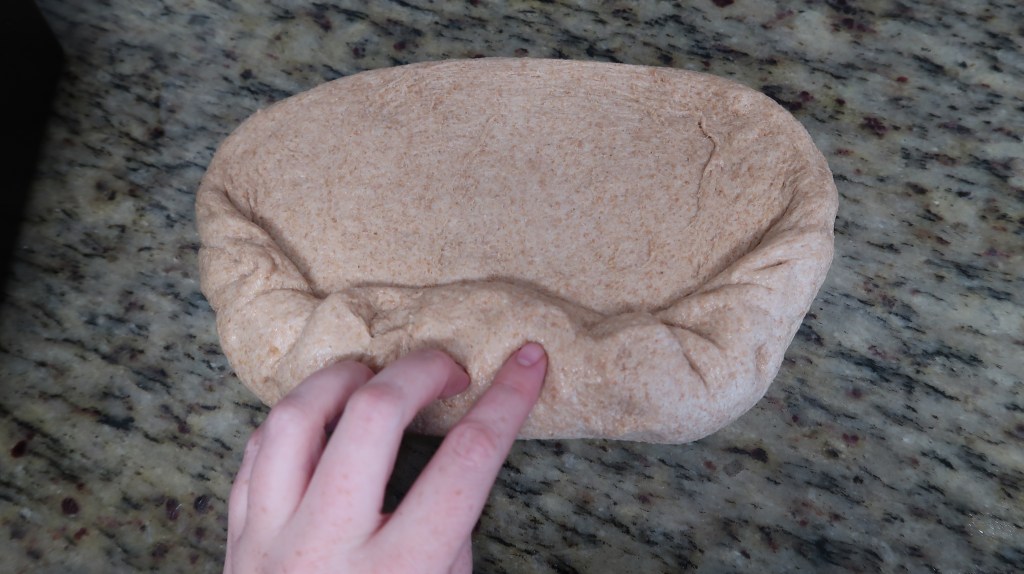
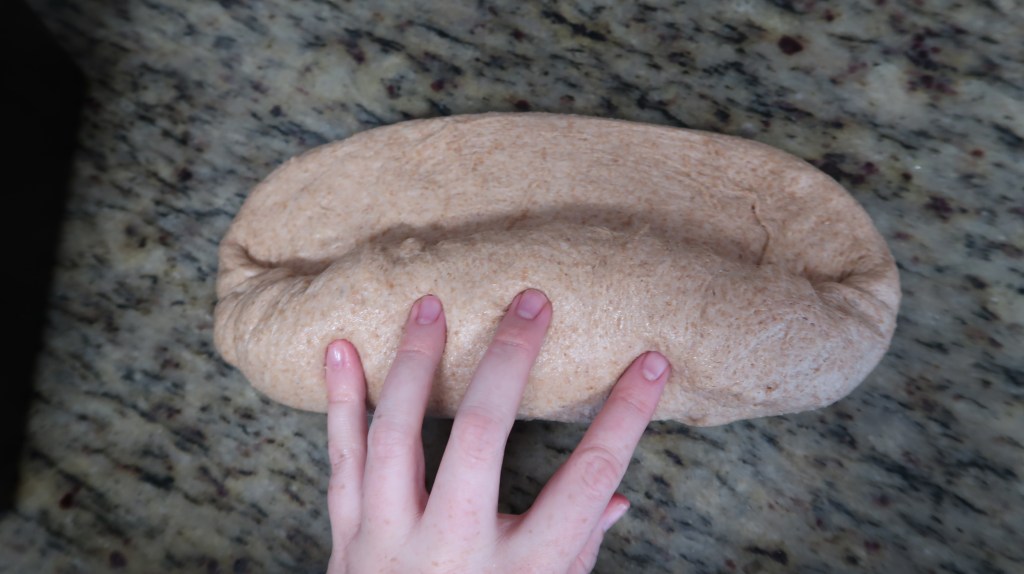
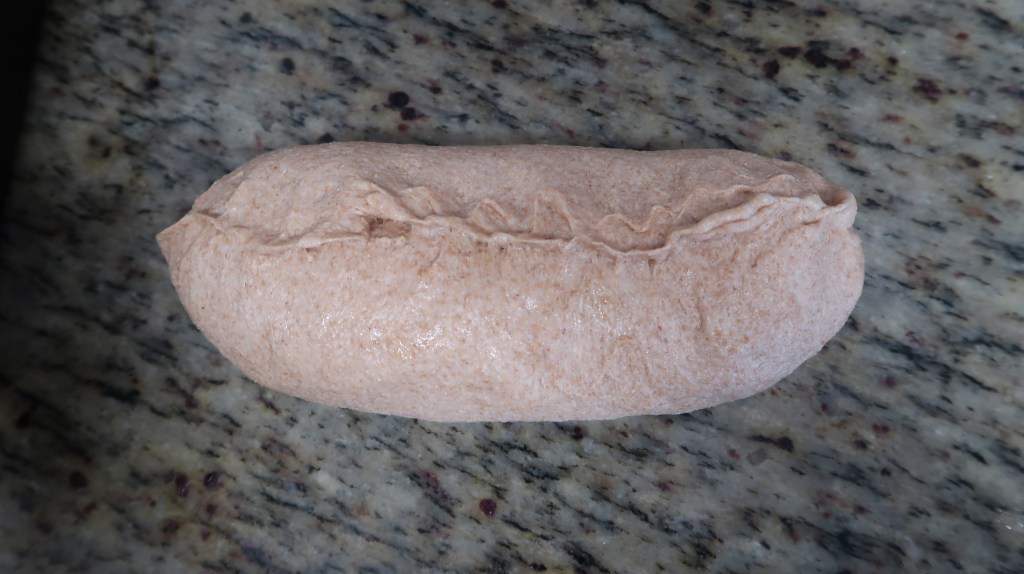
Grease an 8.5″x4.5″ loaf pan. Lightly oil your work surface and your hands. Pat the dough into a rectangular shape. Start with each short end by gently tucking and rolling the dough into a log. Move the dough onto an un-oiled portion of your counter. Use both hands to create tension in your loaf by dragging the dough log towards yourself a few times, or until you feel the seam underneath is sufficiently closed.
✨Please forgive the slightly awkward, one-handed motions…but the idea is to pull the shaped dough toward yourself (on an un-oiled countertop surface) to properly seal the dough and create tension.
Place the shaped dough in the oiled loaf pan.
Oil some plastic wrap and gently tent over the loaf.
Step 6: Bake and Cool
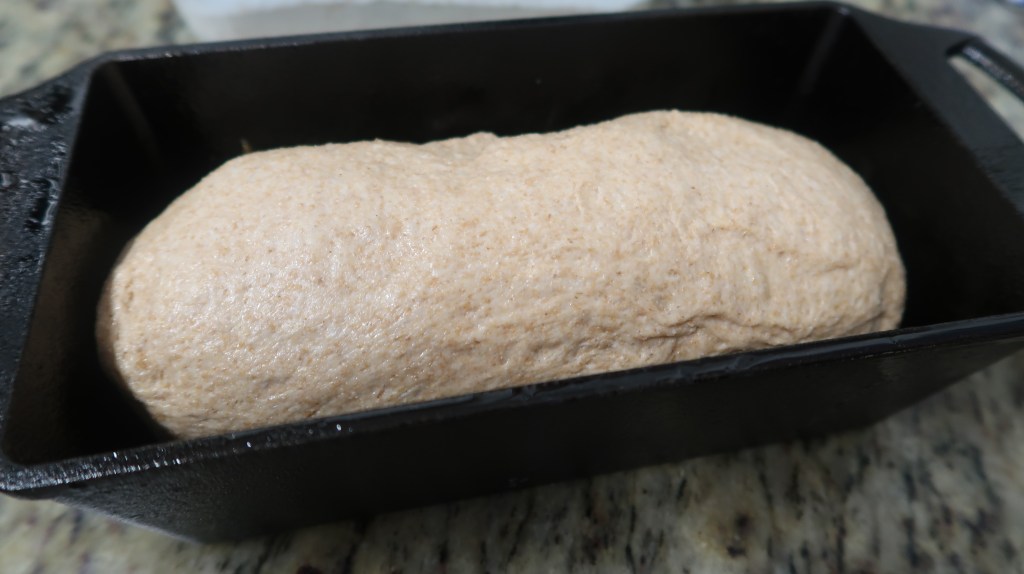
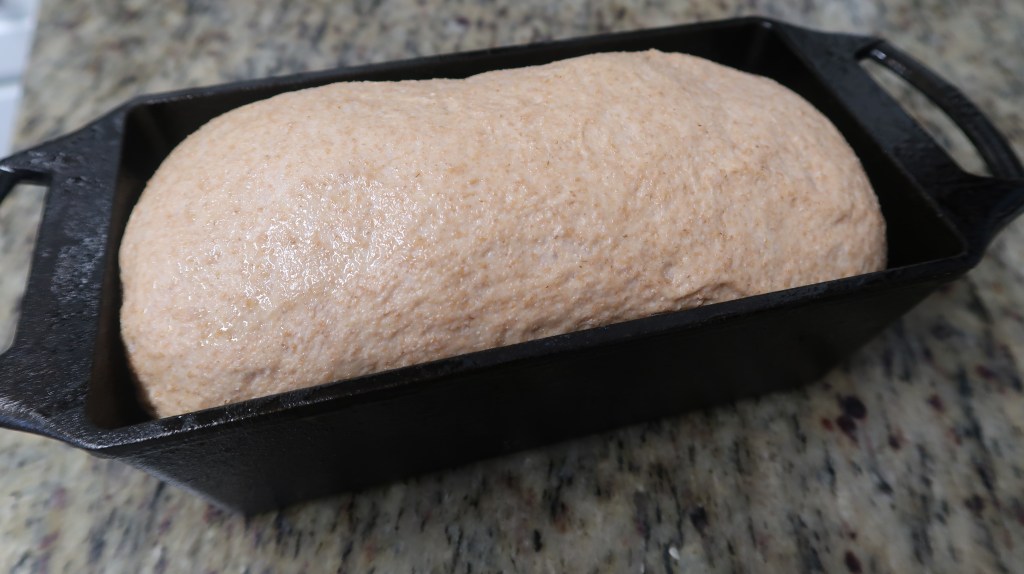
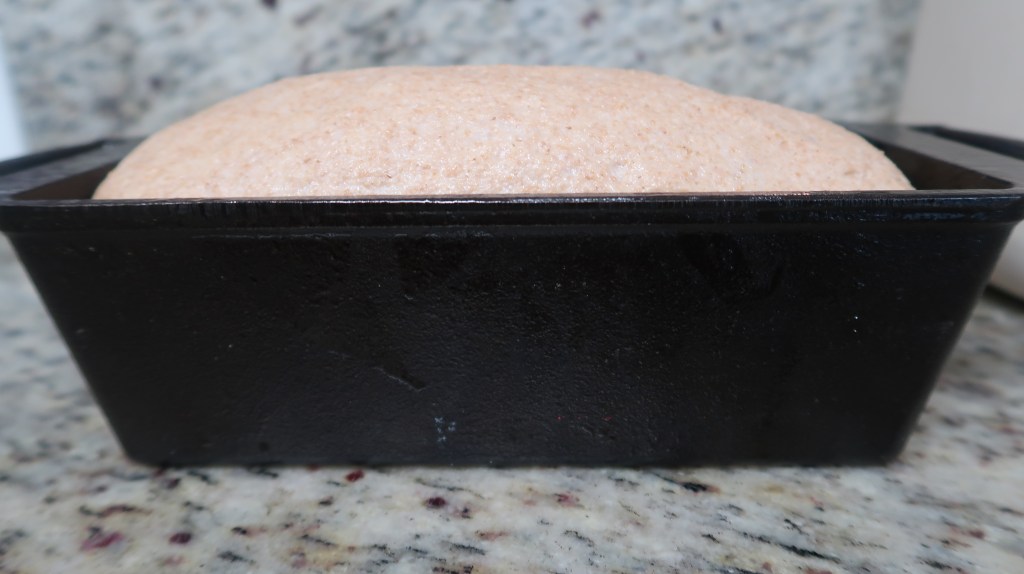
When the dough has crested the rim of the pan by 1/2″-1″, place in the oven and bake for 35 minutes.
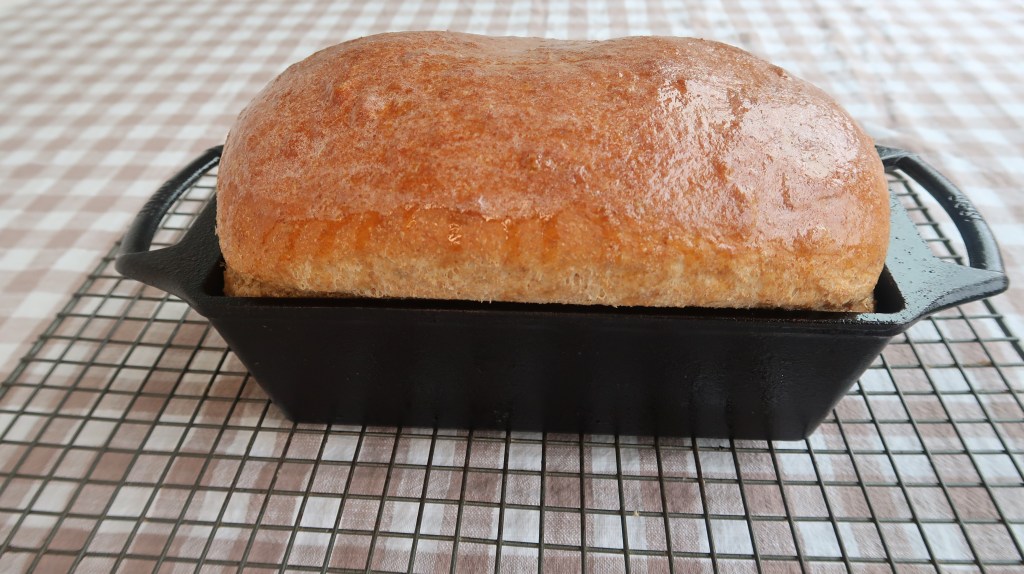
Remove the loaf from the oven, remove it from the pan, brush with butter, and cover with a tea towel. Let the dough completely cool.
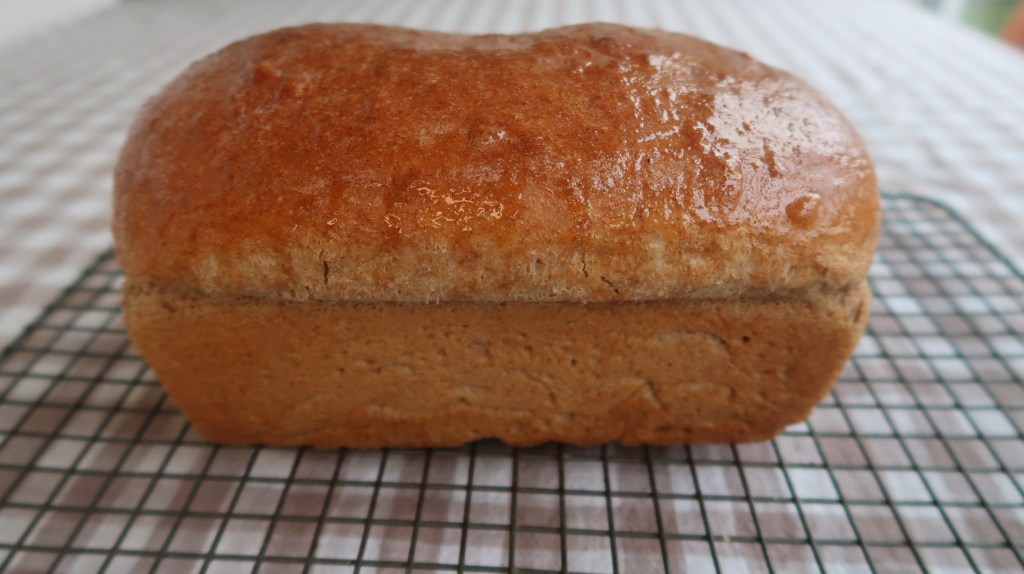
Enjoy!
Fresh-Milled Honey Wheat Sandwich Bread
Important: Use a kitchen scale for best results with fresh-milled flour. Gram measurements are most accurate. Volume estimates are provided only as a convenience.
Powdered Milk Tip: I use powdered milk in my bread recipes because it is economical, shelf-stable, and easy to keep stocked in the pantry. If you prefer, you can generally replace the water with an equal amount of whole milk and omit the powdered milk. This recipe was developed and tested using powdered milk.
Ingredients
- 425 g freshly milled hard wheat (about 3½ cups)
- 300 g water (about 1¼ cups)
- 68 g honey (about 3 tbsp)
- 32 g powdered milk (about ¼ cup)
- 8 g salt (about 1¼ tsp)
- 7 g instant yeast (about 2¼ tsp)
- 40 g unsalted butter, softened (about 3 tbsp)
Step 1 – Mill & Autolyse
Mill hard red or white wheat. Mix flour and water until combined. Cover and rest 30 minutes to 1 hour.
Step 2 – Make the Dough
Add honey, powdered milk, butter, salt, and yeast. Knead until smooth and elastic and the dough stretches without tearing easily.
Step 3 – First Rise
Shape dough into a ball. Cover and rise 1–2 hours, or until doubled.
Step 4 – Shape the Loaf
Preheat oven to 350°F. Grease an 8.5×4.5 loaf pan. Shape dough into a tight log and place seam-side down into the pan. Cover loosely with oiled plastic wrap.
Step 5 – Final Rise
Let dough rise until it crests ½–1 inch above the rim of the pan.
Step 6 – Bake & Cool
Bake 35 minutes at 350°F. Remove from the pan, brush with butter and cover with a tea towel while cooling.
Recipe Notes
Hard red wheat gives the loaf a deeper, heartier flavor, while hard white wheat creates a lighter and milder sandwich bread.
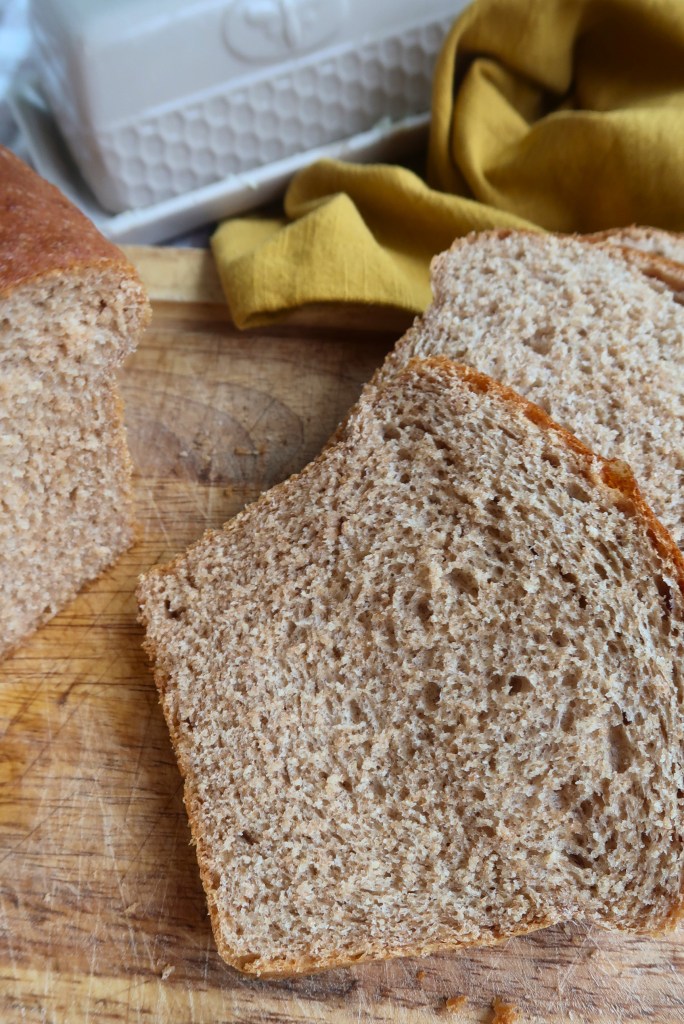
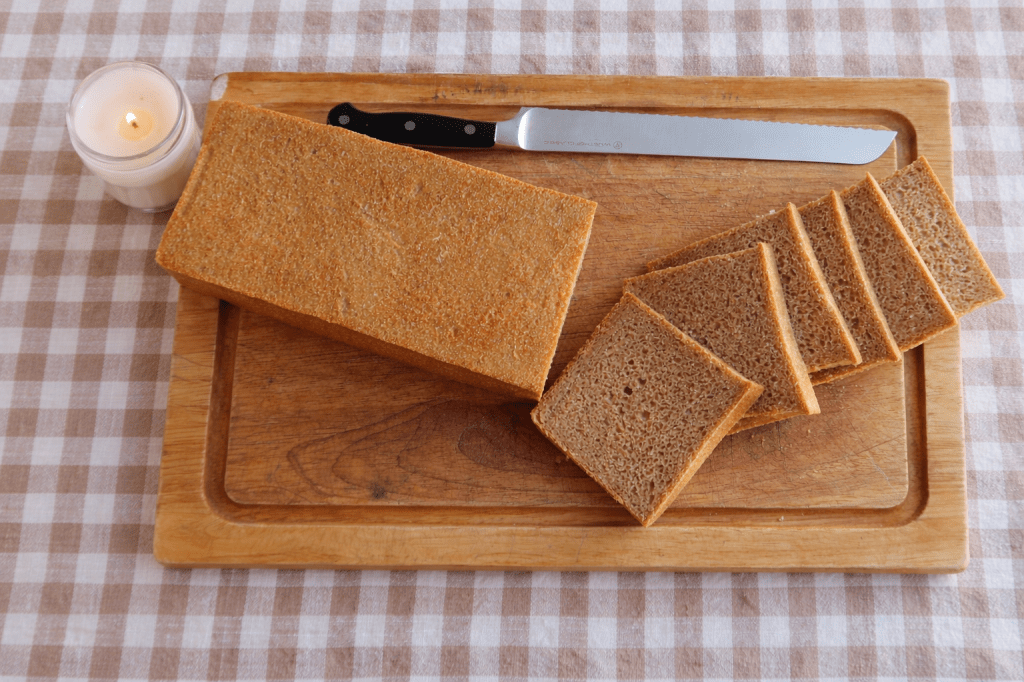
For best texture, allow the loaf to cool completely before slicing.
Tips for Success
- Use a kitchen scale: Get the most accurate ingredient amounts.
- Autolyse: Let your flour and water sit together, fully mixed, for at least an hour.
- Windowpane: After fully kneading your dough, you will know it is ready to proof by stretching your dough until it’s thin enough to see light through—this results in your best loaves.
- Proofing: Watch your loaf during both proofing stages. For the bulk rise, let the dough nearly double in size. For the shaped rise, aim for dough that’s 1/2″–1″ above the pan rim. You’ll learn over time how your dough should look for the best results.
- Butter and tea towel: After baking, brush the loaf with butter and cover it with a tea towel while it cools for the softest crust.
Storage Tips
This loaf will last well for up to 5 days. By day 5, if it hasn’t been eaten, I like to make French toast, bread crumbs, or croutons.
I use this bread bag, but a bread box like this one would work well, too.
I love to freeze sandwich bread! You will get your best results from freshly baked bread. Let the bread cool completely, slice it, wrap it in freezer paper, then in plastic wrap. Be sure to label it. I find that frozen bread lasts well up to 3 months.
FAQ
Can I make this honey wheat bread with store-bought whole wheat flour?
Absolutely! I would recommend slightly decreasing the water called for in the recipe.
What wheat berries work best for honey wheat sandwich bread?
My favorite wheat berry for this recipe is called Yecora Rojo. It is a hard red wheat with a high protein content, but any other hard wheat would work fine as well. You may want to use slightly less water for wheats with protein content below 13%.
Why is my freshly milled sandwich bread dense?
Dense bread can result from using too much flour, too little water, underproofing, or overbaking. I recommend following my gram measurements exactly. Check the Step-by-Step section above for my cues on proper dough proofing.
Can I freeze honey wheat sandwich bread?
Yes! This is a wonderful freezer prep loaf. Let your loaf cool, then slice, wrap in freezer paper, and wrap again in plastic wrap.
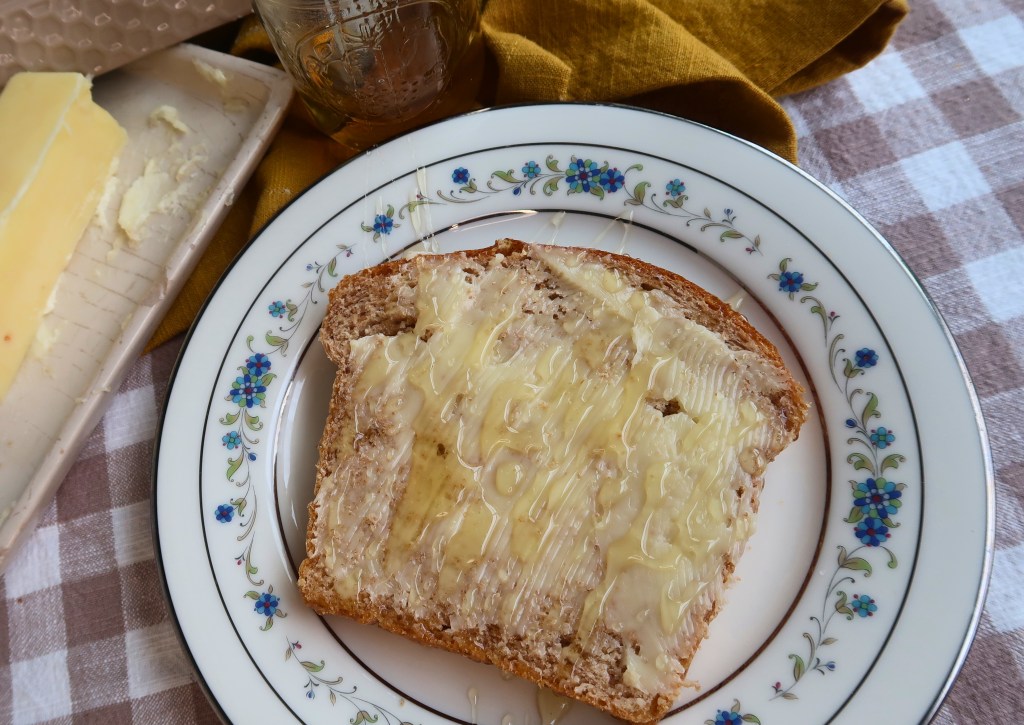
My Honey Wheat Sandwich Bread is full of all those nostalgic flavors without sacrificing nutrition. I hope this recipe gives you the confidence to bake something truly spectacular!
What’s your favorite way to enjoy honey wheat sandwich bread?
Blessings,
Payton



 thecontentedhearth.com
Leave a comment