
This post may contain affiliate links. See our disclosure policy.
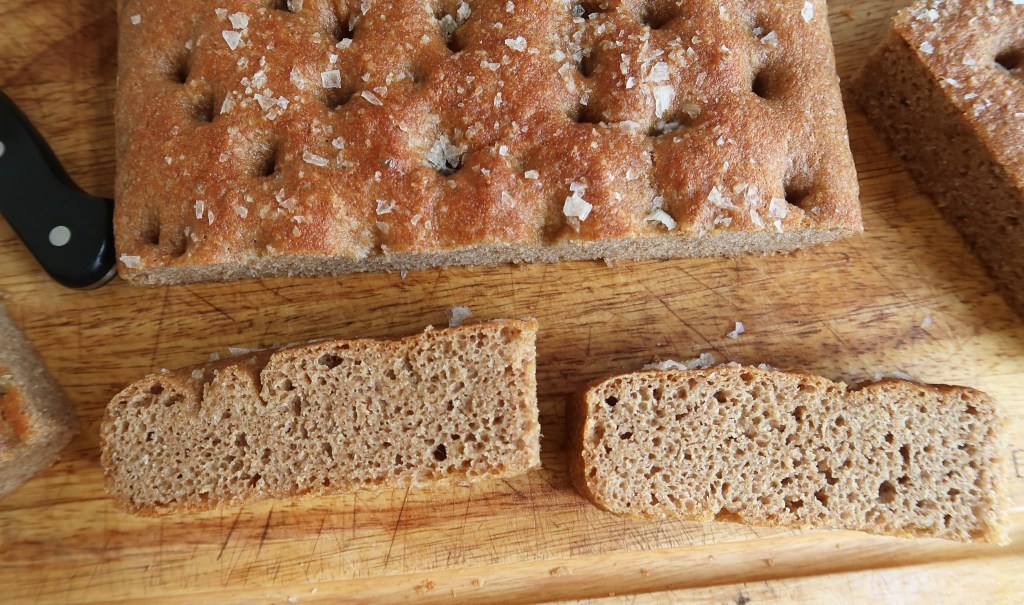
Focaccia is one of those classic breads that never disappoints. It’s simple, satisfying, and even more delicious when made with freshly milled flour.
Whether you are new to baking or a veteran, a quality focaccia is great to have in your family’s rotation. It comes together quickly, needs minimal dirty dishes, and can even be an entire meal depending on how you top it!
Learn to make the best-tasting freshly milled focaccia by following my simple steps below!
Why Bake with Freshly Milled Flour?
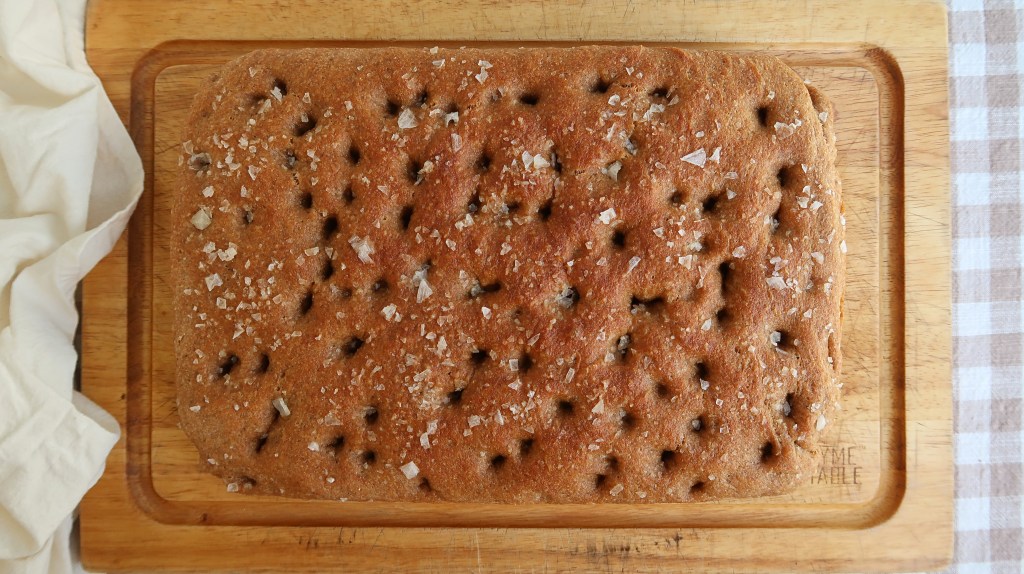
Simply put, it is much more nutrient-rich.
When wheat is milled and the bran and germ are removed to create all-purpose flour, most of the fiber, vitamins, minerals, and healthy fats are lost. What remains is mostly starch and some protein. Because starch is rapidly broken down into glucose, baked goods made with white flour can cause a much sharper rise in blood sugar compared to whole-grain versions.
Below is a list of the nutrients in the humble wheat berry. It’s amazing!
Nutrients in Fresh-Milled Whole Wheat Flour
Fresh-milled flour is rich in naturally occurring nutrients that are often lost in store-bought white flour. By milling your own grains at home, you retain the full spectrum of vitamins, minerals, and fiber—exactly as God designed it.
Macronutrients
- Protein
- Healthy Carbohydrates
- Dietary Fiber
- Natural Fats (small amounts)
Key Vitamins
- Thiamine (B1)
- Riboflavin (B2)
- Niacin (B3)
- Pantothenic Acid (B5)
- Pyridoxine (B6)
- Folate (B9)
- Vitamin E
Essential Minerals
- Iron
- Magnesium
- Phosphorus
- Potassium
- Calcium
- Zinc
- Selenium
- Copper
- Manganese
- Natural Sodium (very low)
Note: Nutrient content can vary depending on the wheat variety and freshness, but fresh-milled flour is always more nourishing than refined alternatives.
✨Check out my blog post here for a more thorough breakdown of the benefits of fresh-milled flours.
Now that we understand the benefits of freshly milled flour, let’s take a look at which wheat berries work best for a delicious focaccia bread.
What Type of Wheat Berries Should I Use?
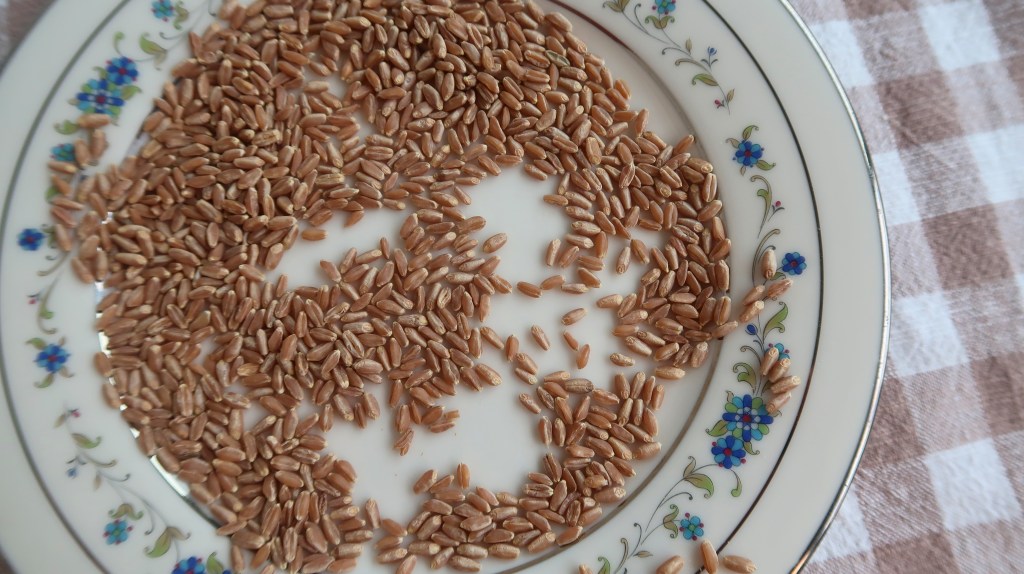
Different wheat berries contain varying amounts of protein, and two key proteins are essential for creating a strong gluten network: glutenin and gliadin.
- Glutenin – Gives dough strength and elasticity, helping bread hold its shape and rise.
- Gliadin – Makes dough stretchy and extensible, allowing it to expand during fermentation and baking.
When these two proteins work together, you get a strong, resilient gluten network that produces a perfect rise.
For yeasted breads, choose hard red or hard white wheat, which have enough protein to create a strong gluten network.
I especially love using Yecora Rojo wheat berries in this recipe. They produce a focaccia strong enough to handle a higher-hydration dough.
If you use a lower-protein wheat variety, you may need slightly less liquid, since weaker wheats absorb water differently and can struggle to hold the same structure.
If you enjoy experimenting with ancient grains, feel free to mix them with your hard wheat. I would avoid using only ancient grains for this recipe. They need very particular handling.
✨Check out my blog post that gives more information on wheat berries and their uses.
Now that you’ve selected your wheat, let’s prepare the simple tools needed for success.
Tools You’ll Need
- Grain mill
- Stand mixer or glass bowl and wooden spoon
- Kitchen scale (preferred) or measuring cups and spoons
- 9×13 aluminum baking dish or baking sheet
- Parchment paper
Pan Note: For the crispest bottom crust, use a metal 9×13-inch baking pan. Metal transfers heat more efficiently than glass or ceramic, helping the bottom of the focaccia develop a crisp, almost-fried texture. Glass or ceramic pans will work, but the bottom may be softer.
Ingredients You’ll Need
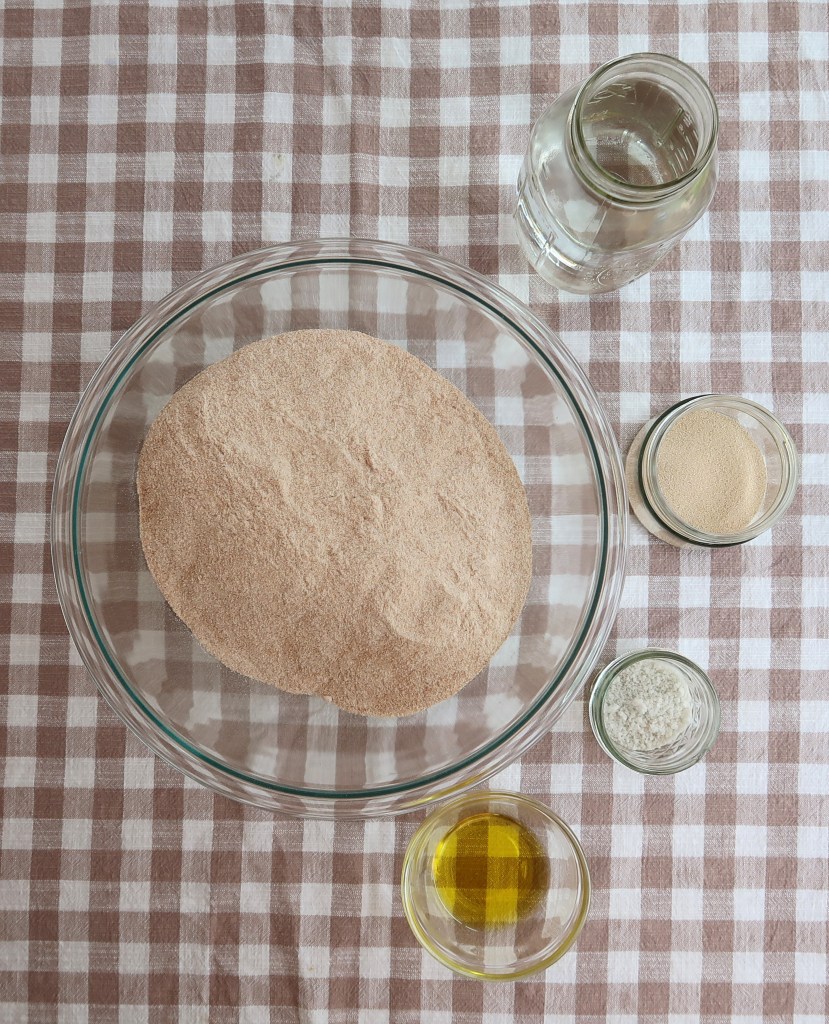
- Fresh-milled flour (I love a hard red called Yecora Rojo from Grand Teton)
- Water
- Olive oil
- Salt
- Instant yeast
Step-by-Step: How to Make Fresh-Milled Focaccia Bread
Step 1: Mill Your Grains and Autolyse
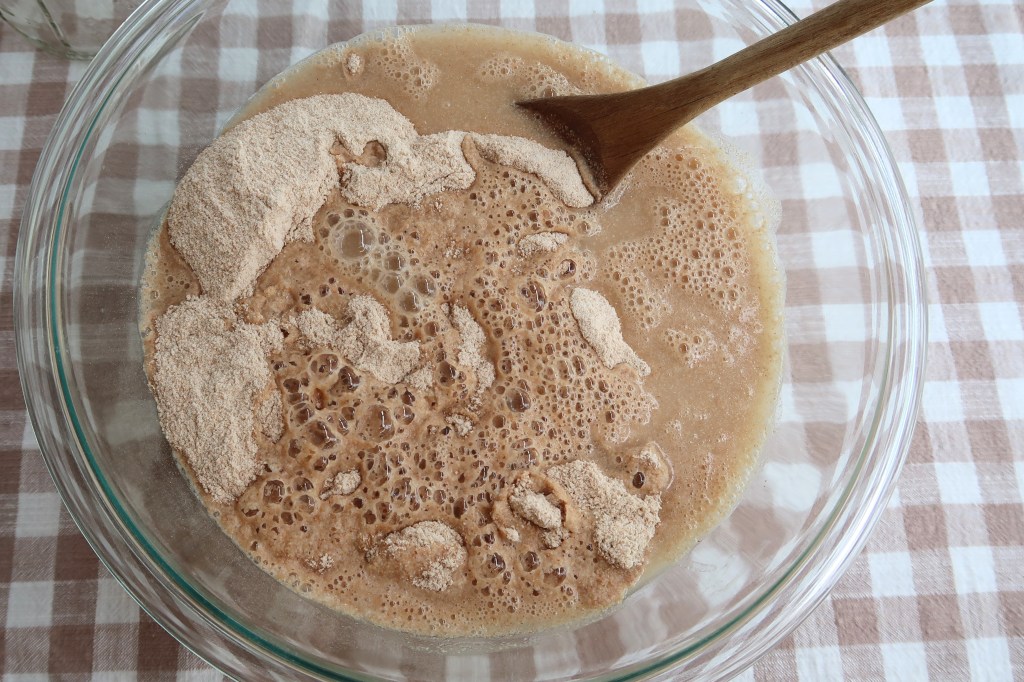
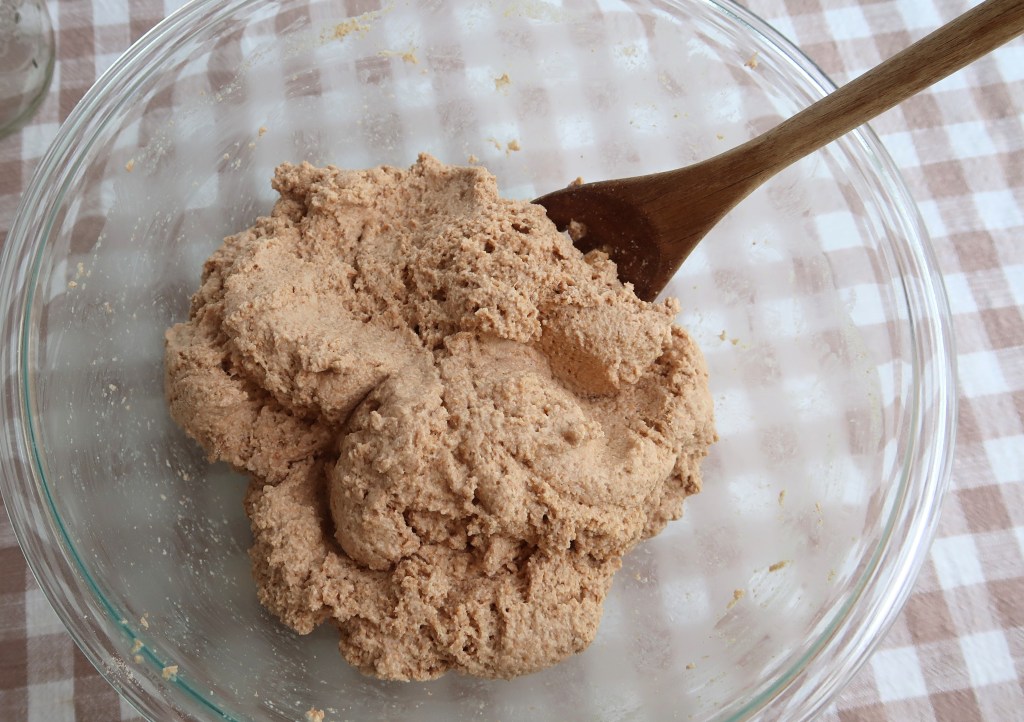
Mill your hard wheat on a fine setting. Mix together the flour and water until no dry flour remains. You can use either a stand mixer or mix it by hand. Cover and let rest for at least 30 minutes. I find 1 hour to be the “sweet spot”.
Step 2: Mix and Knead
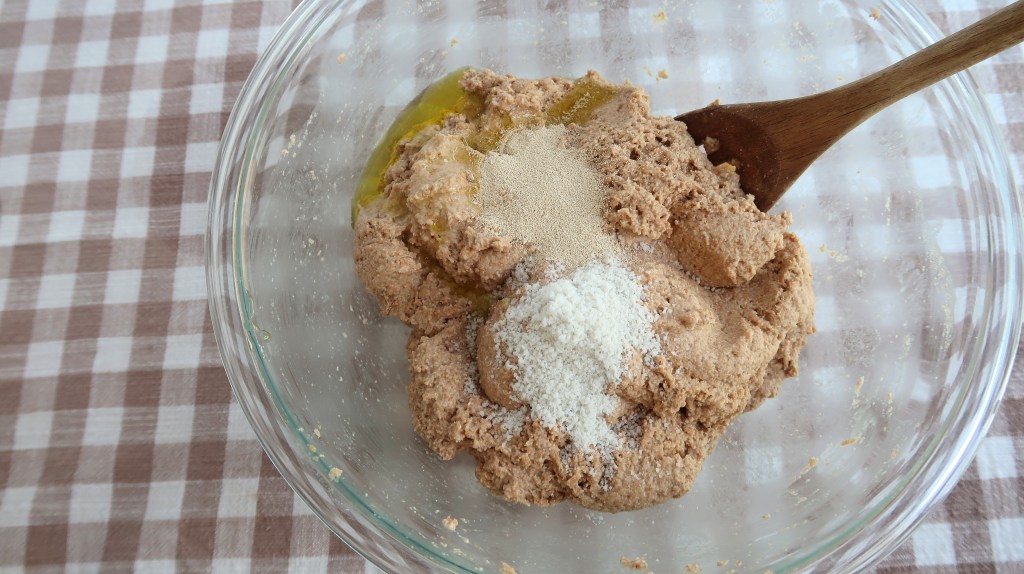
A focaccia can be successful with a stand mixer or with stretch-and-folds. It is entirely up to you.
If you are using a stand mixer, pour in your olive oil, salt, and yeast. Knead your dough for 10-15 minutes. It is not necessary, nor should it be expected, to achieve a windowpane in whole-grain focaccia bread. Simply knead the dough until it does not instantly tear when pulled away from the bulk.
If you would rather not use a mixer, follow this sequence to properly prepare your dough:
- Mix the olive oil, salt, and yeast into the dough with a spoon or your hands. It helps to squeeze the ingredients into the dough to fully incorporate them.
- Rest, covered, for 20 minutes.
- Stretch and fold your dough until it starts to feel a bit more cohesive.
- Rest, covered, for 20 minutes.
- Stretch and fold your dough one more time. It should be quite a bit more extensive than the last stretch-and-fold.
Check out my short video above for a full example of using a stretch-and-fold method for focaccia dough.
Step 3: Bulk Rise
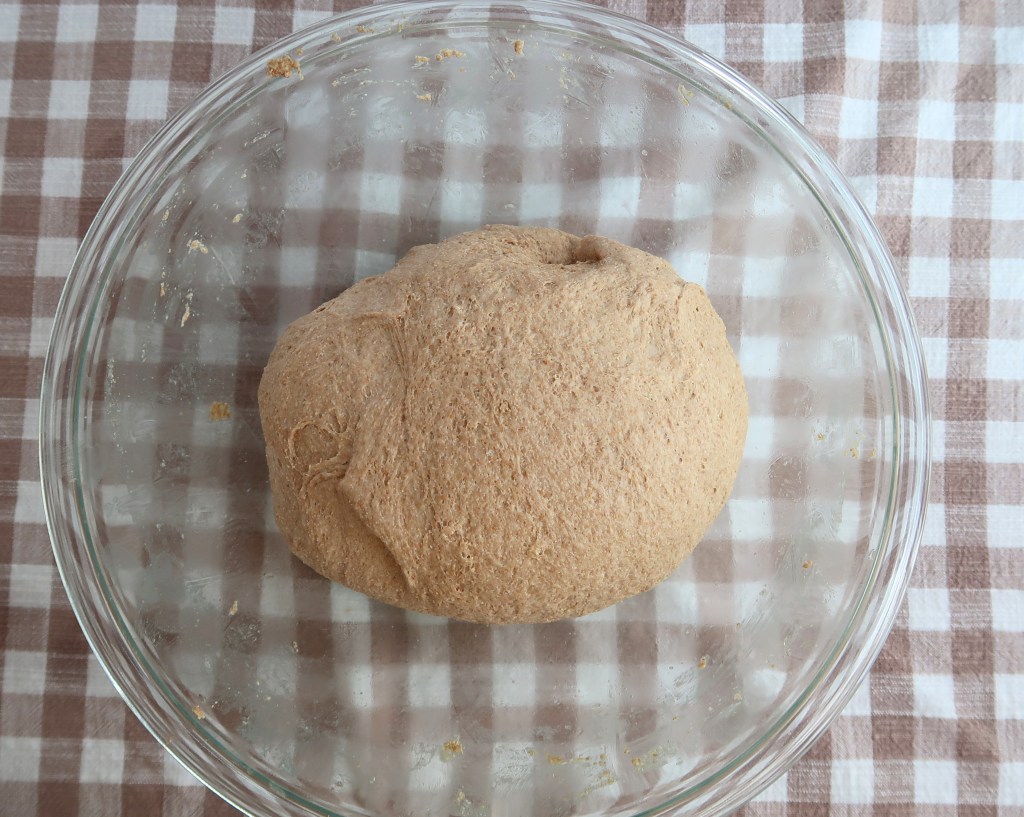
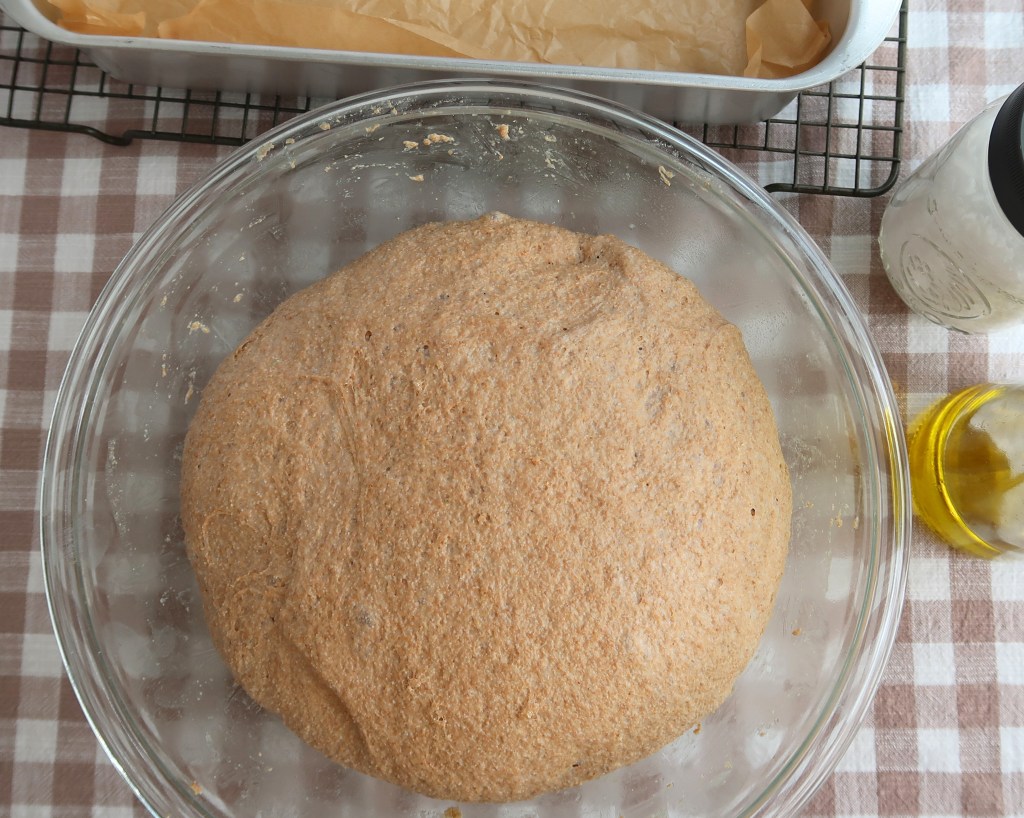
Bulk rise your dough, covered, until it has doubled in size and has visible fermentation (bubbles) appearing. My dough typically needs 1 hr 15 min to 1 hr 30 min in a 74℉ home.
Step 4: Shape and Rise
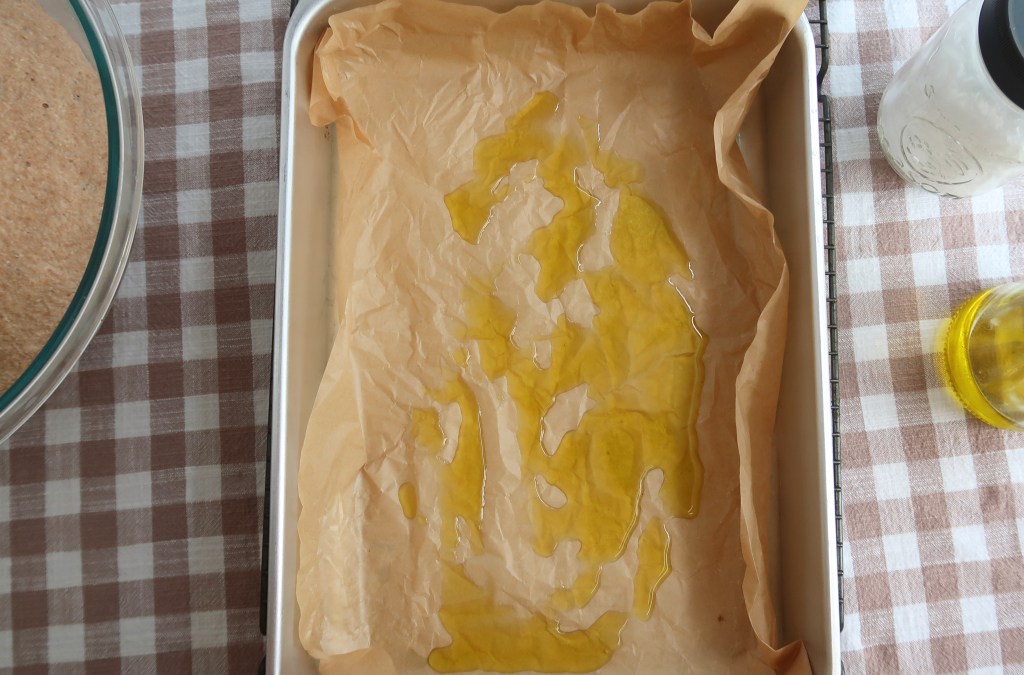
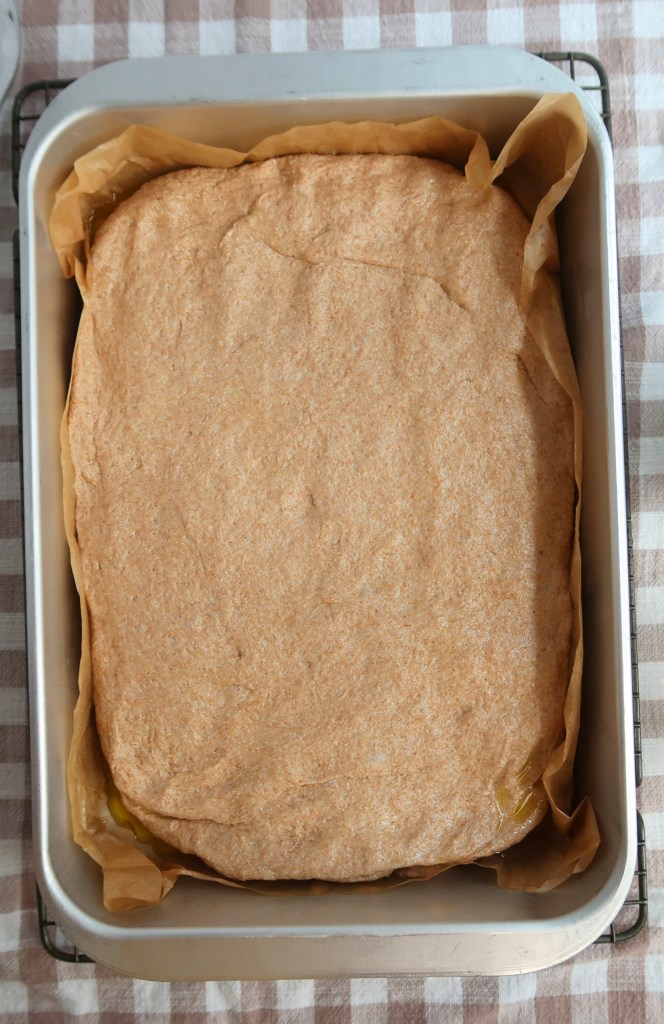
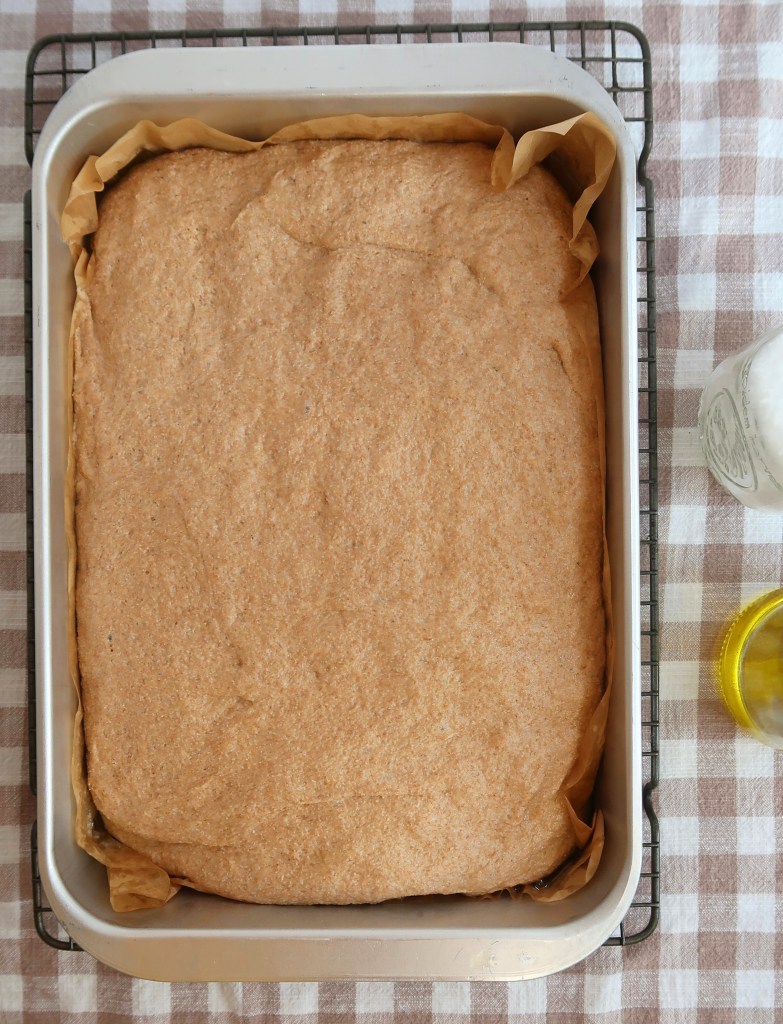
I prefer to line my aluminum 9×13 baking pan with parchment paper first, to prevent any sticking. Generously oil the bottoms and sides of your pan; this will help achieve an almost-fried texture in your focaccia.
Gently lift your dough into the pan and pull it as evenly as you can until it reaches the sides of the pan. Sometimes you may find that letting your dough rest in the pan for 5 minutes helps you stretch it more easily.
If using sturdy toppings such as olives, onions, or garlic, gently press them into the dough before covering and allowing it to rise.
Preheat your oven to 450℉.
Cover your dough and let it rise for 30-45 minutes, or until it is significantly puffier and you see bubbling throughout.
Step 5: Dimple, Top, and Bake
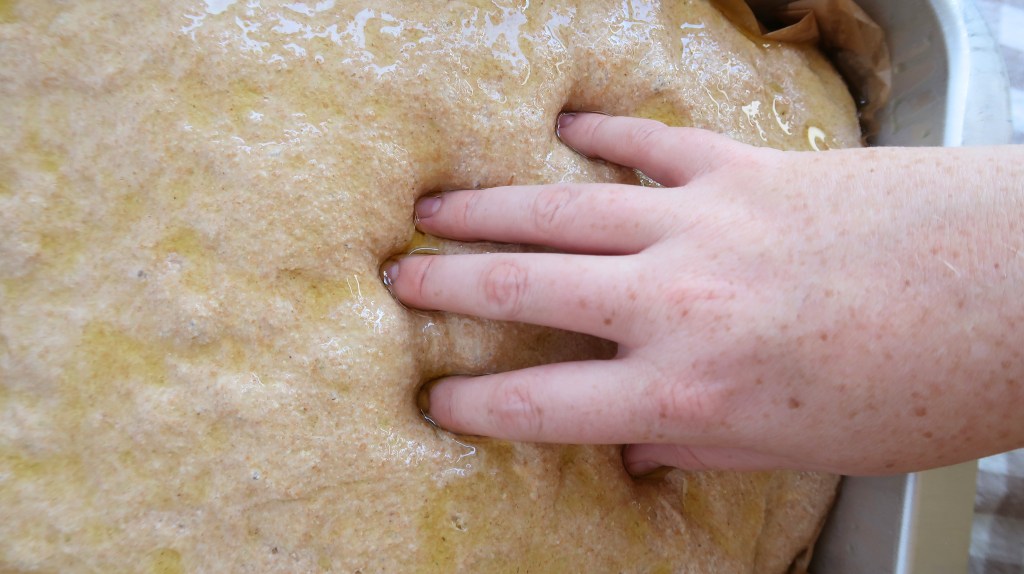
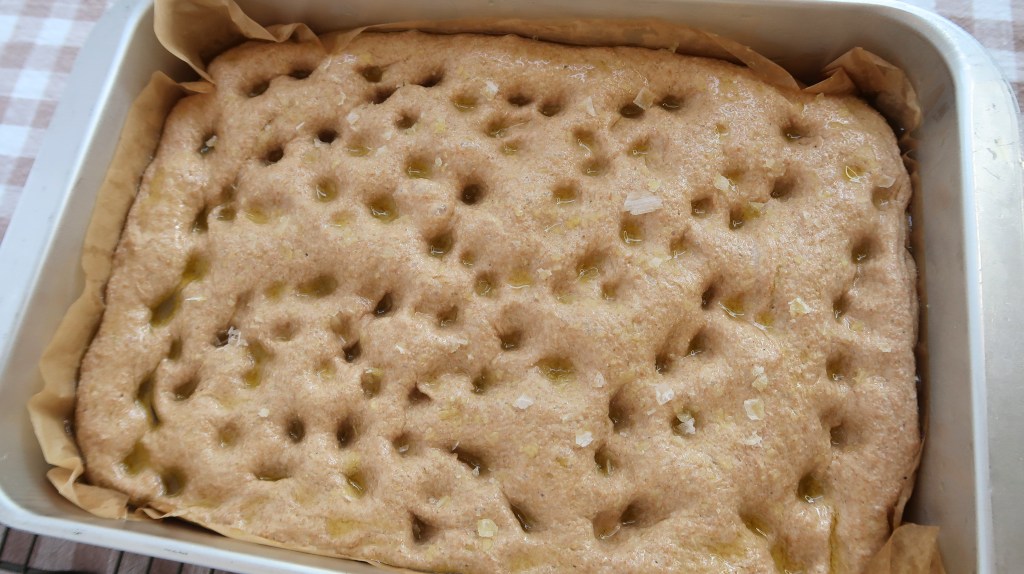
Pour some olive oil over your dough and gently spread it evenly with your hands. Then use your fingers to poke dimples all over your dough. I use all my fingers to gently press almost to the bottom.
If using delicate toppings such as fresh herbs or flaky salt, add them after dimpling, just before baking.
Bake for 25-30 minutes or until the top is golden.
Remove promptly and let it cool slightly on a wire rack. If you don’t remove it quickly enough, the bottom will lose its crispness.
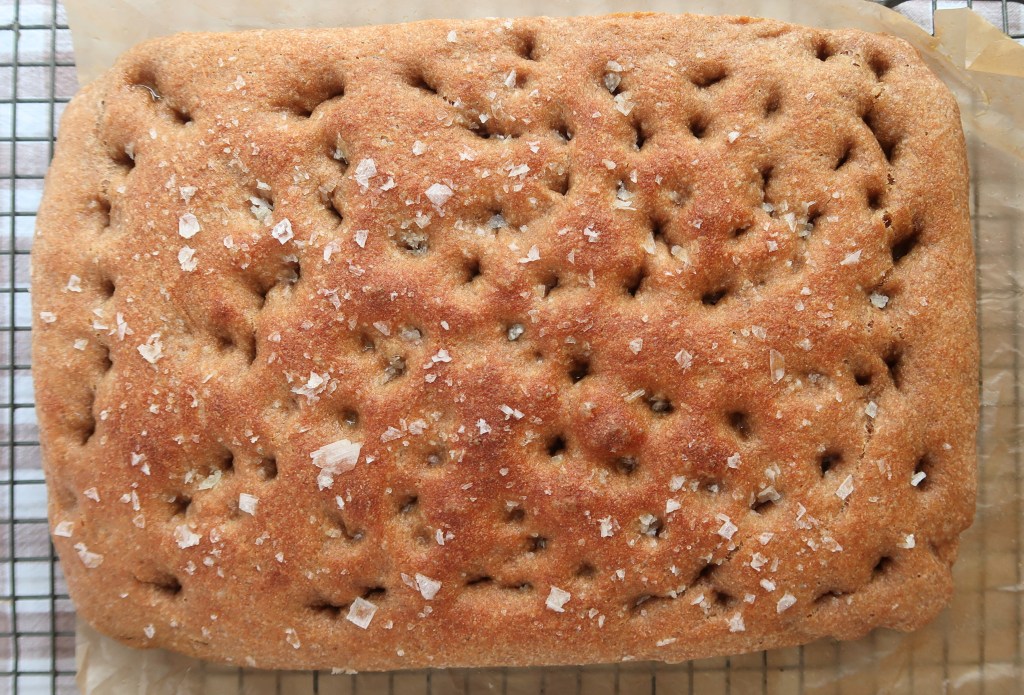
Enjoy!
Easy Fresh-Milled Focaccia Bread
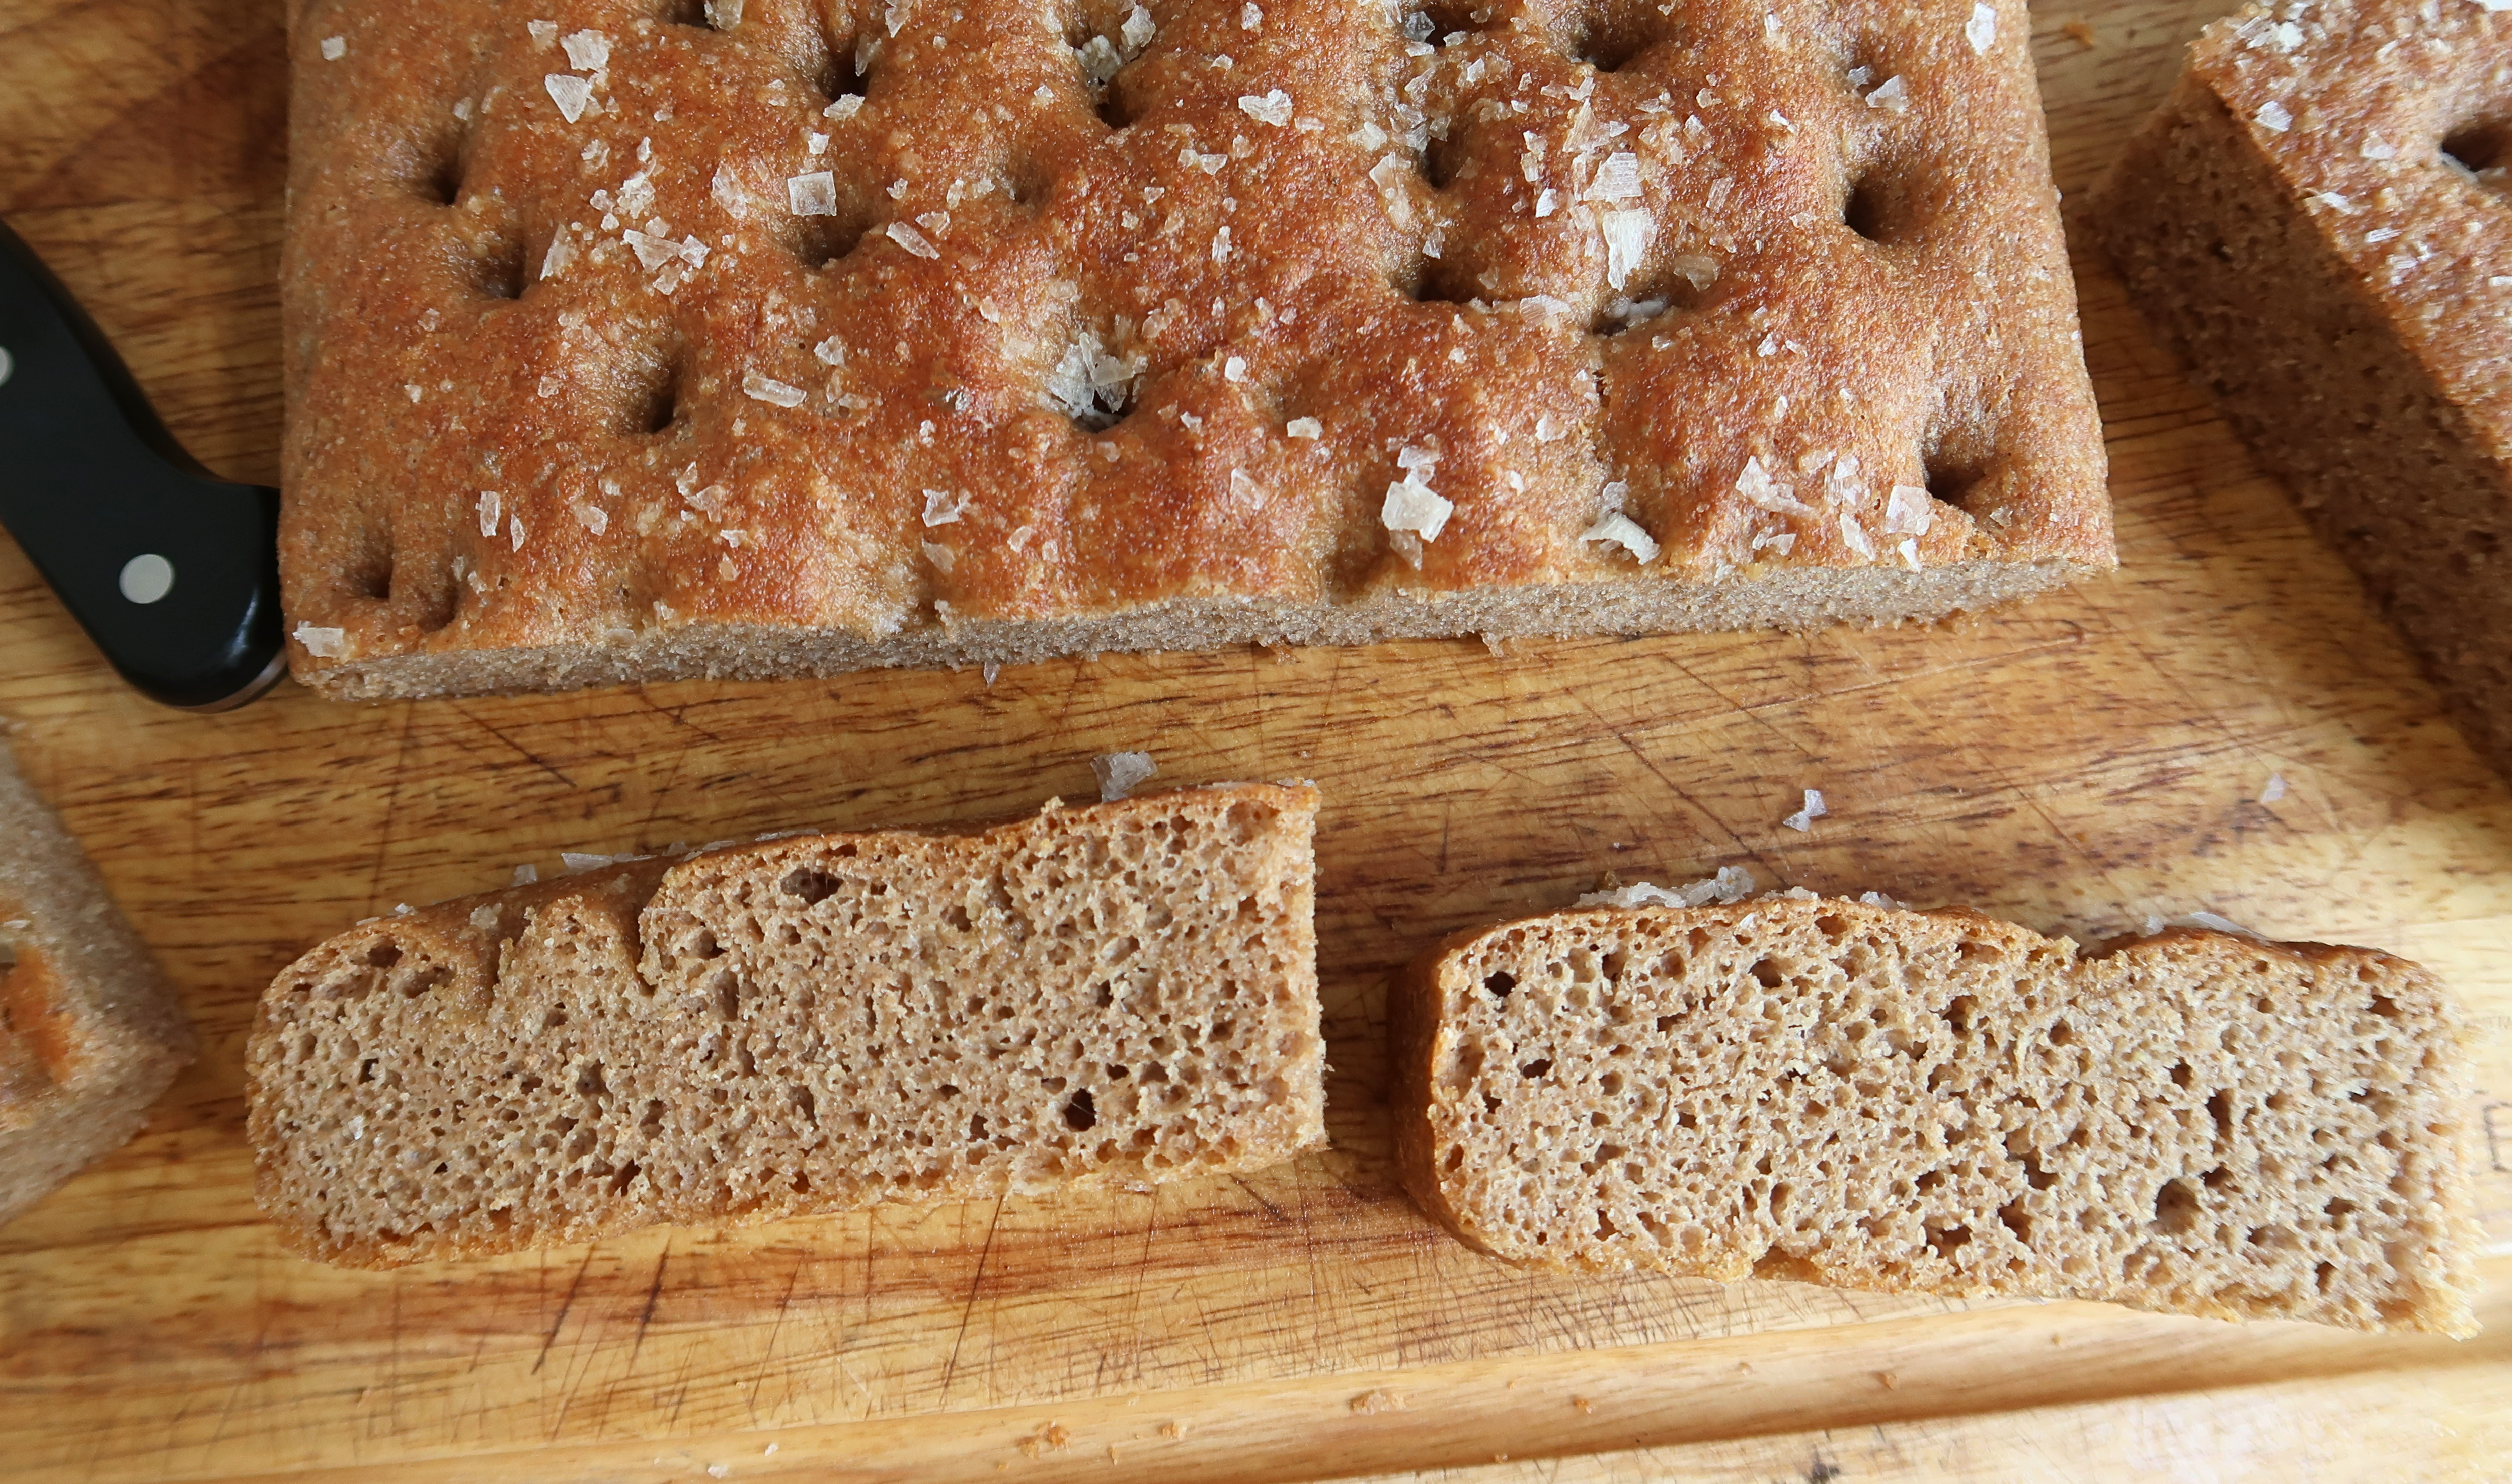
Important: Gram measurements are best for this recipe, especially when working with freshly milled flour. Volume measurements are estimates and are provided only for convenience.
Ingredients
- 756 g freshly milled hard wheat (about 4¾ cups)
- 660 g water (about 2¾ cups)
- 15 g olive oil (about 1 tbsp), plus more for the pan and topping
- 3 tsp instant yeast
- 3 tsp salt
Pan Note
For the crispest bottom crust, use a metal 9×13-inch baking pan. Metal transfers heat more efficiently than glass or ceramic, helping the bottom of the focaccia develop a crisp, almost-fried texture. Glass or ceramic pans will work, but the bottom may be softer.
Step 1 – Mill Your Flour and Autolyse
Finely mill the hard wheat. Mix the flour and water until no dry flour remains. Cover and rest for at least 30 minutes; 1 hour is ideal.
Step 2 – Develop the Dough
Add the olive oil, salt, and yeast. Either knead with a stand mixer for 10–15 minutes, or use stretch-and-folds. The dough does not need to pass a windowpane test; it should simply become stronger and less prone to tearing.
For stretch-and-folds, rest the dough for 20 minutes, then stretch and fold. Rest another 20 minutes, then perform a second, more extensive stretch-and-fold.
Step 3 – Bulk Rise
Cover and let the dough rise until doubled and visibly bubbly. At 74°F, this typically takes 1¼–1½ hours.
Step 4 – Shape and Final Rise
Line a 9×13-inch aluminum pan with parchment, if desired, and generously oil the bottom and sides. Gently transfer the dough to the pan and stretch it toward the edges. If it resists, let it rest for 5 minutes before stretching again.
If using sturdy toppings such as olives, onions, or garlic, gently press them into the dough before covering. Cover and let rise for 30–45 minutes, or until significantly puffier and bubbling throughout. Preheat the oven to 450°F.
Step 5 – Dimple, Top, and Bake
Drizzle the dough generously with olive oil and spread it gently over the surface. Use your fingertips to press deep dimples throughout the dough.
Add delicate toppings such as fresh herbs or flaky salt, if desired. Bake for 25–30 minutes, until deeply golden.
Step 6 – Cool
Remove the focaccia promptly and cool slightly on a wire rack. Removing it from the pan quickly helps preserve the crisp bottom crust.
Tips for Success
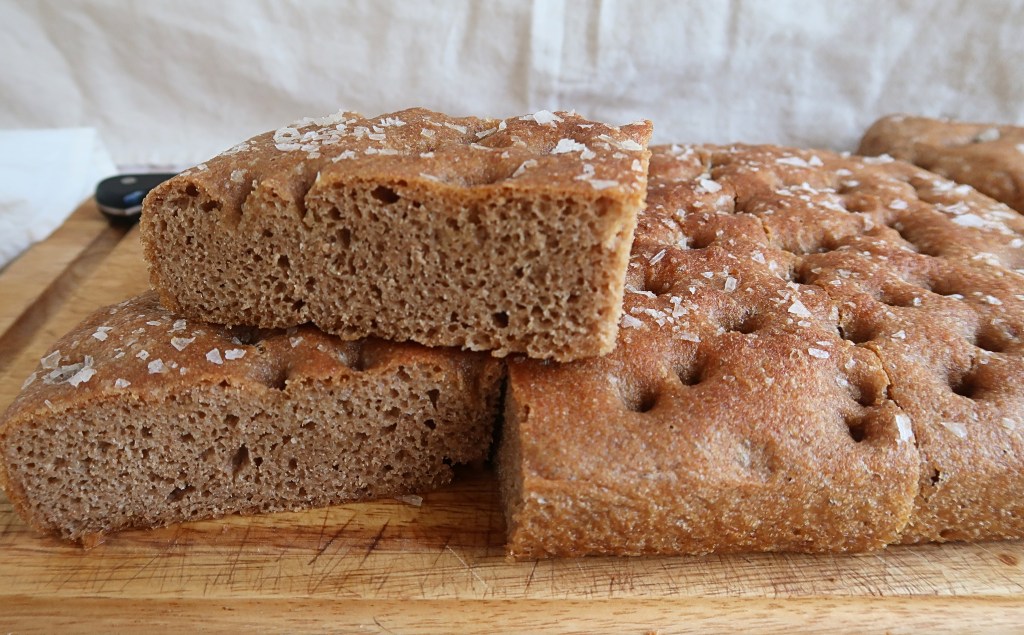
- Mill your hard wheat on a fine setting
- Let your flour and water rest, covered, for one hour
- Use visual cues, such as: much puffier dough and significant bubbling to know when your dough is ready to shape and then bake
- Generously oil your pan and add parchment paper to help prevent sticking
Storage and Freezing Tips
I recommend storing any baked goods in a container like this bread bag, or a bread box would work well, too.
I think this bread is best on the day it’s baked. After that, a quick reheat in the oven brings back its delicious crispness. I would plan to eat it within 3 days.
It also freezes beautifully! I always fully bake my focaccia, let it cool, wrap it in plastic wrap, and then place it in a labeled freezer-safe Ziploc. It lasts well up to 3 months. To enjoy it from frozen, let it thaw and give it a quick toast in the oven. It’s great to have already-baked bread in the freezer!
FAQ
Do I need to let fresh-milled focaccia dough rise overnight?
No, you do not need to. If you’d like to let it rise overnight, I recommend slightly decreasing your amount of yeast and letting it bulk rise in the fridge. Shape it in the morning and let it rise one more time.
Why is my focaccia dense instead of light and airy?
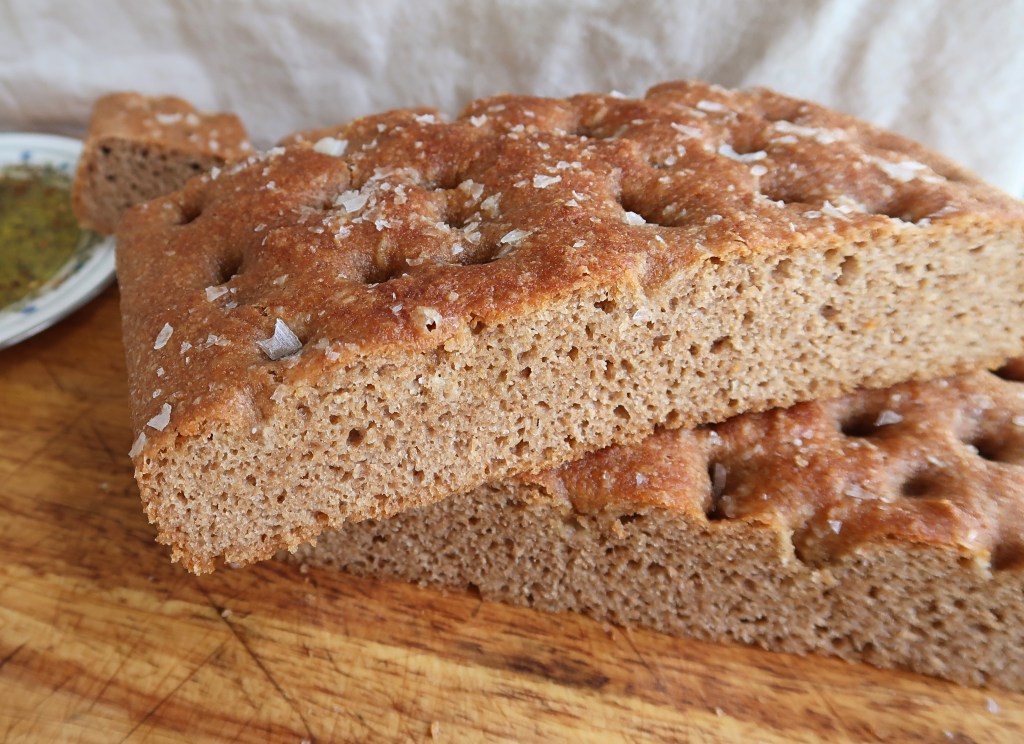
It is very important to use a kitchen scale when baking, especially when using fresh-milled flour. Also, consider letting your dough proof a bit longer to develop more air bubbles.
I do want to note this: while your bread should not be hard and heavy, whole-grain breads are different than all-purpose breads. You may have to trade a very light focaccia for one with more density, but in turn, you gain incredible nutrition and flavor that all-purpose flour truly cannot compete with.
What toppings can I add to homemade focaccia bread?
You can add any topping you’d like! If it is a wetter topping, patting it dry will help keep the focaccia crisp. Heavier toppings should be placed on after the dough has been stretched to rise, and rise with the dough in the shaped rise. Lighter toppings can be placed on right after you gently oil and dimple your dough to bake.
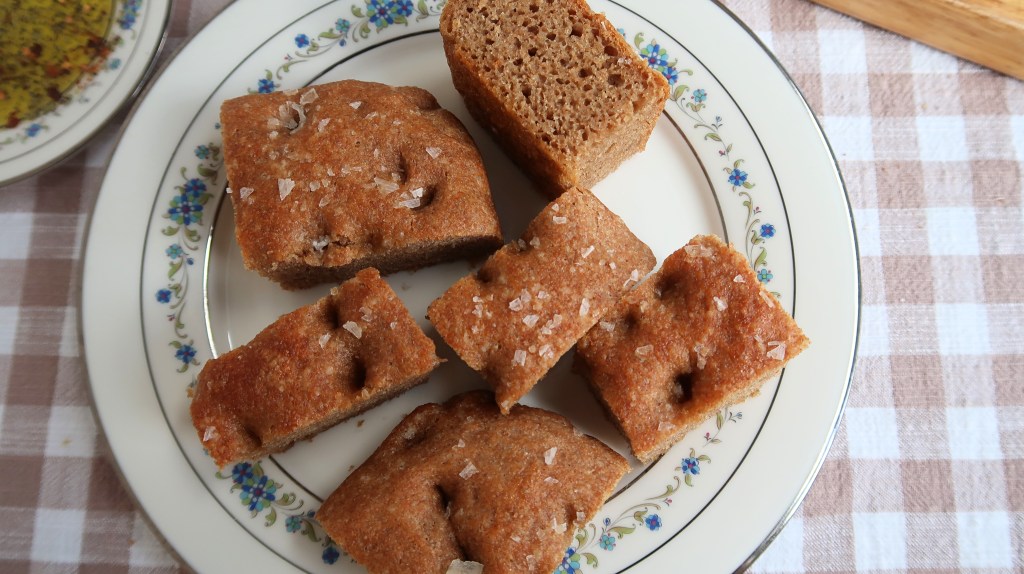
Baking focaccia at home is one of the simplest yet satisfying bread recipes. It involves minimal effort and minimal dirty dishes! I hope you try this recipe out and enjoy it as much as my family has!
What’s your favorite way to top a homemade focaccia bread with freshly milled flour?
Blessings,
Payton



 thecontentedhearth.com
Leave a comment