
This post may contain affiliate links. See our disclosure policy.

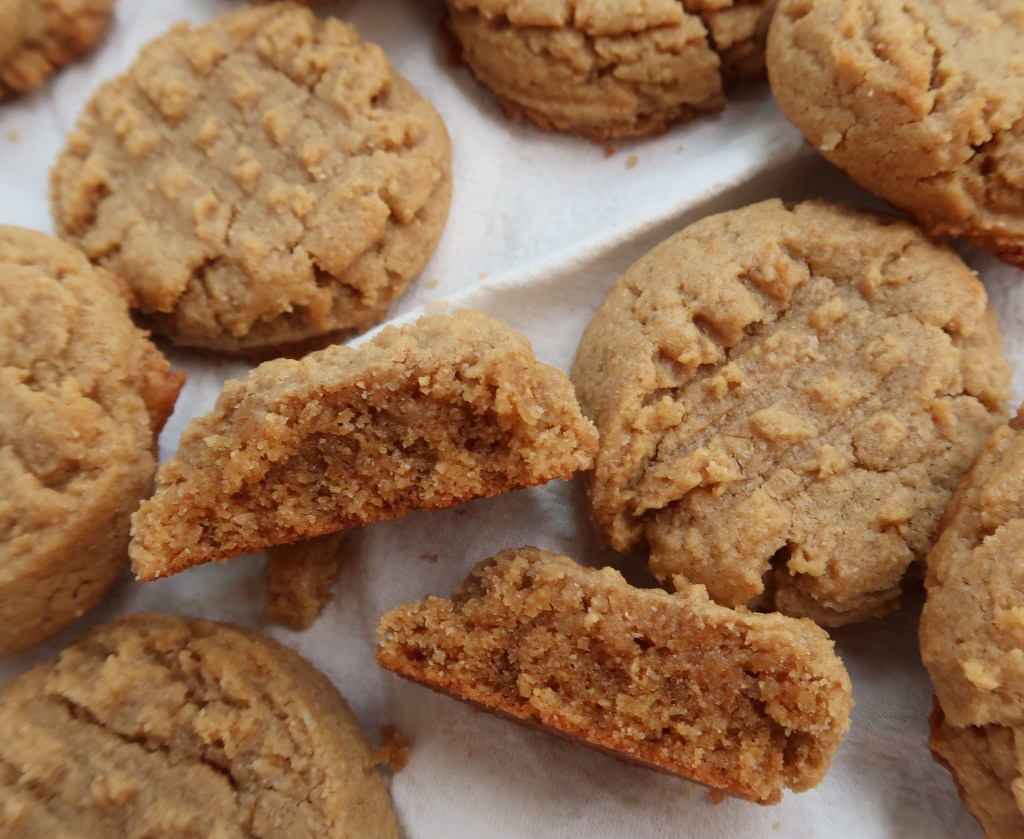
Love peanut butter cookies but want to skip the additives in store-bought versions? My Fresh-Milled Peanut Butter Cookie with Natural Peanut Butter delivers rich flavor and wholesome nutrition from freshly milled wheat, all with a simple, no-nonsense ingredient list. Give this recipe a try—you may never want another kind of peanut butter cookie again!
Why Bake with Freshly Milled Flour?
Simply put, it is much more nutrient-rich.
When wheat is milled, and the bran and germ are removed to create all-purpose flour, most of the fiber, vitamins, minerals, and healthy fats are lost. What remains is mostly starch and some protein. Because starch is rapidly broken down into glucose, baked goods made with white flour can cause a much sharper rise in blood sugar compared to whole-grain versions.
Below is a list of the nutrients in the humble wheat berry. It’s amazing!
Nutrients in Fresh-Milled Whole Wheat Flour
Fresh-milled flour is rich in naturally occurring nutrients that are often lost in store-bought white flour. By milling your own grains at home, you retain the full spectrum of vitamins, minerals, and fiber—exactly as God designed it.
Macronutrients
- Protein
- Healthy Carbohydrates
- Dietary Fiber
- Natural Fats (small amounts)
Key Vitamins
- Thiamine (B1)
- Riboflavin (B2)
- Niacin (B3)
- Pantothenic Acid (B5)
- Pyridoxine (B6)
- Folate (B9)
- Vitamin E
Essential Minerals
- Iron
- Magnesium
- Phosphorus
- Potassium
- Calcium
- Zinc
- Selenium
- Copper
- Manganese
- Natural Sodium (very low)
Note: Nutrient content can vary depending on the wheat variety and freshness, but fresh-milled flour is always more nourishing than refined alternatives.
✨Check out my blog post here for a more thorough breakdown of the benefits of fresh-milled flours.
Now that we understand the benefits of freshly milled flour, let’s take a look at which wheat berries work best for baking tender peanut butter cookies.
What Type of Wheat Berries Should I Use?

Different wheat berries contain varying amounts of protein, and two key proteins are essential for creating a strong gluten network: glutenin and gliadin.
- Glutenin – Gives dough strength and elasticity, helping bread hold its shape and rise.
- Gliadin – Makes dough stretchy and extensible, allowing it to expand during fermentation and baking.
When these two proteins work together, you get a strong, resilient gluten network that produces a perfect rise.
For a cookie, a strong gluten network is neither necessary nor preferred. This is why it is best to use a wheat with a low protein content. Soft white wheat is what I chose to use for this recipe. I think it makes a delicious, tender cookie that holds together well.
If you like ancient grains, feel free to try them out. While I have not tested this, I think you could comfortably swap 185 grams of soft white wheat for 200 grams of einkorn. Spelt is another lovely ancient grain to work with. Baking should be fun! Try new things, and you are certain to learn a lot along the way!
Check out my blog post that gives more information on wheat berries and their uses.
Now that you’ve selected your wheat, let’s prepare the simple tools needed for success.
Tools You’ll Need
- Grain mill
- Stand mixer or handheld mixer
- Kitchen scale (preferred) or measuring cups and spoons
- Baking sheet
- Parchment paper
- Cookie scoop (optional, but helpful)
Ingredients You’ll Need
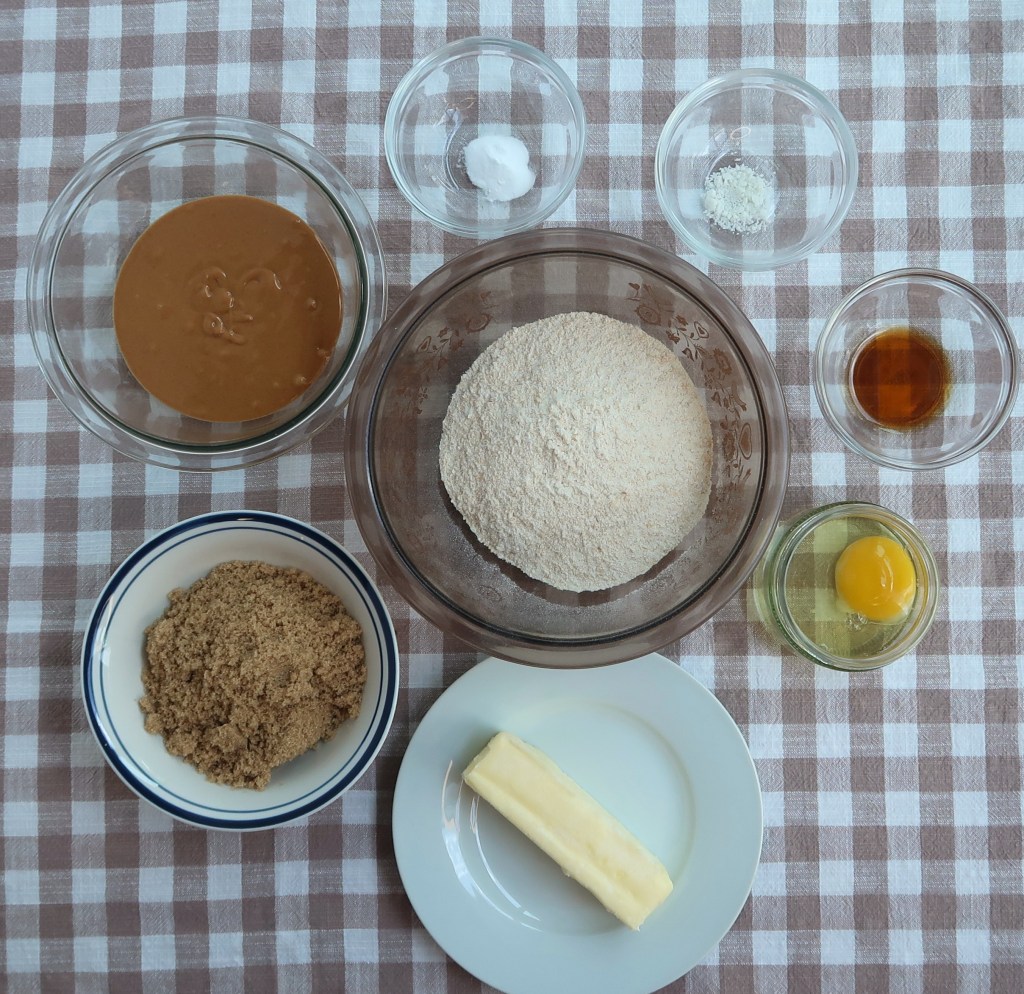
- Freshly milled soft white wheat
- Natural peanut butter (see note)
- 1 stick room-temperature, unsalted butter
- 1 room-temperature egg
- Brown sugar
- Salt
- Baking soda
- Vanilla extract
Note: It is very important that you use a natural peanut butter for this recipe. The ingredient list should simply be peanuts and salt. I settled on this recipe using a natural peanut butter specifically because the consistency of natural vs. processed peanut butter is very different. If your natural peanut butter does not contain salt, add a smidge more salt to your cookie dough. Creamy or crunchy peanut butter works well in this recipe.
Step-by-Step: How to Make Fresh-Milled Peanut Butter Cookies
Step 1: Mill Grains and Whip Butter
Preheat your oven to 375℉. Line a baking sheet with parchment paper.
Mill your soft white wheat.
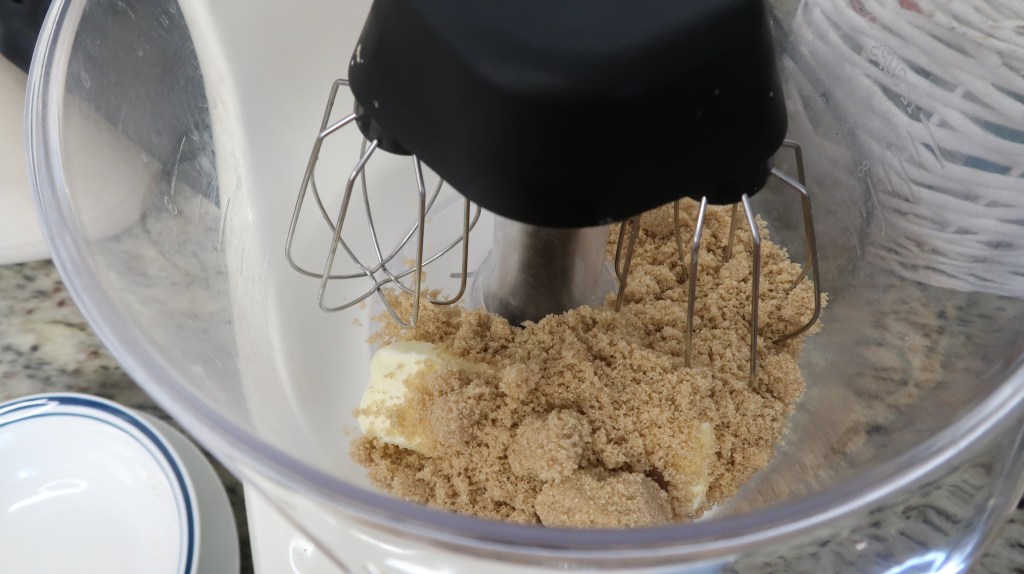
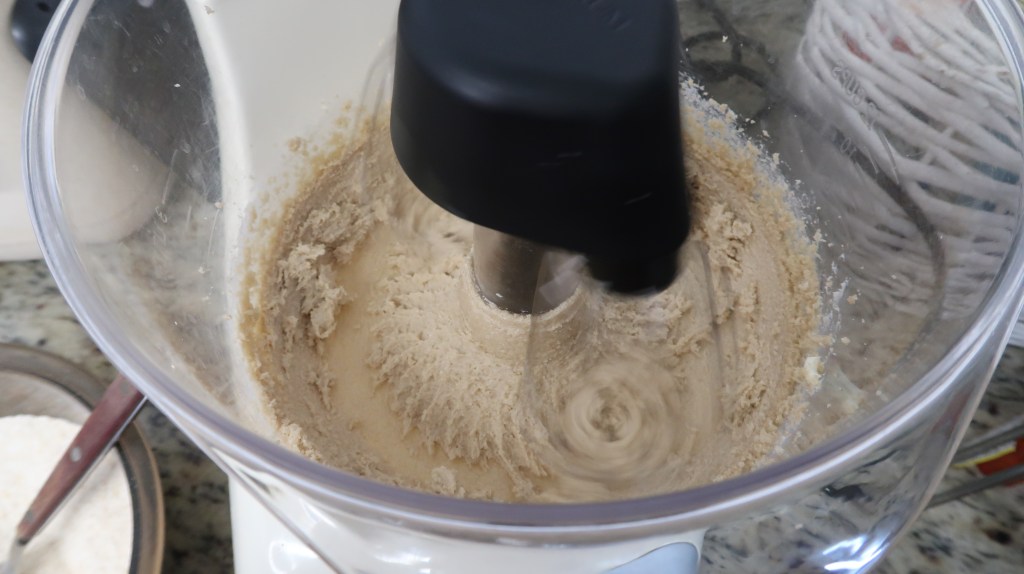
On medium speed in a stand mixer or handheld mixer, whip your room-temperature, unsalted butter along with your brown sugar.
Step 2: Mix Wet and Dry Ingredients

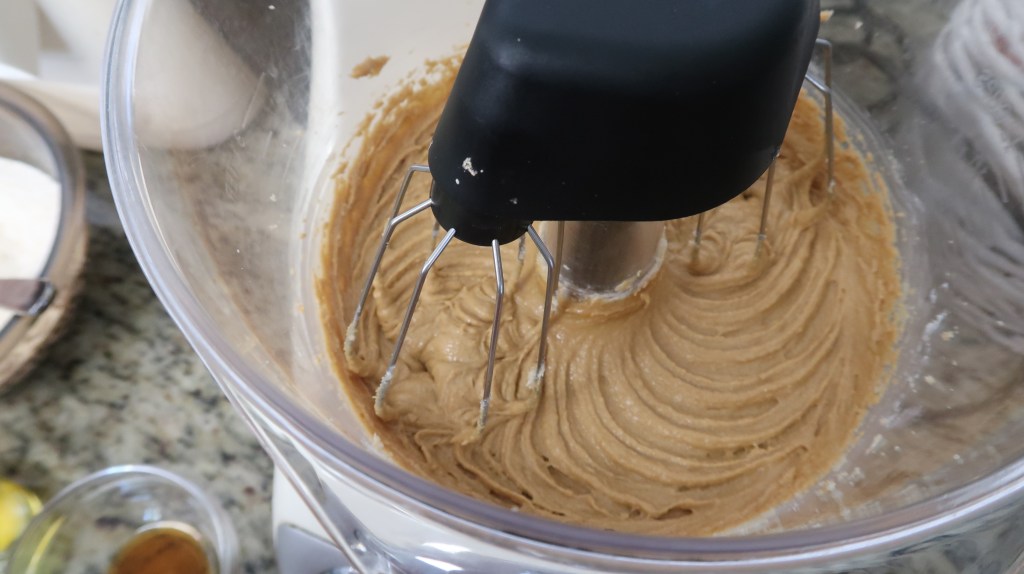
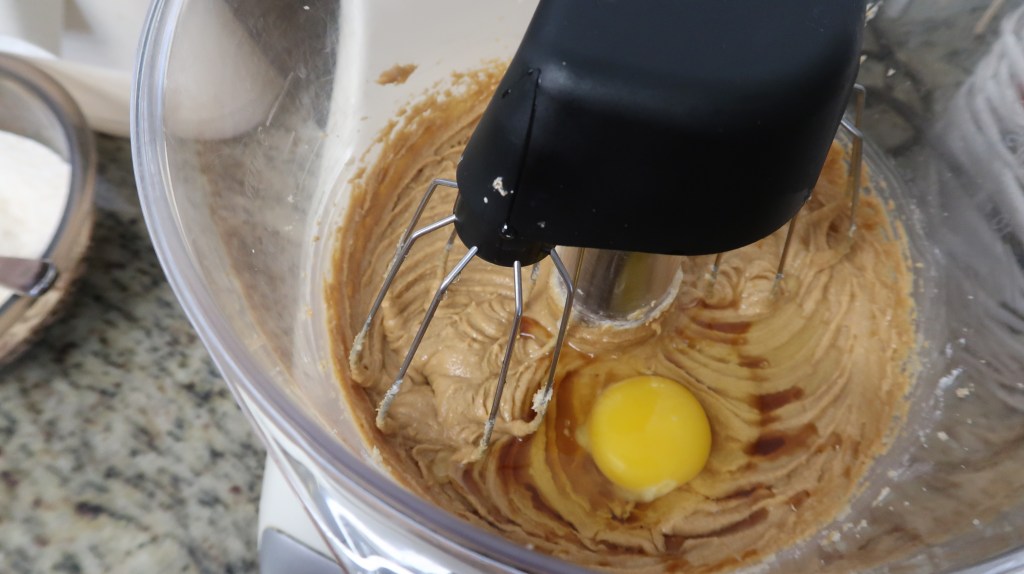
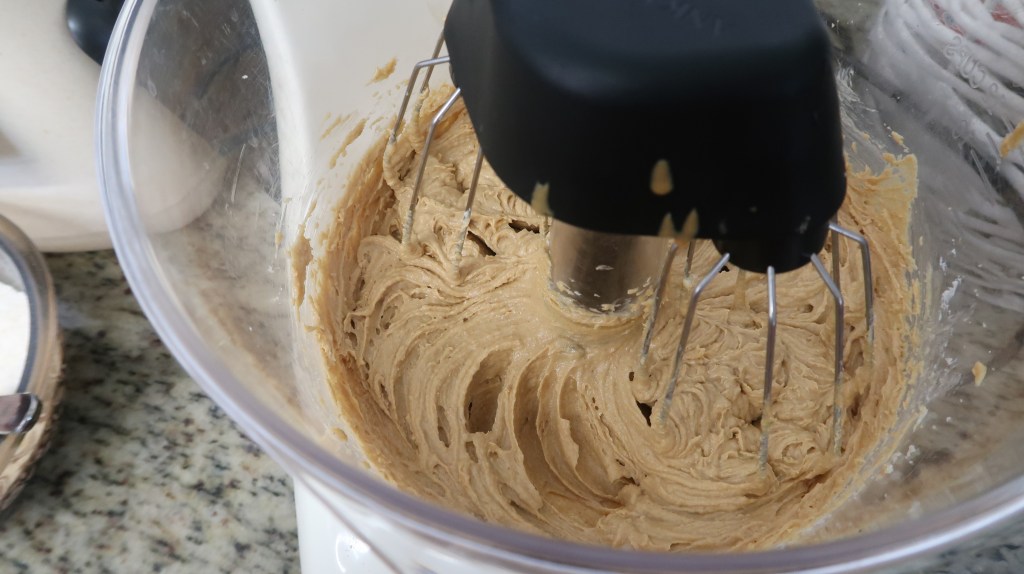
Add peanut butter to your butter/sugar and mix until combined. Then add your egg and vanilla extract. You may need to scrape down the sides of your bowl.
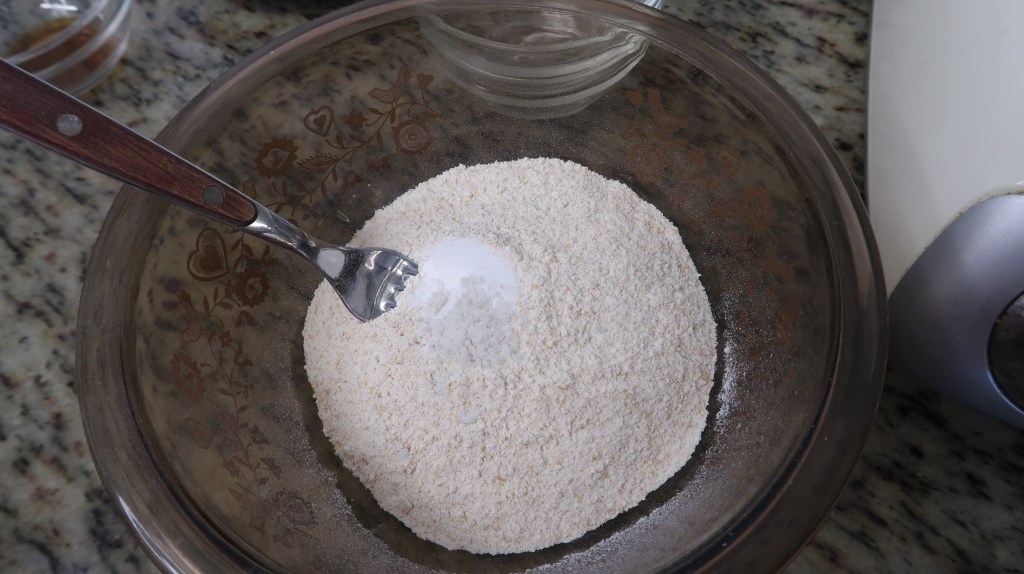
In a separate bowl, stir together your flour, baking soda, and salt.
Step 3: Mix Dry into Wet

On a low speed, slowly add your flour mixture into your butter mixture. Mix until fully combined.
Let the cookie dough rest on the counter for about 10 minutes.
Step 4: Scoop and Bake
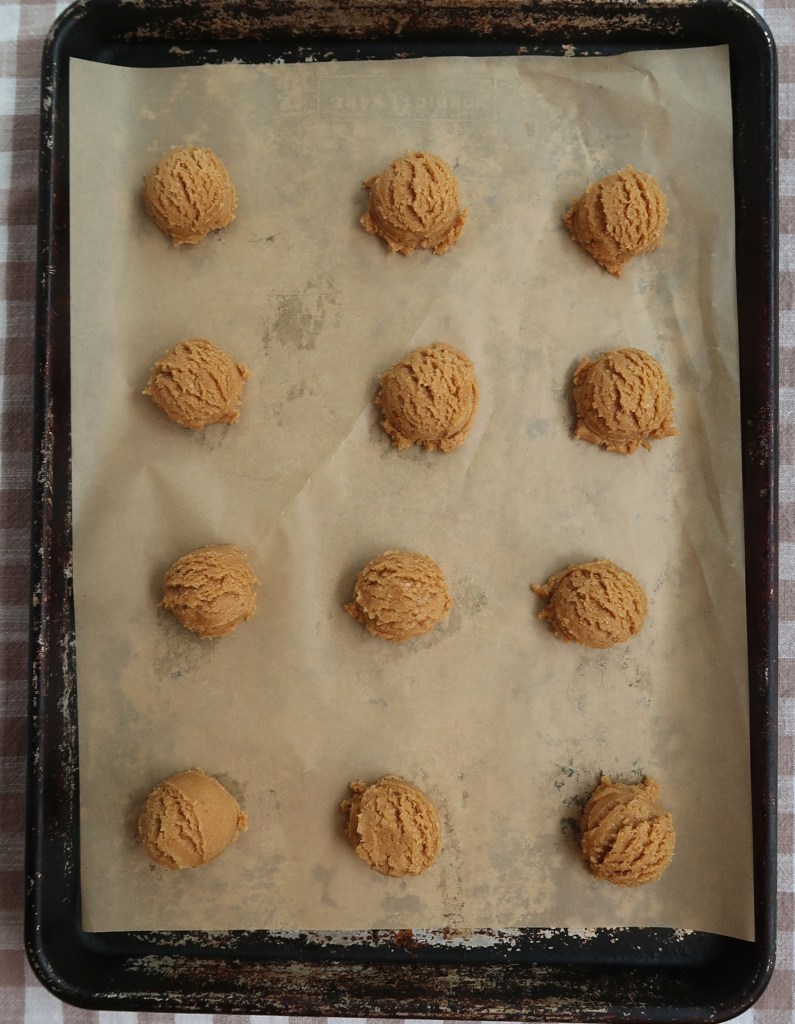
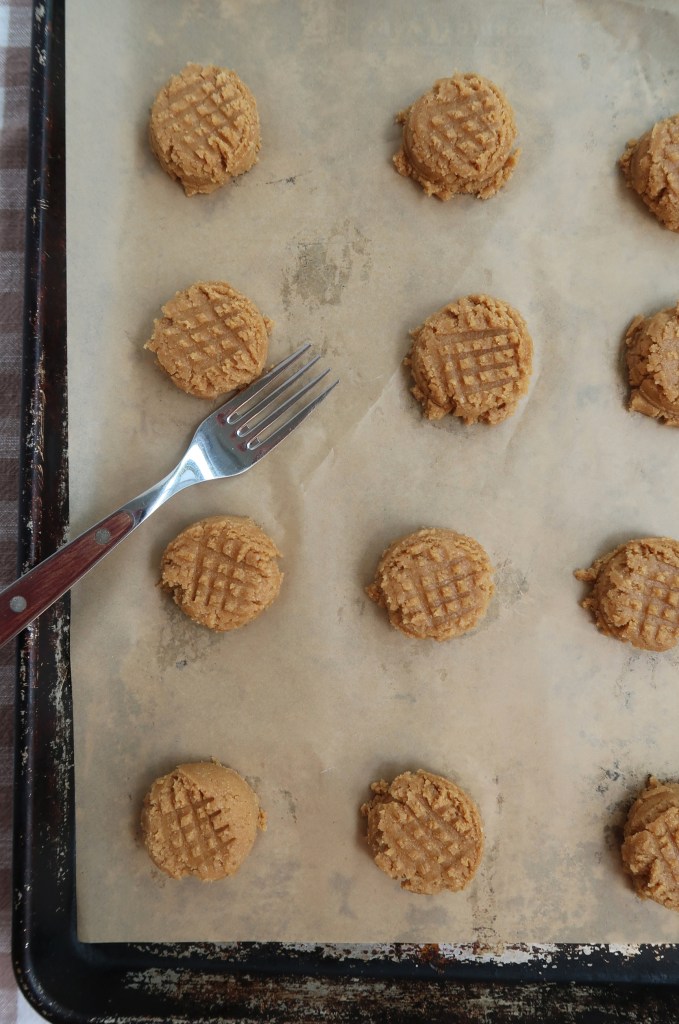
Use either a 2 tbsp cookie scoop (#40) or measure out 2 tbsp of cookie dough and scoop onto the baking sheet. When I use a scoop, I don’t bother with rolling into an even ball. If you are using a tbsp measurer, you may want to round them out. Leave at least 2 inches between each dough ball. I can comfortably fit 12 cookies on my half sheet baking tray.
If you want the classic peanut butter cookie look, take a fork and gently press down on the top of the cookie, then cross over and press down in the other direction. Do not push down hard, or your cookies will not be thick.
Although you can bake these cookies right away with great success, you will get more defined ridges if you let the dough rest in the fridge for several hours.
Bake for 9 minutes or until you see just the slightest golden color on the cookie edges.
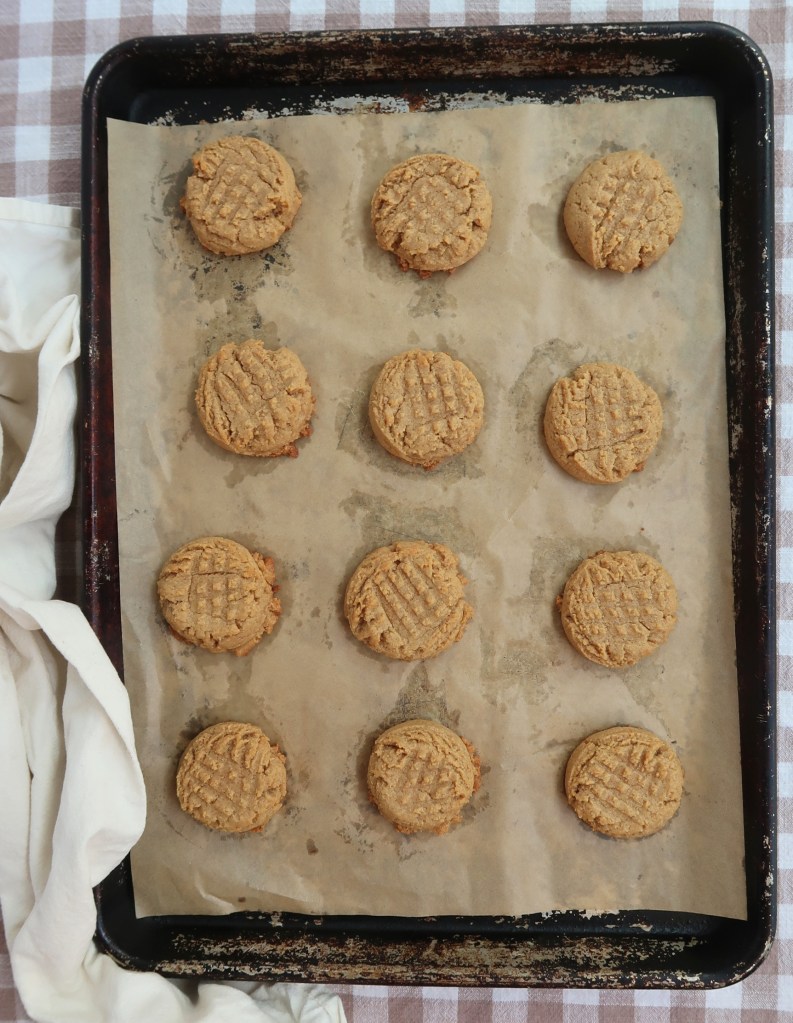
Let cool and enjoy!
Fresh-Milled Peanut Butter Cookies with Natural Peanut Butter
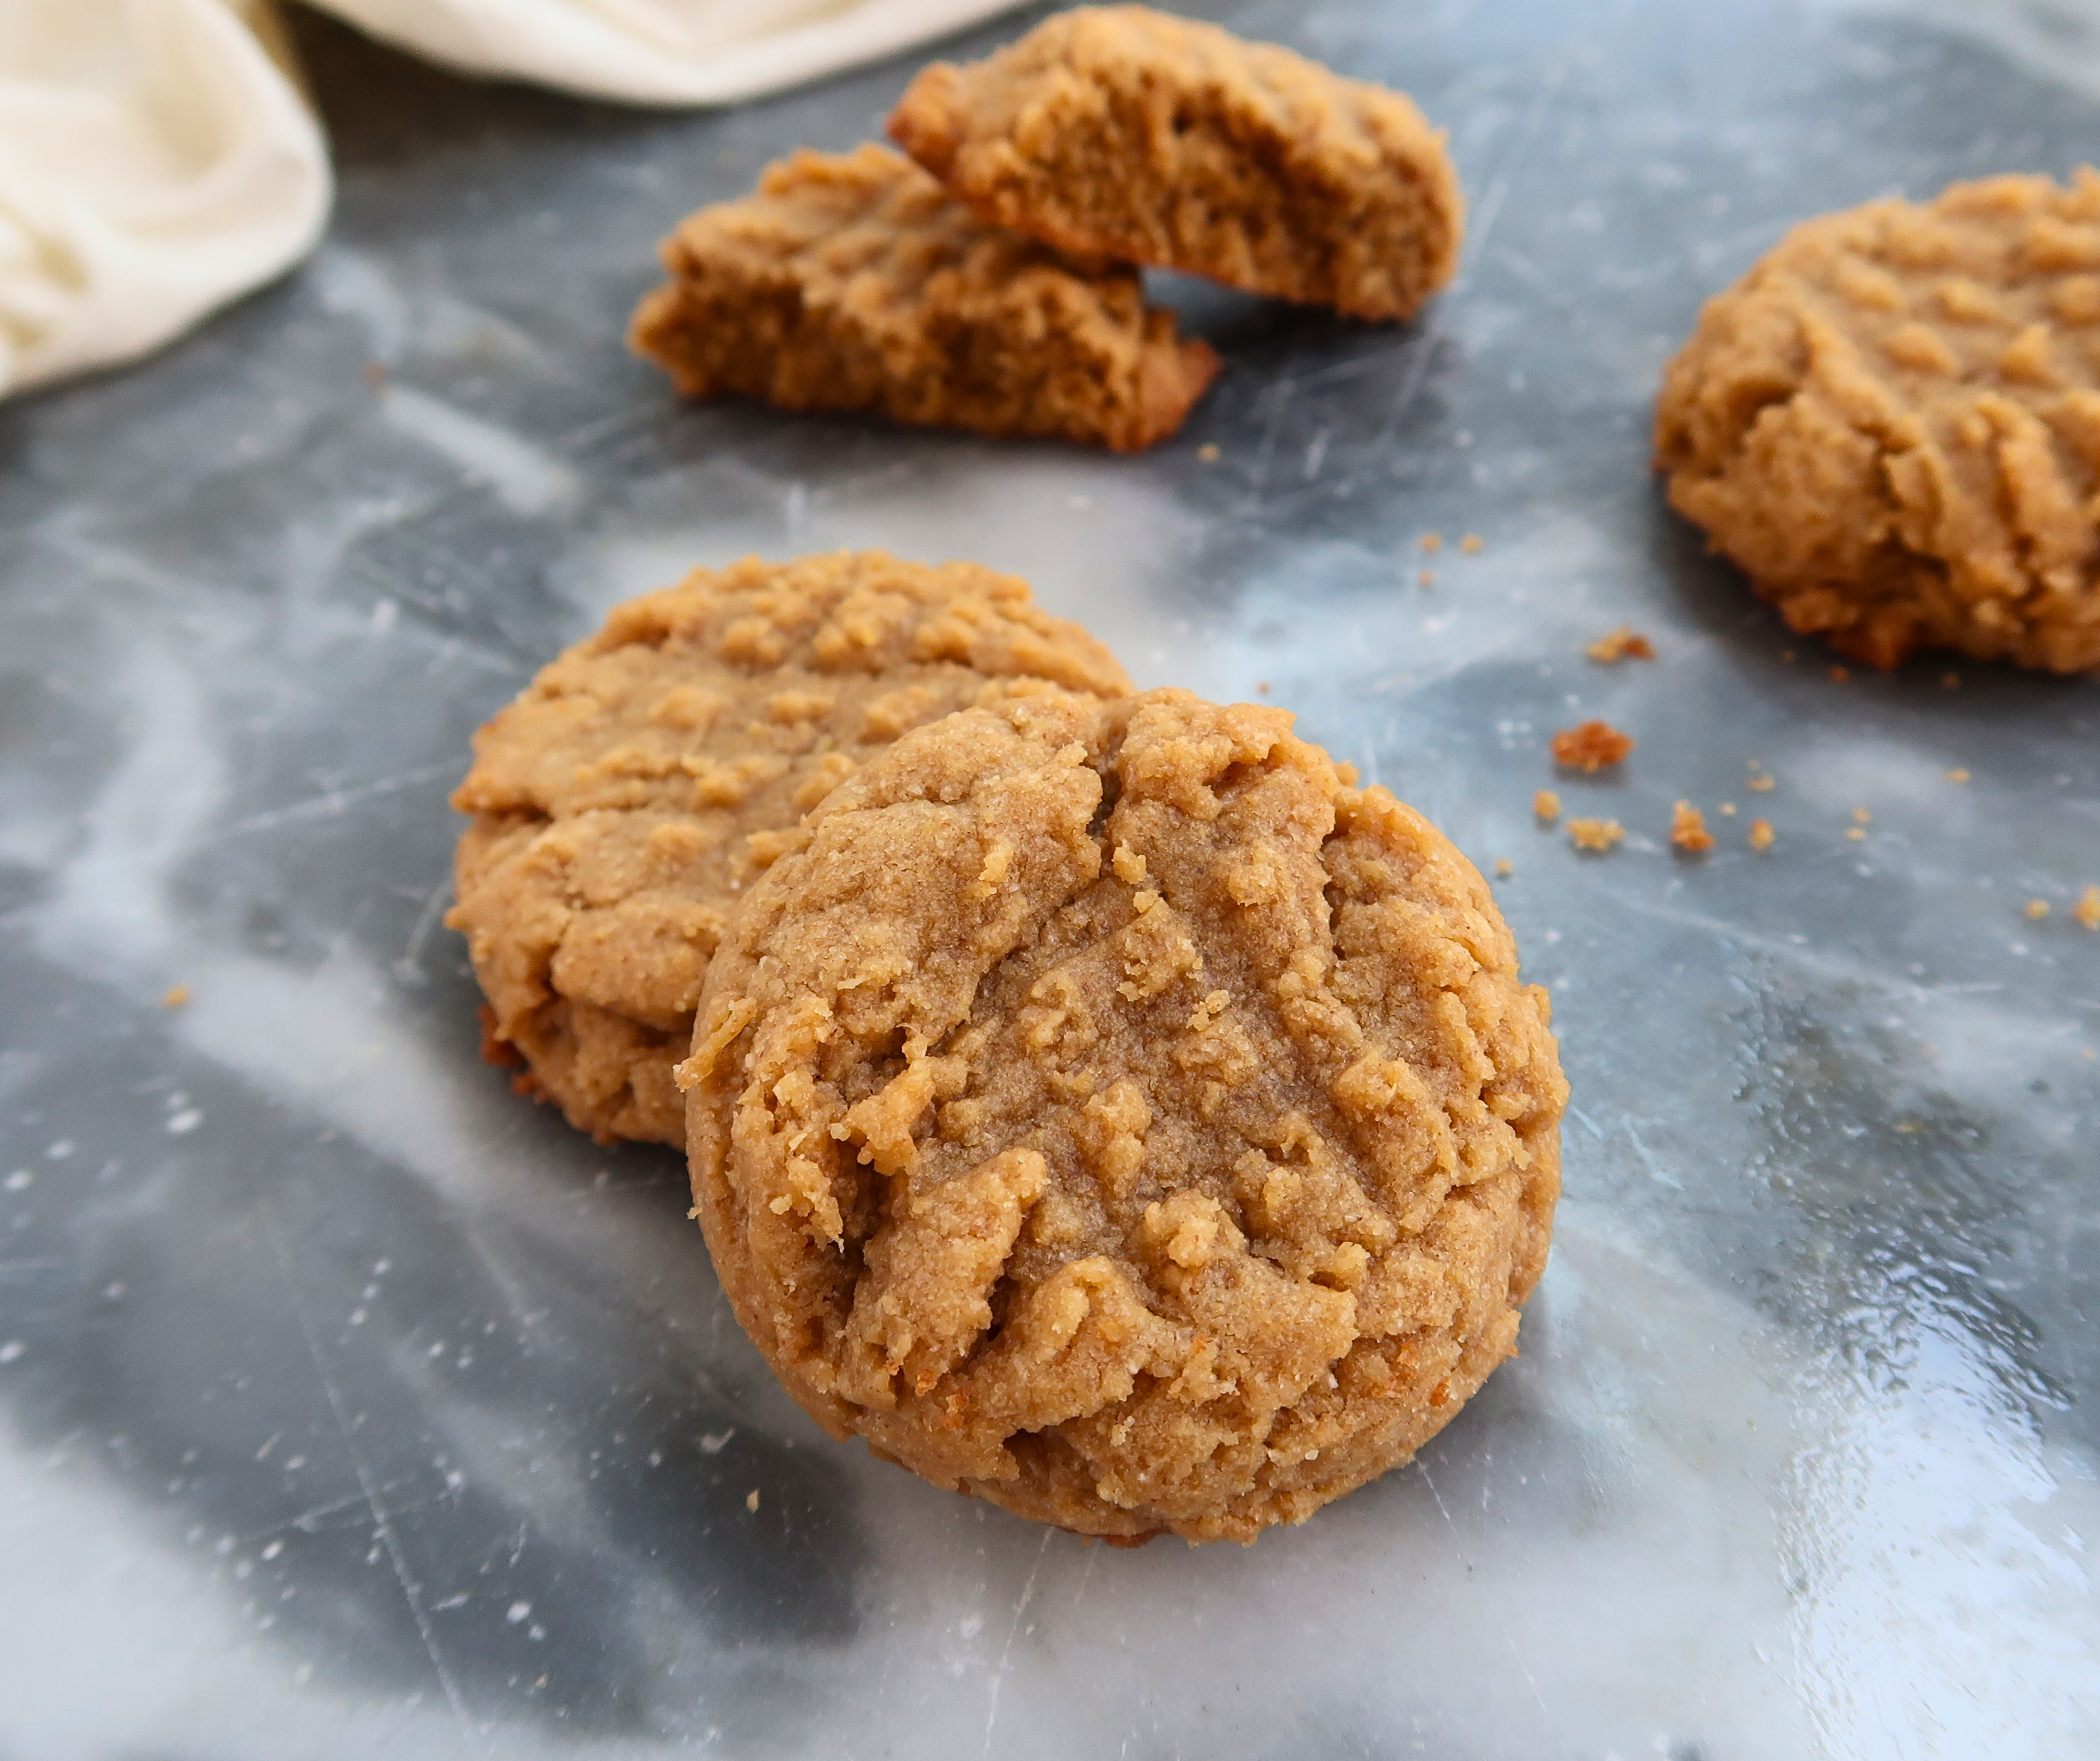
Important: For the best results with fresh-milled flour, use a kitchen scale. Gram measurements are the most accurate. Volume measurements are only estimates and may vary depending on how ingredients are measured.
Ingredients
- 185 g fresh-milled soft white wheat (about 1½ cups)
- ½ tsp baking soda
- ¼ tsp salt
- 113 g unsalted butter, softened (½ cup or 1 stick)
- 150 g brown sugar (about ¾ cup, packed)
- 1 large egg, room temperature
- 185 g salted natural peanut butter (about ⅔ cup)
- 1 tsp vanilla extract
Step 1 – Prep
Preheat oven to 375°F and line a baking sheet with parchment paper. Finely mill the soft white wheat.
Step 2 – Mix Wet Ingredients
Cream together the butter and brown sugar until light. Mix in the peanut butter, then add the egg and vanilla until combined.
Step 3 – Finish the Dough
Whisk together the flour, baking soda, and salt. Mix the dry ingredients into the wet ingredients on low speed just until combined. Let the dough rest for 10 minutes.
Step 4 – Scoop & Bake
Scoop 2 tbsp portions (#40 cookie scoop) onto the prepared baking sheet, spacing about 2 inches apart. Lightly press a fork across the tops in both directions for the classic crisscross pattern, being careful not to flatten them too much. Bake for 9 minutes, until the edges are just beginning to turn golden. Cool on the baking sheet for several minutes before transferring to a wire rack.
Recipe Notes
Natural Peanut Butter: It is very important that you use a natural peanut butter for this recipe. The ingredient list should simply be peanuts and salt. I settled on this recipe using a natural peanut butter specifically because the consistency of natural versus processed peanut butter is very different. If your natural peanut butter does not contain salt, add a small pinch of extra salt to the cookie dough. Creamy or crunchy peanut butter works well in this recipe.
For More Defined Fork Marks: These cookies bake beautifully immediately after mixing, but if you’d like more pronounced crisscross ridges, refrigerate the dough for several hours before baking.
Tips for Success

- Use soft white wheat berries
- Mill your grains finely
- Thoroughly stir your natural peanut butter before mixing
- Let your cookie dough sit for 10 minutes to let the bran and germ soften
- Pull the cookies from the oven when the edges are slightly golden brown
Storage and Freezing Tips
These cookies last up to 5 days, though that rarely happens in my home!
I recommend storing any baked goods in a container like this bread bag, or a bread box would work well, too.
You can freeze cookie dough or baked cookies. To freeze cookie dough, simply scoop the cookie dough into balls, place on a parchment-lined baking sheet, and freeze. When they are frozen, put them in a freezer-safe bag, remove excess air, and label. It’s best to eat them within 3 months.
To freeze baked cookies, let them cool fully, place them in a freezer-safe bag, remove excess air, and label.
FAQ

Why did my natural peanut butter cookies spread too much?
You likely have too much peanut butter per gram of flour. Be sure to measure accurately with a kitchen scale. Also, give your peanut butter a good stir so that the oil is well incorporated before mixing into the dough.
What is the best flour for natural peanut butter cookies?
I think soft white wheat berries work exceptionally well for natural peanut butter cookies.
Do I need to chill the dough for natural peanut butter cookies?
Nope! While chilling the dough will give you better definition in the top criss-cross pattern, it really does not affect the bake of the cookie. If you want them right away, bake them without any chilling.
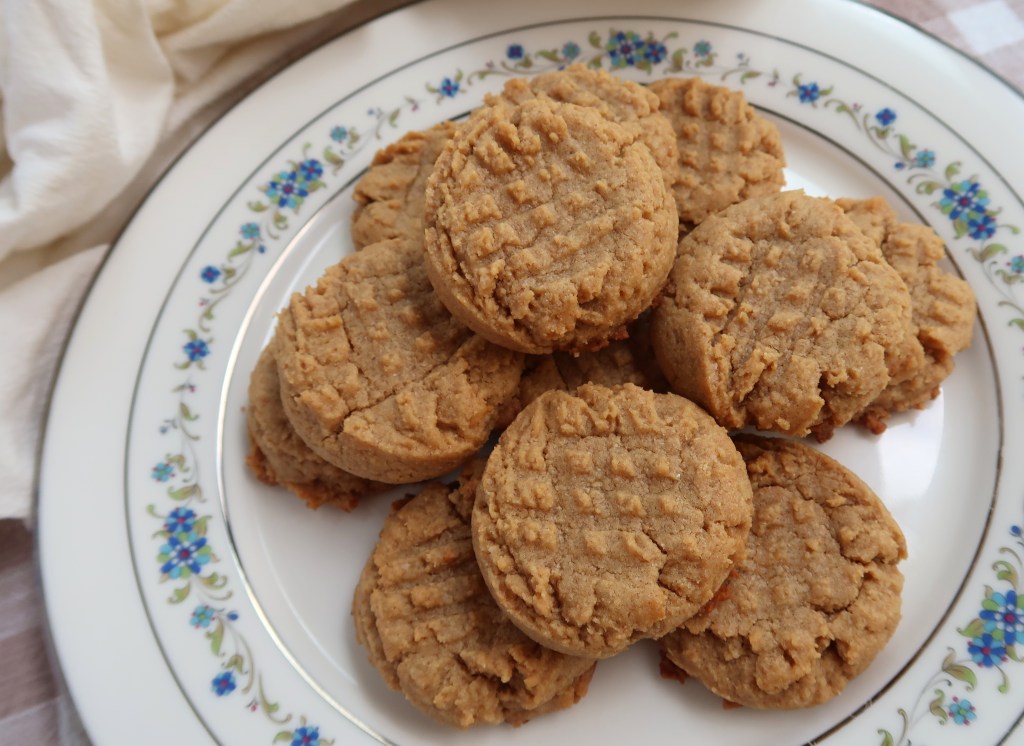
My family is always so happy when we have cookies in the house, and I am even happier knowing how much good nutrition I am providing for them. I hope that you try these peanut butter cookies out and love them as much as we do!
What’s your favorite way to enjoy a peanut butter cookie made with freshly milled flour?
Blessings,
Payton



 thecontentedhearth.com
Leave a comment