
This post may contain affiliate links. See our disclosure policy.
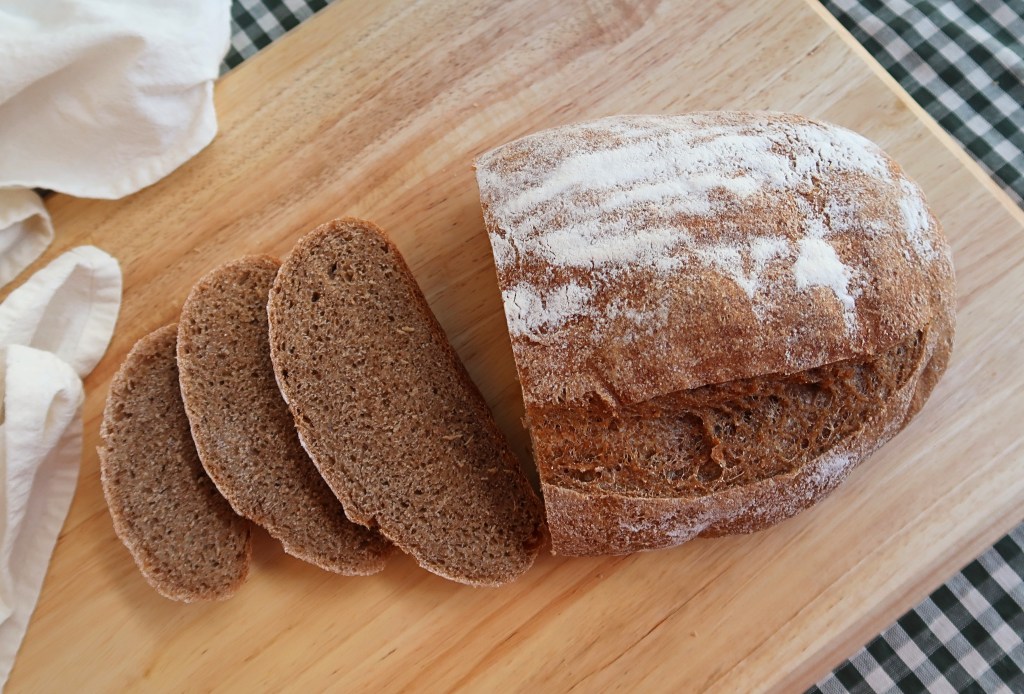
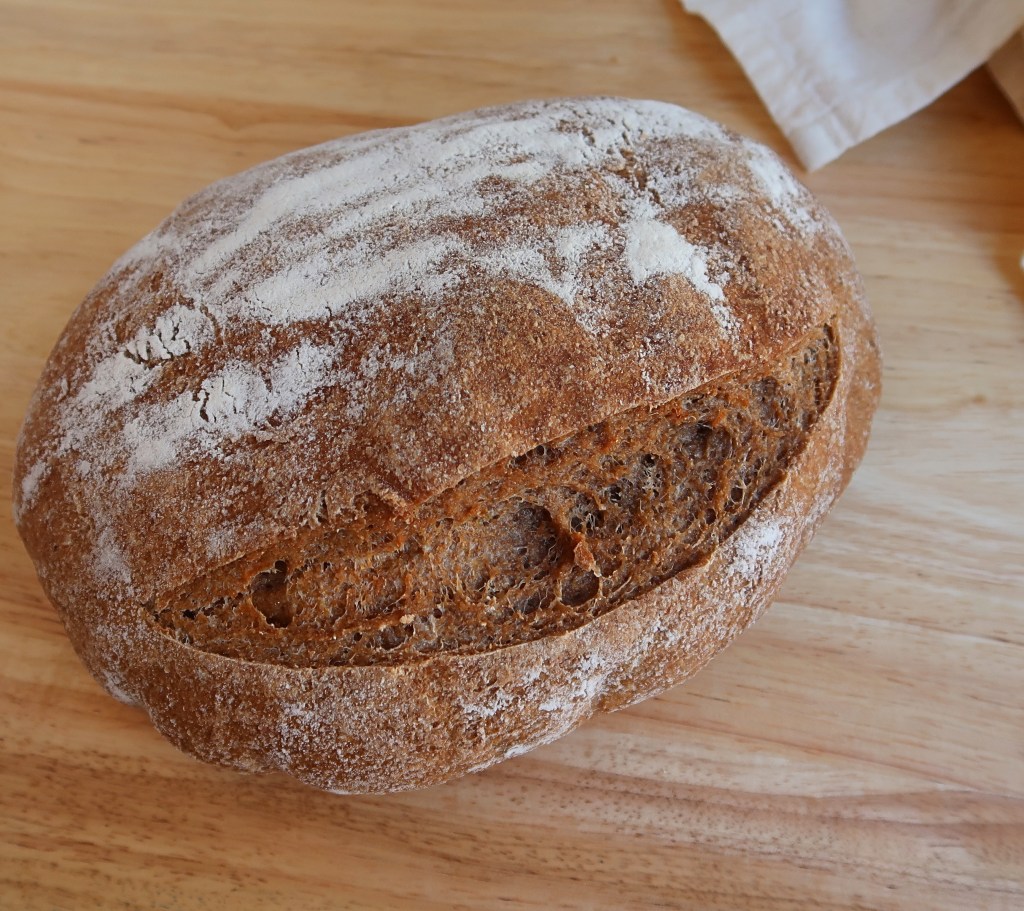
Do you like a no-fuss bread you can bake any day of the week? Maybe a bread that is hearty, perfect for dinner, and requires little labor? Then my Fresh-Milled Country Bread recipe is for you!
This Country Bread, made with freshly milled flour, has a wholesome, wheaty flavor and can be ready for the dinner table with very little effort! If this sounds lovely to you, then please keep reading.
Why Bake with Freshly Milled Flour?
Simply put, it is much more nutrient-rich.
When wheat is milled and the bran and germ are removed to create all-purpose flour, most of the fiber, vitamins, minerals, and healthy fats are lost. What remains is mostly starch and some protein. Because starch is rapidly broken down into glucose, baked goods made with white flour can cause a much sharper rise in blood sugar compared to whole-grain versions.
Below is a list of the nutrients in the humble wheat berry. It’s amazing!
Nutrients in Fresh-Milled Whole Wheat Flour
Fresh-milled flour is rich in naturally occurring nutrients that are often lost in store-bought white flour. By milling your own grains at home, you retain the full spectrum of vitamins, minerals, and fiber—exactly as God designed it.
Macronutrients
- Protein
- Healthy Carbohydrates
- Dietary Fiber
- Natural Fats (small amounts)
Key Vitamins
- Thiamine (B1)
- Riboflavin (B2)
- Niacin (B3)
- Pantothenic Acid (B5)
- Pyridoxine (B6)
- Folate (B9)
- Vitamin E
Essential Minerals
- Iron
- Magnesium
- Phosphorus
- Potassium
- Calcium
- Zinc
- Selenium
- Copper
- Manganese
- Natural Sodium (very low)
Note: Nutrient content can vary depending on the wheat variety and freshness, but fresh-milled flour is always more nourishing than refined alternatives.
✨Check out my blog post here for a more thorough breakdown of the benefits of fresh-milled flours.
Now that we understand the benefits of freshly milled flour, let’s take a look at which wheat berries work best for a hearty country bread.
What Type of Wheat Berries Should I Use?
Different wheat berries contain varying amounts of protein, and two key proteins are essential for creating a strong gluten network: glutenin and gliadin.
- Glutenin – Gives dough strength and elasticity, helping bread hold its shape and rise.
- Gliadin – Makes dough stretchy and extensible, allowing it to expand during fermentation and baking.
When these two proteins work together, you get a strong, resilient gluten network that produces a perfect rise.
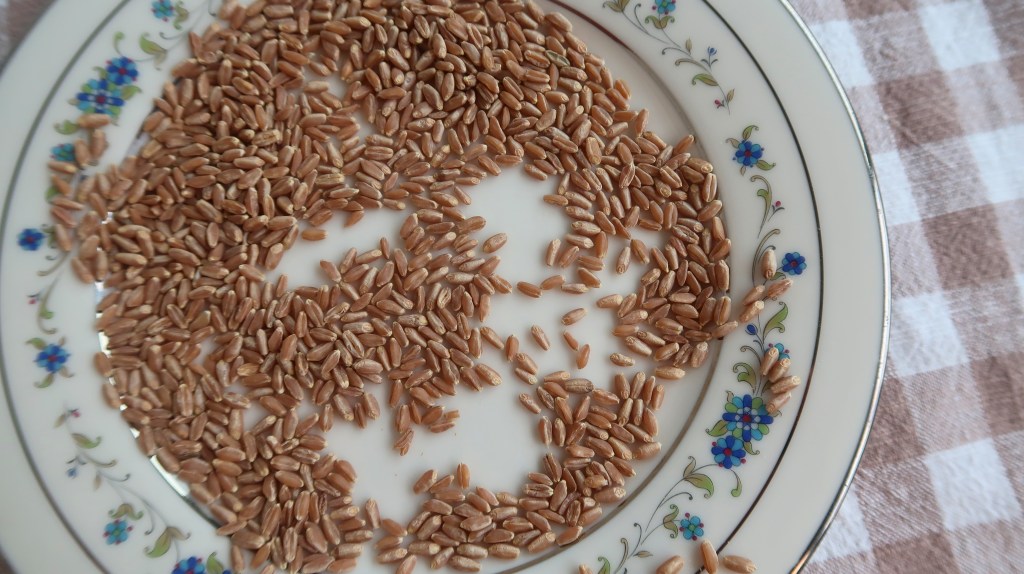
For yeasted breads, choose hard red or hard white wheat, which have enough protein to create a strong gluten network.
I especially love using Yecora Rojo wheat berries in this recipe. They produce a country bread that holds its shape well without baking in a pan.
If you enjoy experimenting with ancient grains, feel free to mix them with your hard wheat. I would avoid using only ancient grains for this recipe. They need very particular handling.
Check out my blog post that gives more information on wheat berries and their uses.
What Is a Poolish?
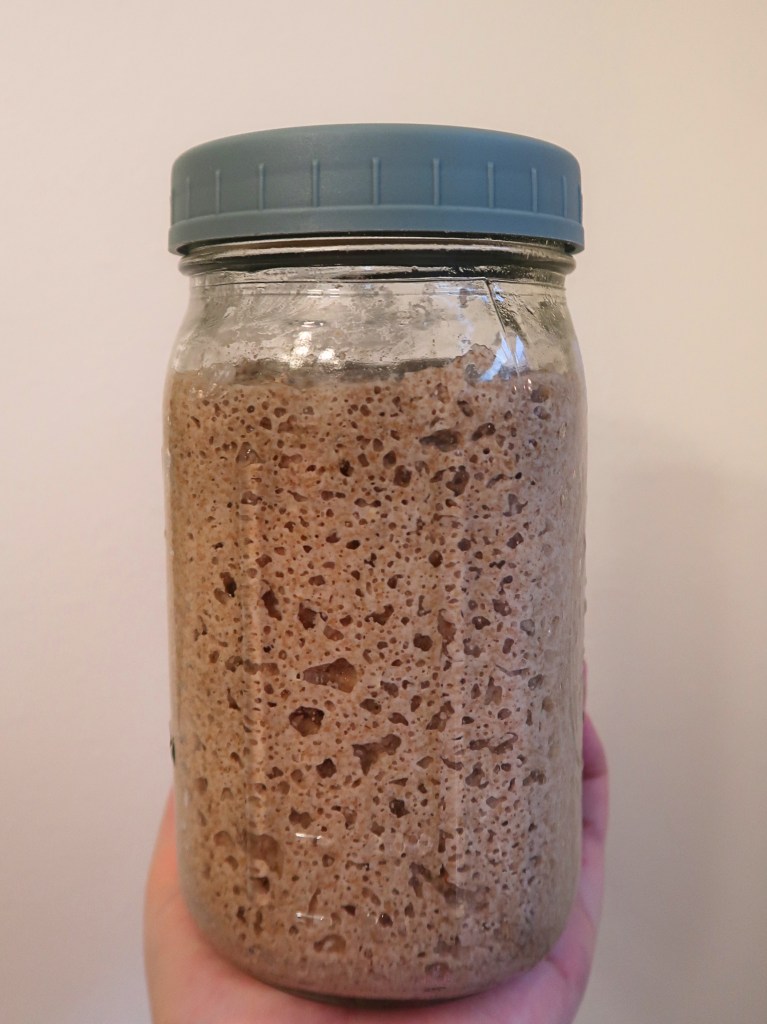
A poolish is a preferment. It is simply a portion of water, flour, and a pinch of yeast mixed ahead of time before adding it to your final dough. The purpose of a poolish is to give the flour more time to hydrate and allow the enzymes within the wheat to work, which can help create a creamier texture to the dough’s interior. This is especially helpful with freshly milled bread, as it takes a good amount of time to soften the sharp bran and germ.
Tools You’ll Need
- Grain mill
- Glass bowl and wooden spoon
- Kitchen scale (preferred) or measuring cups and spoons
- Banneton basket or a bowl and cloth
- Parchment paper
- Bread lame or sharp knife
- Cast iron dutch oven
If you’re just getting started with fresh-milled baking, I’ve rounded up my thoughts on grain mill shopping and everyday baking essentials in my post on top tools for fresh-milled baking.
Ingredients You’ll Need
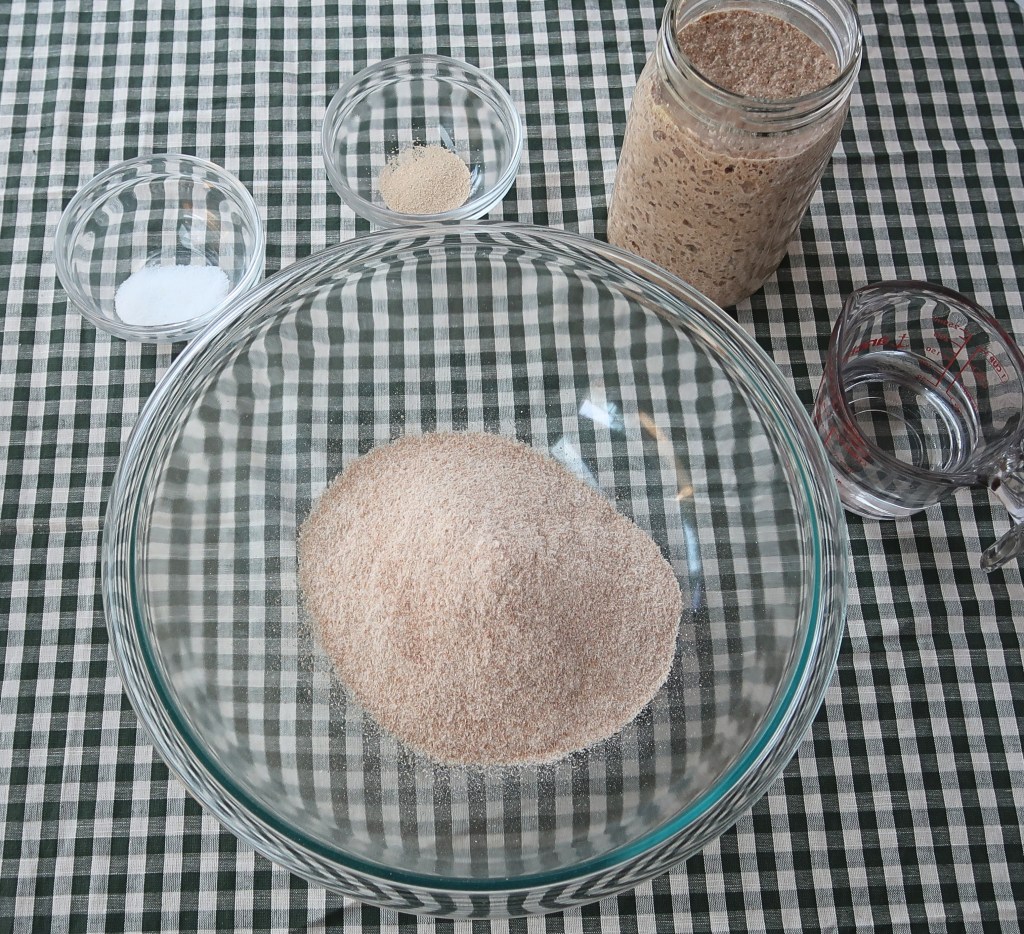
- Freshly milled hard wheat (I like a hard red called Yecora Rojo)
- Water
- Instant yeast
- Salt
- Poolish (flour, water, and a pinch of yeast)
Step-by-Step: How to Make Fresh-Milled Country Bread
Step 1: Mill Your Grains and Mix Poolish
The night before you want to bake your country bread, mill your grains. To make your poolish, use a large jar or glass bowl to mix 250 g flour, 250 g water, and a pinch of yeast. Stir until no dry flour remains. Cover the poolish well and leave it on the counter overnight.
Step 2: Mix Your Final Dough
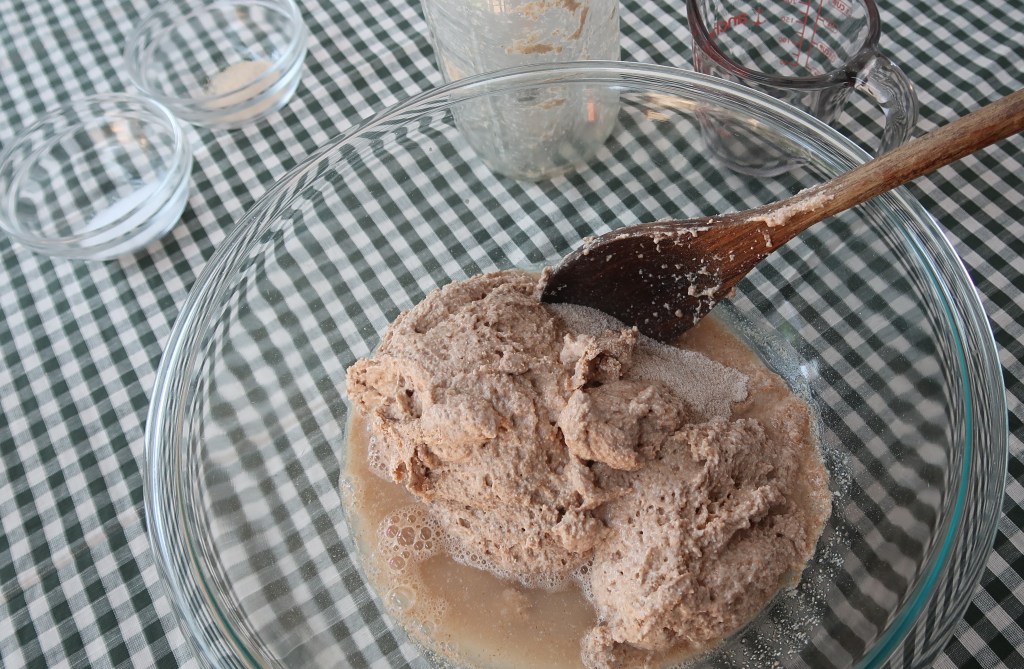
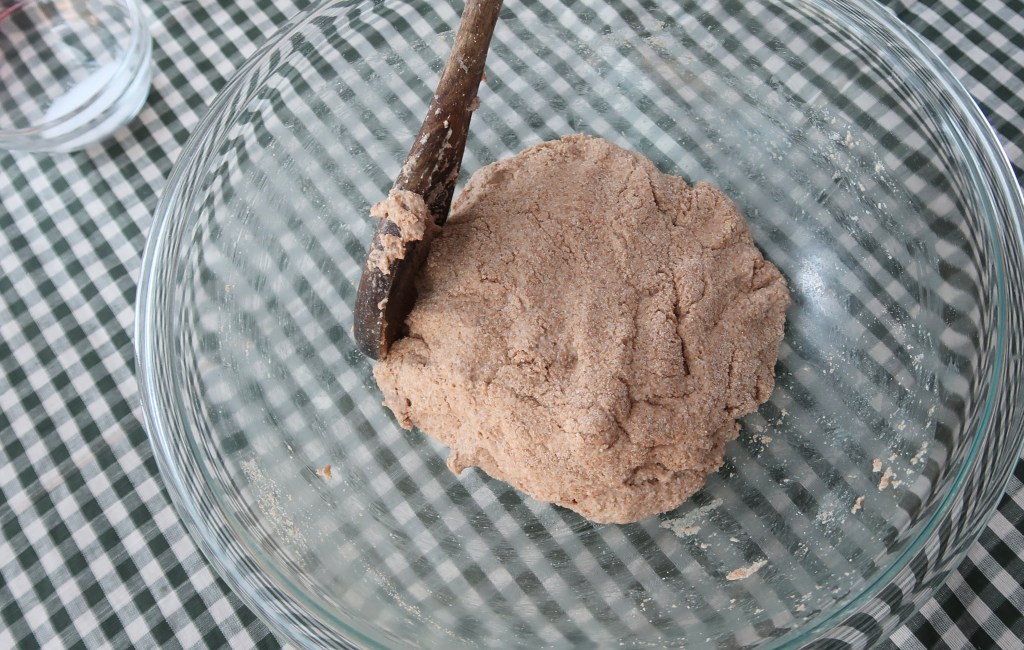
In the morning, add the remaining 250 g of flour, 125 g of water, and the poolish. Mix this well with a wooden spoon, pressing down the dough as needed until no dry flour remains. Cover and let this rest for 45 minutes.
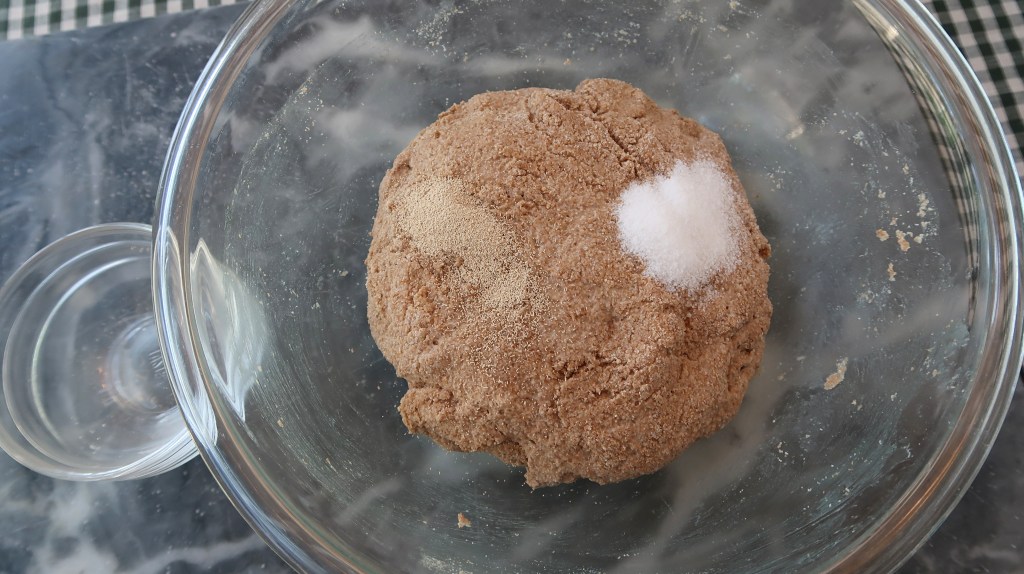
Add your salt and yeast, being careful to add the salt to one side of the dough and the yeast to the other side. Using wet hands, push the salt and yeast into the dough, lifting and pressing all around until fully incorporated.
Step 3: Slap and Fold
Next, perform 2-3 slap and folds with 15-30 minute rests in between.
Place your dough on an unfloured surface. I recommend slightly wetting your hands. Lift the top third of the dough and let the bottom half hang in the air. Slap the dough onto the counter and then fold the portion in your hands away from you. Turn the dough a quarter and repeat. Repeat these steps several times until the dough feels a bit tighter. Cover your dough after 2-3 rounds.
Step 4: Counter Rise
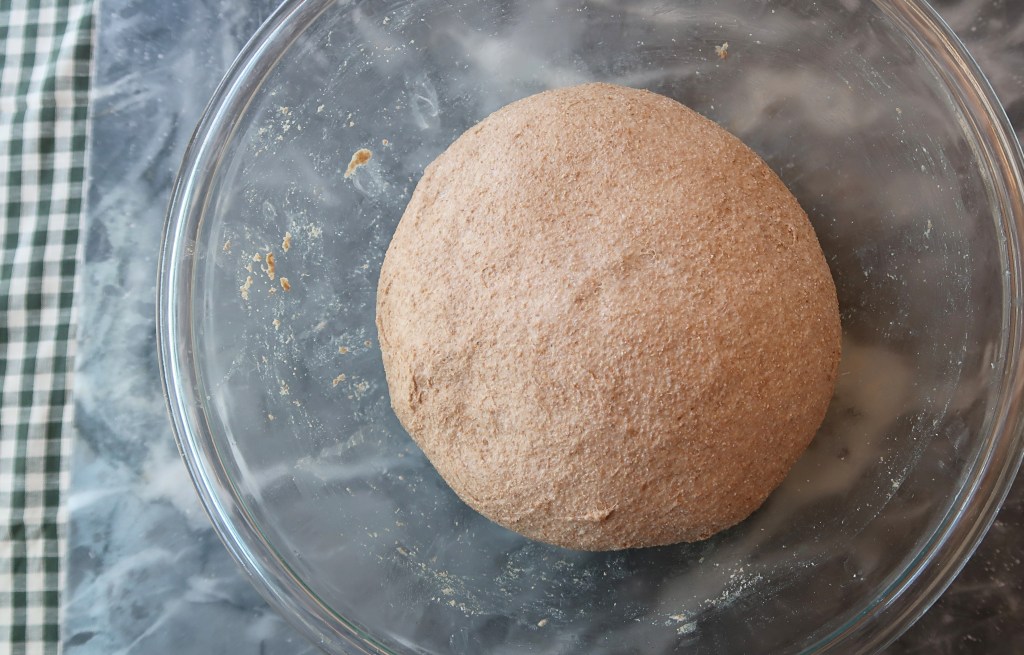
Let your dough rise for 1-2 hours. This rise is faster than a typical bulk rise. You’re looking for a dough that is just a bit larger, with some noticeable aeration.
Step 5: Shape and Fridge Rise
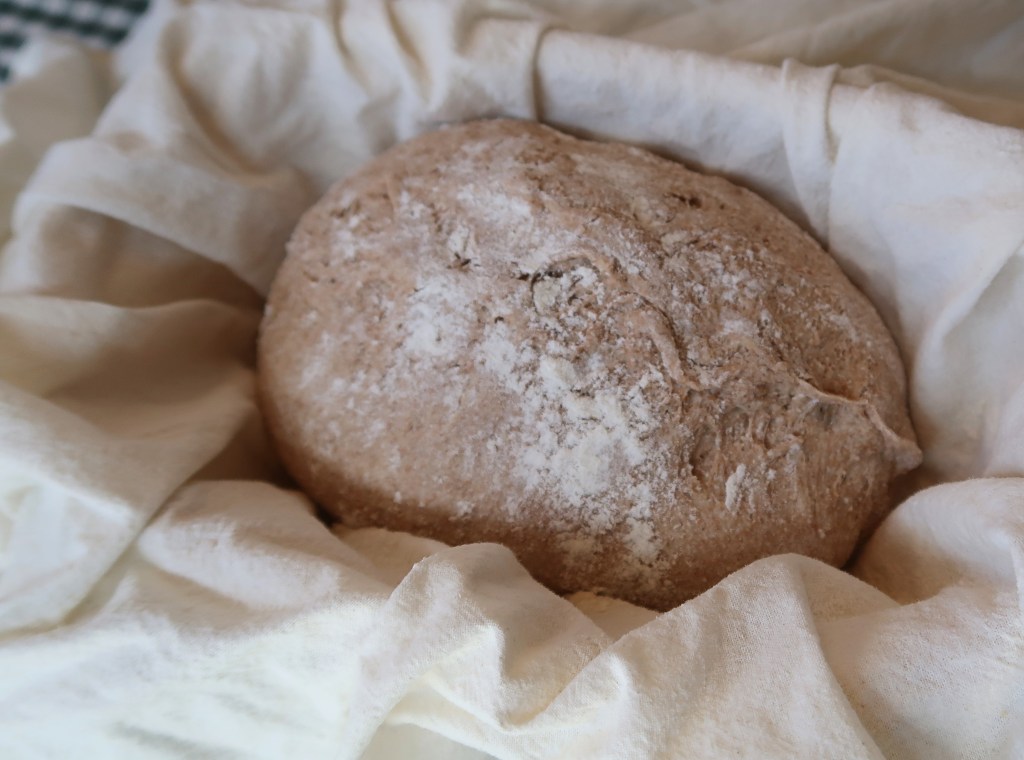
There are many ways to shape a country loaf effectively. If you are using a banneton, boule- or batard-shaped, you will need to shape differently. I shaped mine in a batard, which is essentially an oval. A boule-shaped loaf is circular. You can also use a bowl, with a floured cloth placed in the bottom.
To shape your loaf batard-style, gently stretch it into a rectangle. Pull the bottom quarter up to the center. Then grab each side and fold in to the center, allowing the second side to overlap. Next, grab the top portion and lay it over the top. You can either “stitch” the seam closed by grabbing little bits of dough at the center and pinching them in on alternating sides, or pinch the seam closed evenly. Flip your dough over and, on an unfloured surface, use your hands to pull the dough towards you several times. You are trying to feel the dough drag against the surface. Flip the dough back over and be sure the seam has closed fully. Place in a floured banneton.
Use two grocery bags to cover the banneton gently. I place the banneton in one bag and lightly tie the handles, then place another bag on the banneton and tie the handles on the opposite side.
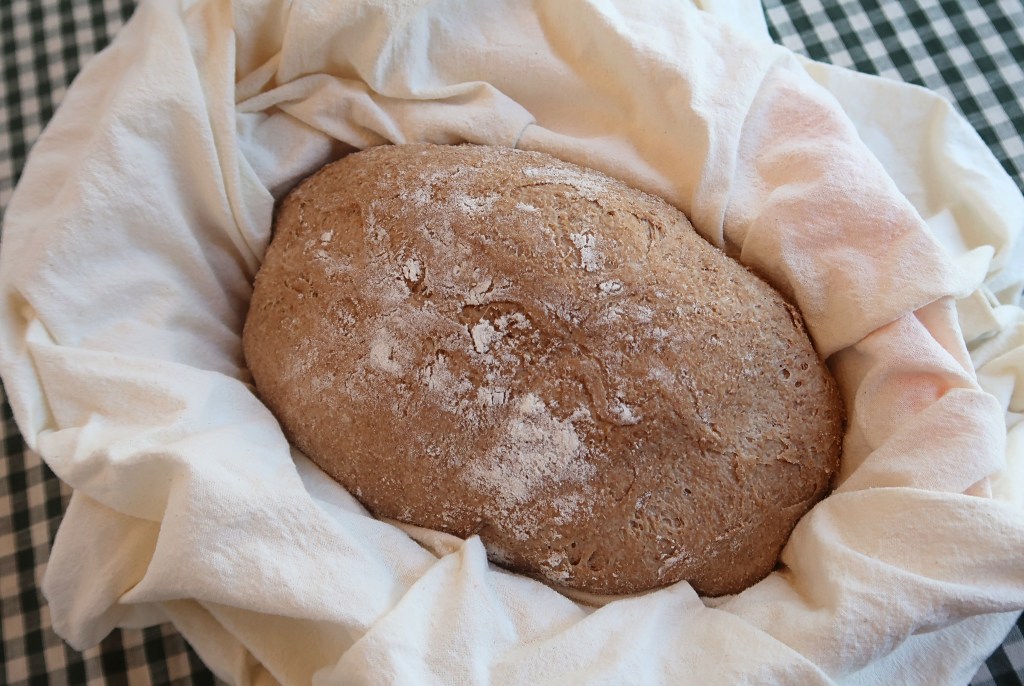
Let your loaf rise in the fridge for 3-5 hours. You are looking for a dough that has risen significantly and looks puffy.
Step 6: Preheat the Oven, Score, and Bake
I recommend checking your dough at 3 hours. If it looks much puffier, it is probably time to start preheating your oven. Preheat your Dutch oven for at least 30-45 minutes to reach a very hot initial temperature. This helps create steam and an initial rise.
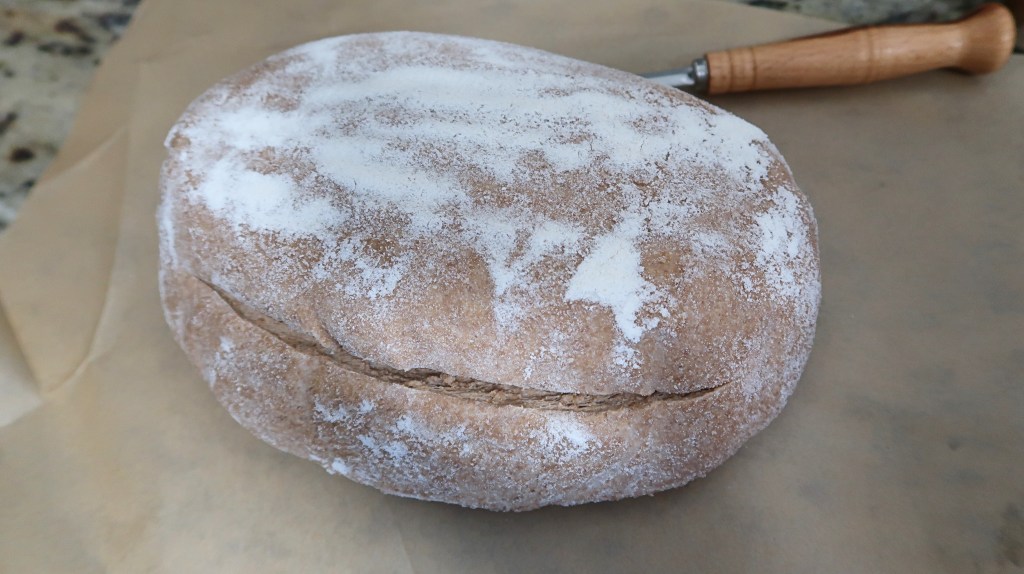
Preheat your oven to 450℉ and place the Dutch oven inside. After about 45 minutes, pull out your dough and parchment paper. Turn the dough out onto the parchment paper. Use a bread lame or sharp knife to quickly cut a 1/2″ slice into the side of your loaf. Take the lid off your Dutch oven, gently place the dough in, and quickly replace the lid.
Bake for 20 minutes with the lid on, remove the lid, and bake for another 15 minutes.
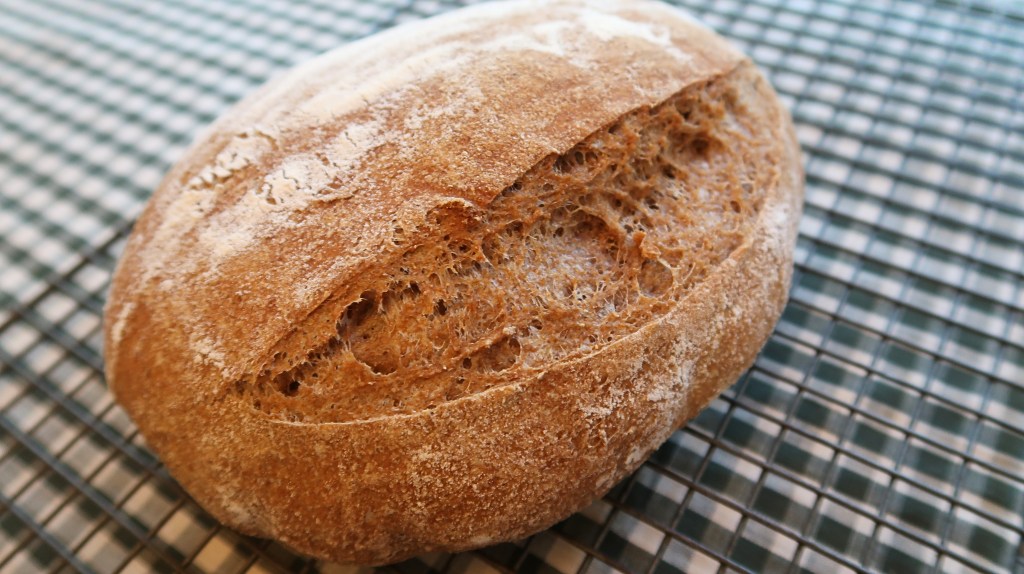
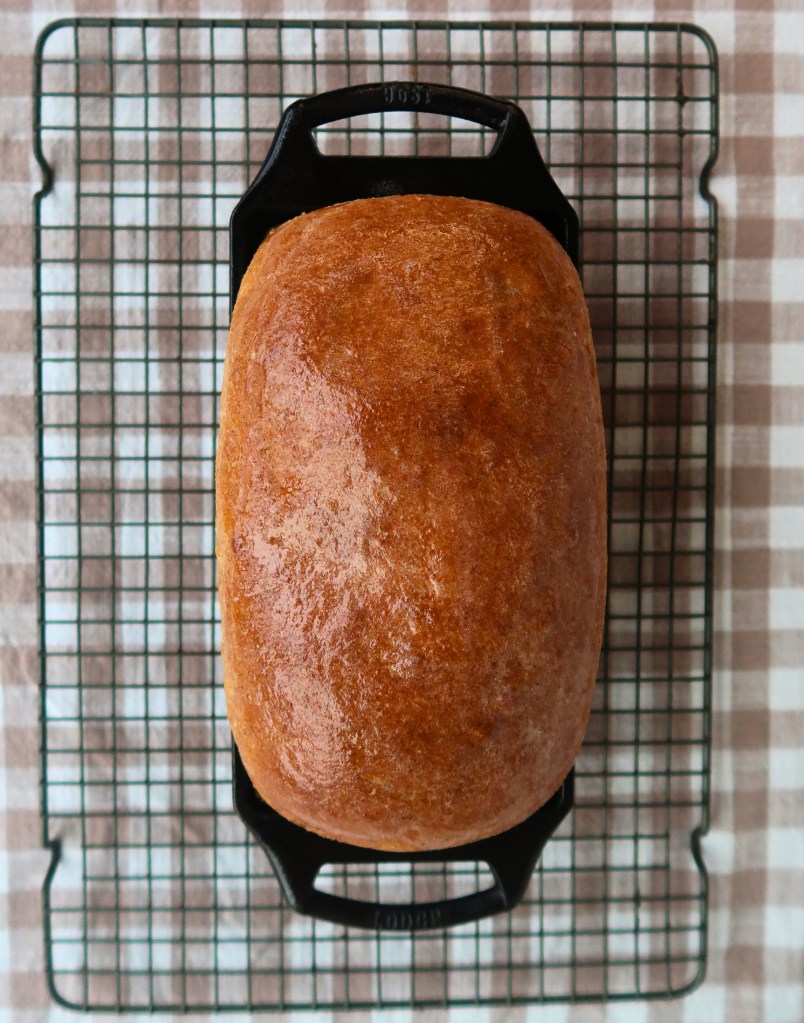
Remove your bread onto a cooling rack and let it cool completely. But I won’t judge if you can’t wait that long!
Enjoy!
Fresh-Milled Country Loaf with Poolish
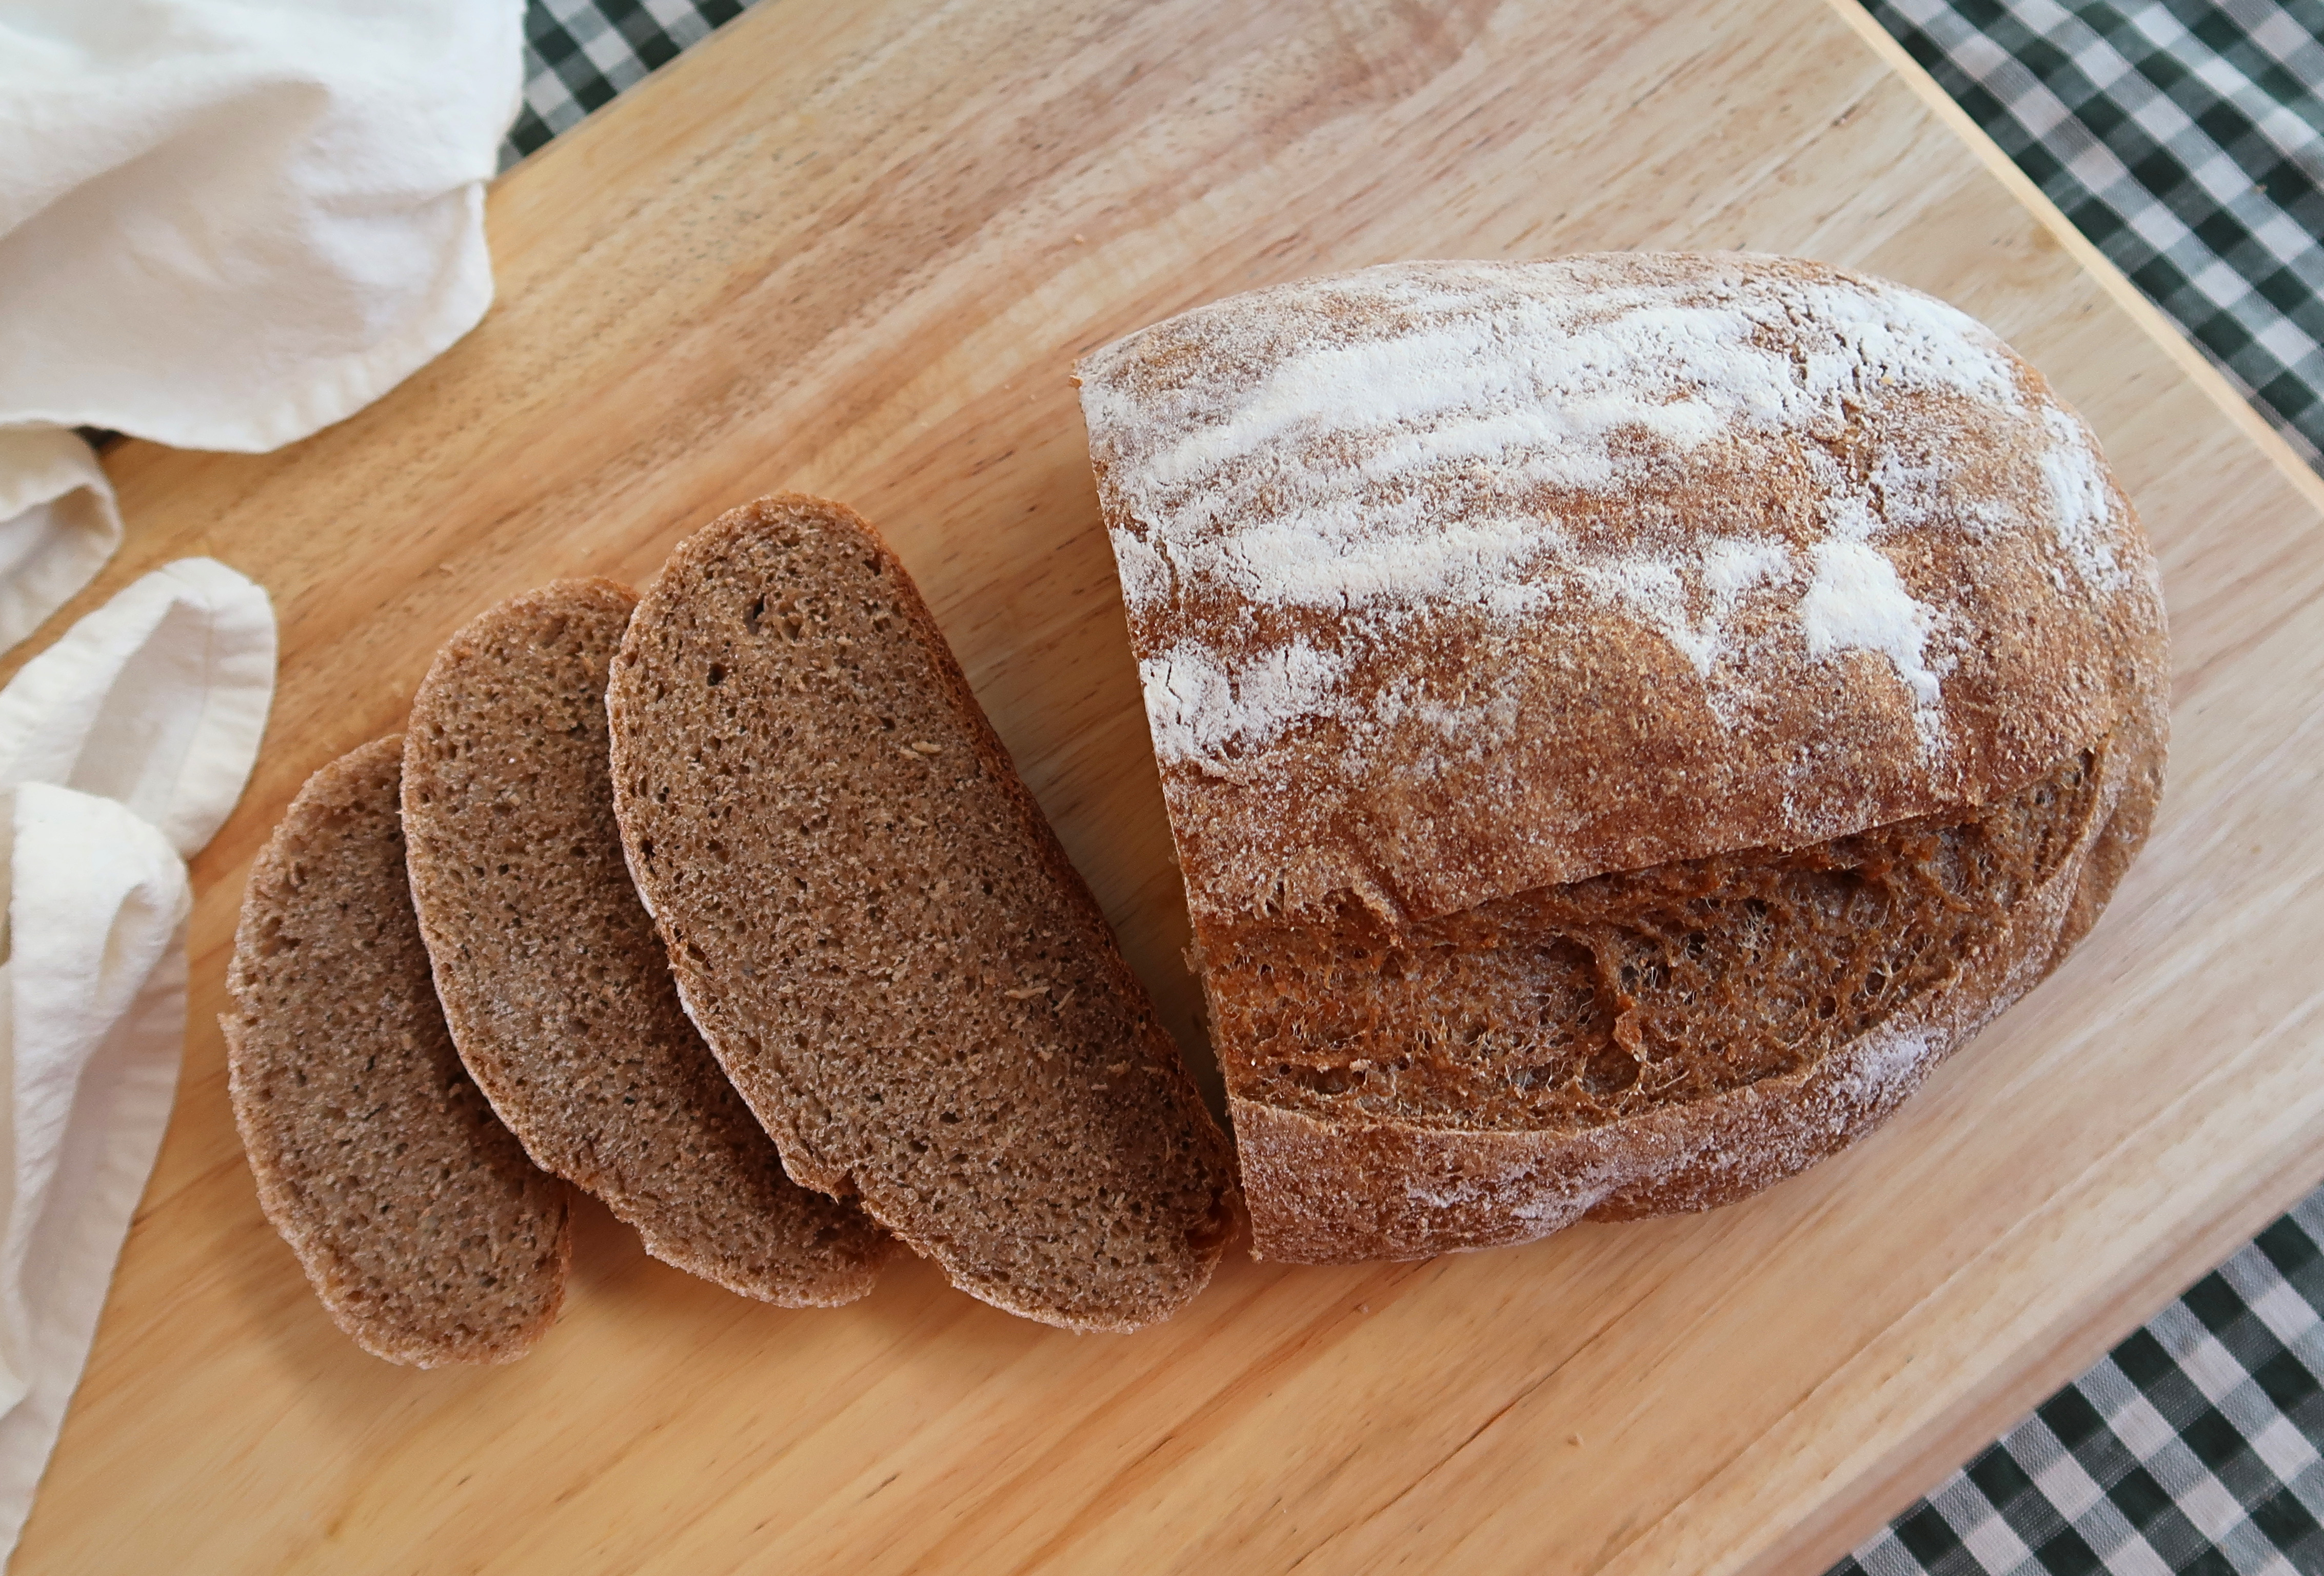
Important: Gram measurements are best for this recipe, especially when working with fresh-milled flour. Volume measurements are estimates provided only for convenience and may vary depending on how the flour is milled and measured.
Ingredients
For the Poolish
- 250 g freshly milled hard red or white wheat (about 2 cups)
- 250 g water (about 1 cup + 1 tbsp)
- Pinch of instant yeast
For the Final Dough
- 250 g freshly milled hard red or white wheat (about 2 cups)
- 125 g water (about ½ cup)
- 2 g instant yeast (about ½ tsp)
- 10 g salt (about 1¾ tsp)
Step 1 – Make the Poolish
The night before baking, combine 250 g flour, 250 g water, and a pinch of yeast in a large jar or bowl. Stir until no dry flour remains. Cover and leave on the counter overnight.
Step 2 – Mix the Final Dough
In the morning, add the remaining 250 g flour, 125 g water, and the poolish. Mix until no dry flour remains. Cover and rest for 45 minutes.
Add the salt and yeast to opposite sides of the dough. Using wet hands, work them into the dough until fully incorporated.
Step 3 – Slap and Fold
Place the dough on an unfloured surface and slightly wet your hands. Slap and fold the dough for several repetitions until it begins to feel tighter. Cover and rest for 15–30 minutes. Repeat for 2–3 rounds.
Step 4 – Counter Rise
Cover and let the dough rise for 1–2 hours. Look for a slightly larger, noticeably aerated dough rather than a fully doubled dough.
Step 5 – Shape and Refrigerate
Gently stretch the dough into a rectangle. Fold the bottom quarter toward the center, fold both sides into the center, then fold the top portion over the dough. Pinch the seam closed.
Flip the dough seam-side down and gently pull it toward you several times to build surface tension. Flip it back over, make sure the seam is closed, and place in a well-floured banneton.
Cover the banneton with two grocery bags and refrigerate for 3–5 hours, until the loaf is noticeably puffy.
Step 6 – Preheat, Score, and Bake
Check the dough at 3 hours. When it looks significantly puffier, preheat your Dutch oven at 450°F for 30–45 minutes.
Turn the dough onto parchment paper and score a ½-inch slice into the side of the loaf using a bread lame or sharp knife. Carefully transfer the dough to the hot Dutch oven and cover.
Bake covered for 20 minutes. Remove the lid and bake another 15 minutes, until deeply golden.
Transfer to a cooling rack and cool completely before slicing.
Tips for Success
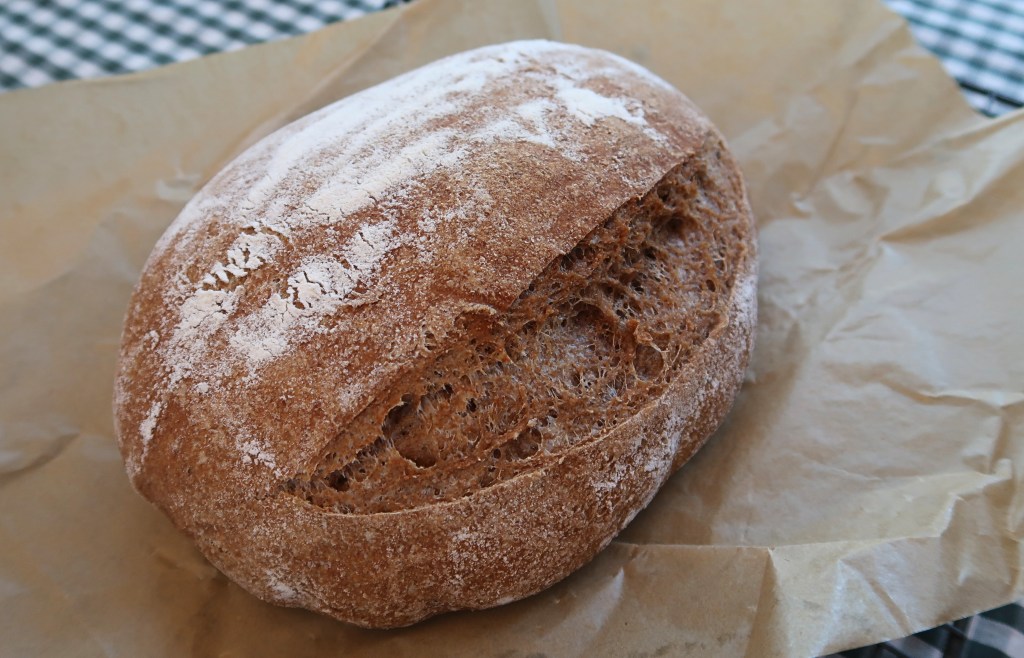
- Finely mill your grains
- Let your flour, water, and poolish rest, covered, for 1 hour
- Use the “slap and fold” method to build up the gluten structure
- Use the fridge to slowly rise your shaped loaf
Storage and Freezing Tips
I recommend storing any baked goods in a container like this bread bag, or in a bread box. This bread lasts well up to 3 days.
To freeze, bake and fully cool your loaf. I like to pre-slice my bread, wrap it in plastic wrap, label it, and freeze it for up to 3 months. Ziploc bags work well, too.
FAQ
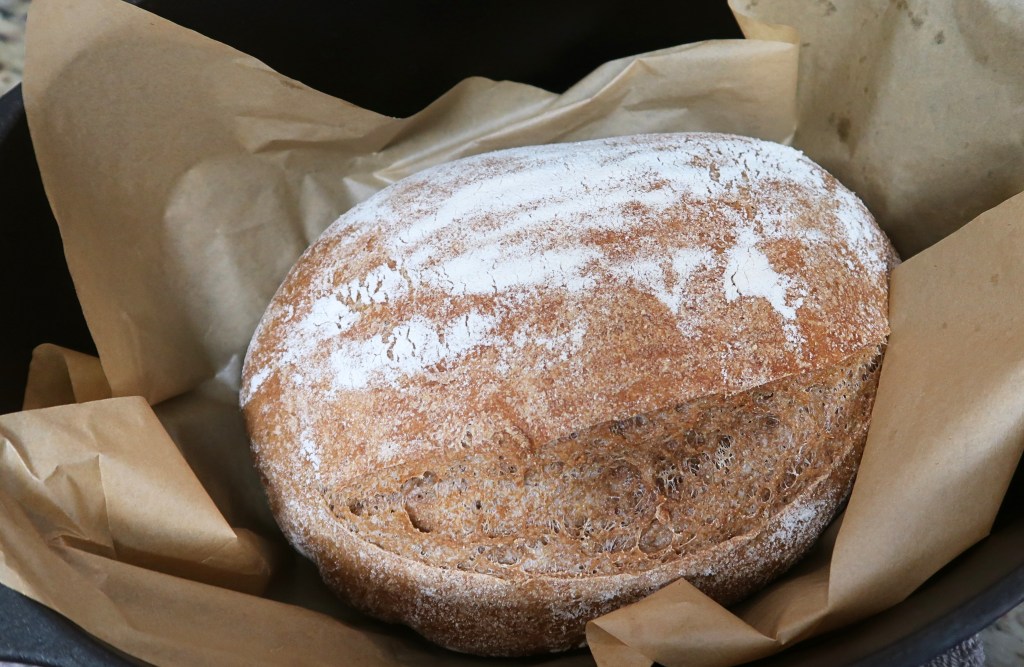
What is a poolish in bread making?
A poolish is a preferment. It is simply a portion of water, flour, and a pinch of yeast mixed ahead of time, then added to your final dough.
Can I refrigerate the dough before baking?
Yes! I like to refrigerate my dough for it’s shaped rise. This helps to score your dough much more easily.
What is the best way to get a crisp, golden crust on fresh-milled bread?
A Dutch oven and a very hot oven help to get a crisp exterior. Also, be sure to take the lid off for the last 15 minutes of baking.
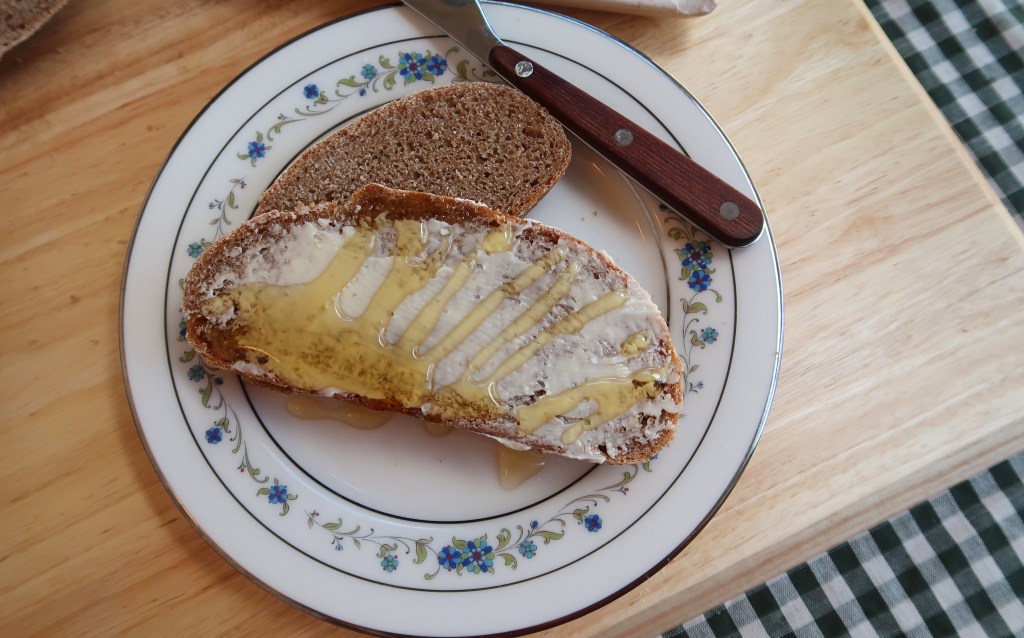
I really enjoy having a country bread on rotation in my home. It requires little effort for me and is a very filling, wholesome side to any meal. I hope you try this one out!
What’s your favorite way to enjoy a country loaf made with freshly milled flour?
Blessings,
Payton

 thecontentedhearth.com
Leave a comment