
This post may contain affiliate links. See our disclosure policy.
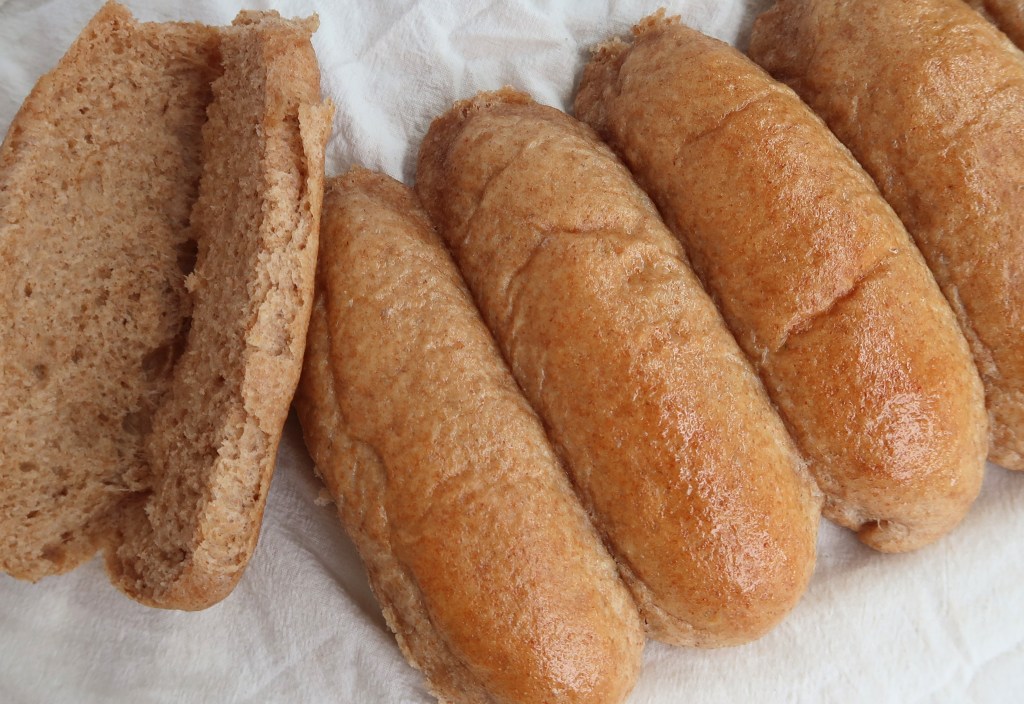
Summer grilling and easy, kid-friendly dinners are even better with homemade hot dog buns. This recipe is just what you need!
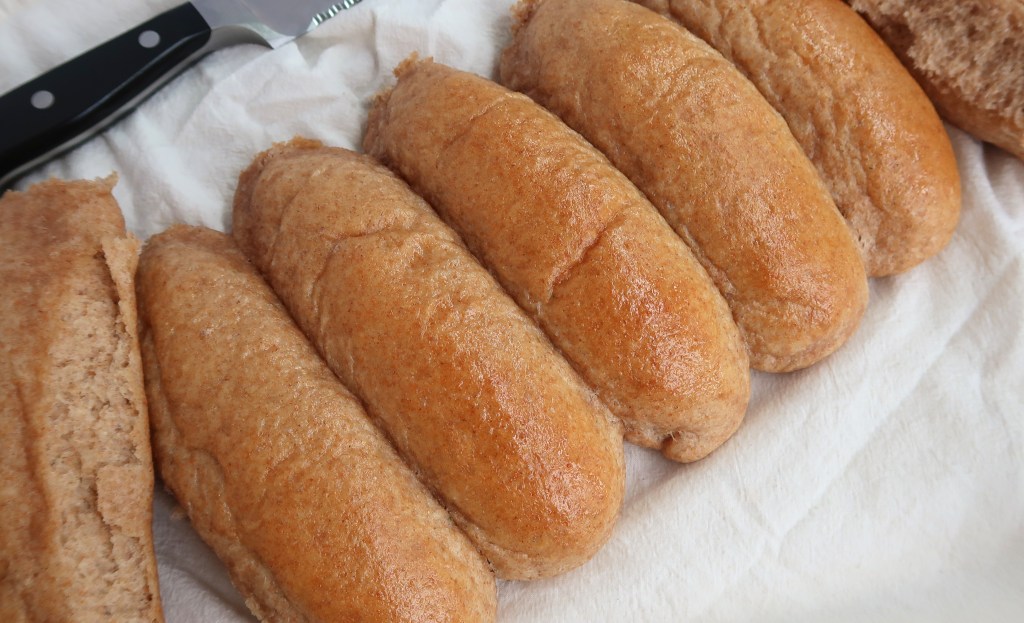
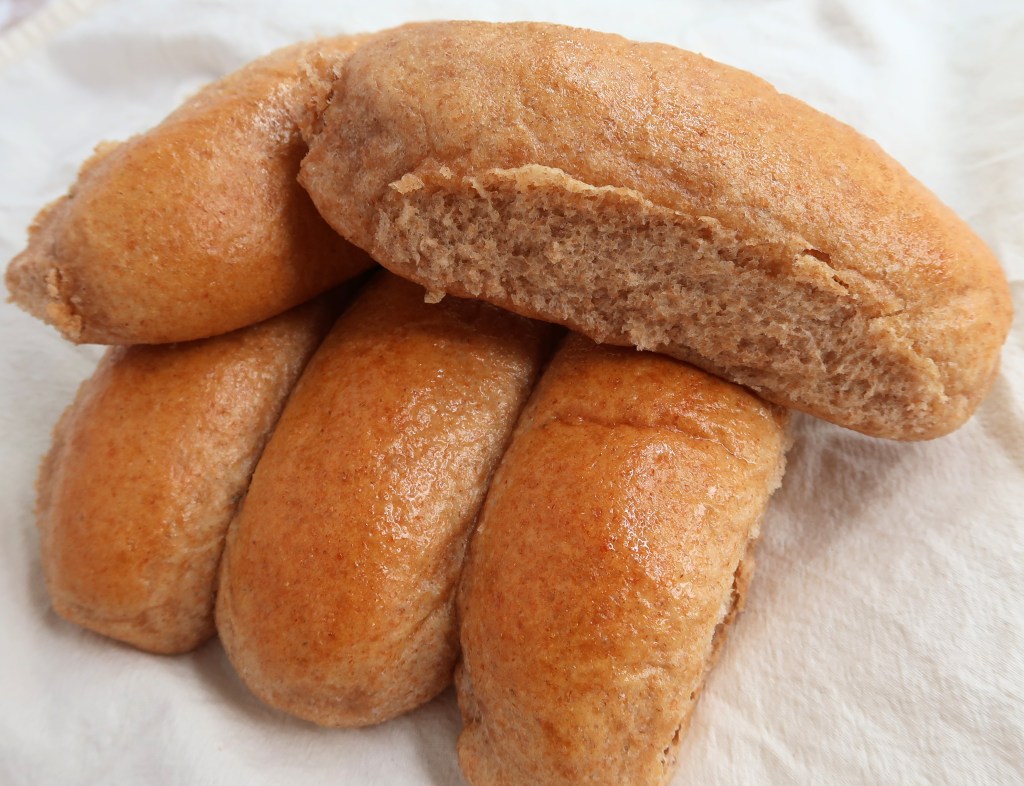
Soft, fresh-milled hot dog buns come together quickly, turning any hot dog into a wholesome, satisfying meal. With everyday pantry staples and freshly milled flour, you get that perfect balance of flavor, nutrition, and softness—no special pan needed.
Bake a batch for summer picnics or quick weeknight dinners—they’re always a crowd-pleaser.
Why Bake with Freshly Milled Flour?
Simply put, it is much more nutrient-rich.
When wheat is milled, and the bran and germ are removed to create all-purpose flour, most of the fiber, vitamins, minerals, and healthy fats are lost. What remains is mostly starch and some protein. Because starch is rapidly broken down into glucose, baked goods made with white flour can cause a much sharper rise in blood sugar compared to whole-grain versions.
Below is a list of the nutrients in the humble wheat berry. It’s amazing!
Nutrients in Fresh-Milled Whole Wheat Flour
Fresh-milled flour is rich in naturally occurring nutrients that are often lost in store-bought white flour. By milling your own grains at home, you retain the full spectrum of vitamins, minerals, and fiber—exactly as God designed it.
Macronutrients
- Protein
- Healthy Carbohydrates
- Dietary Fiber
- Natural Fats (small amounts)
Key Vitamins
- Thiamine (B1)
- Riboflavin (B2)
- Niacin (B3)
- Pantothenic Acid (B5)
- Pyridoxine (B6)
- Folate (B9)
- Vitamin E
Essential Minerals
- Iron
- Magnesium
- Phosphorus
- Potassium
- Calcium
- Zinc
- Selenium
- Copper
- Manganese
- Natural Sodium (very low)
Note: Nutrient content can vary depending on the wheat variety and freshness, but fresh-milled flour is always more nourishing than refined alternatives.
✨Check out my blog post here for a more thorough breakdown of the benefits of fresh-milled flours.
Now that we understand the benefits of freshly milled flour, let’s take a look at which wheat berries work best for baking a sturdy, soft hot dog bun.
What Type of Wheat Berries Should I Use?
Different wheat berries contain varying amounts of protein, and two key proteins are essential for creating a strong gluten network: glutenin and gliadin.
- Glutenin – Gives dough strength and elasticity, helping bread hold its shape and rise.
- Gliadin – Makes dough stretchy and extensible, allowing it to expand during fermentation and baking.
When these two proteins work together, you get a strong, resilient gluten network that produces a perfect rise.
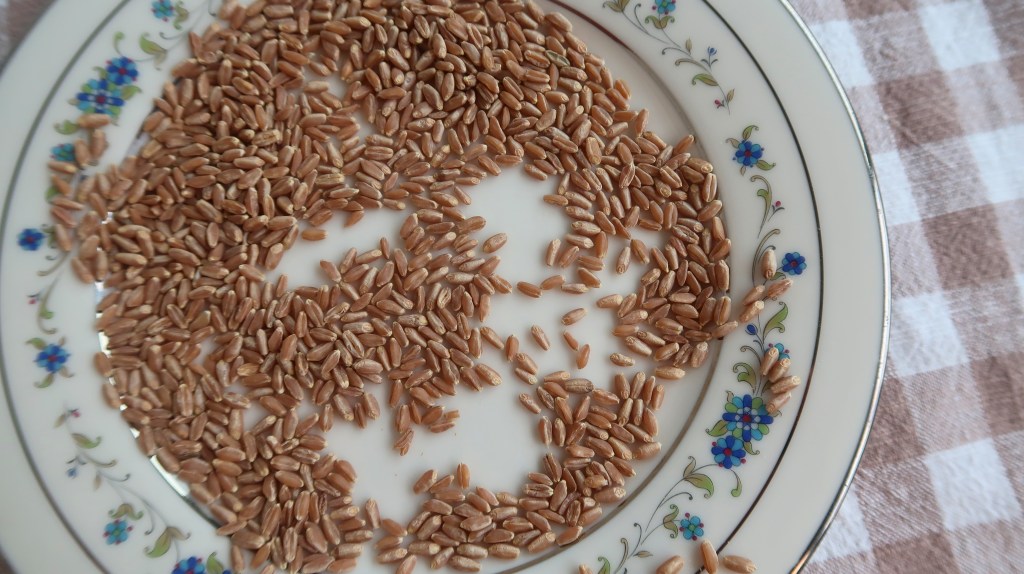
For yeasted breads, choose hard red or hard white wheat, which have enough protein to create soft, fluffy buns.
I especially love using Yecora Rojo wheat berries in this recipe. They produce an incredibly soft crumb, rich flavor, and beautiful rise while keeping the hot dog buns tender.
If using a lower-protein wheat variety, you may need slightly less liquid since weaker wheats absorb water differently and can struggle to hold the same structure in a hot dog bun.
If you enjoy experimenting with ancient grains, feel free to mix them with your hard wheat. I would avoid using only ancient grains for this recipe. They need very particular handling.
✨Check out my blog post that gives more information on wheat berries and their uses.
Now that you’ve selected your wheat, let’s prepare the simple tools needed for success.
Tools You’ll Need
- Grain mill
- Stand mixer (optional, but helpful)
- Kitchen scale (preferred) or measuring cups and spoons
- Baking sheet
- Parchment paper
Ingredients You’ll Need
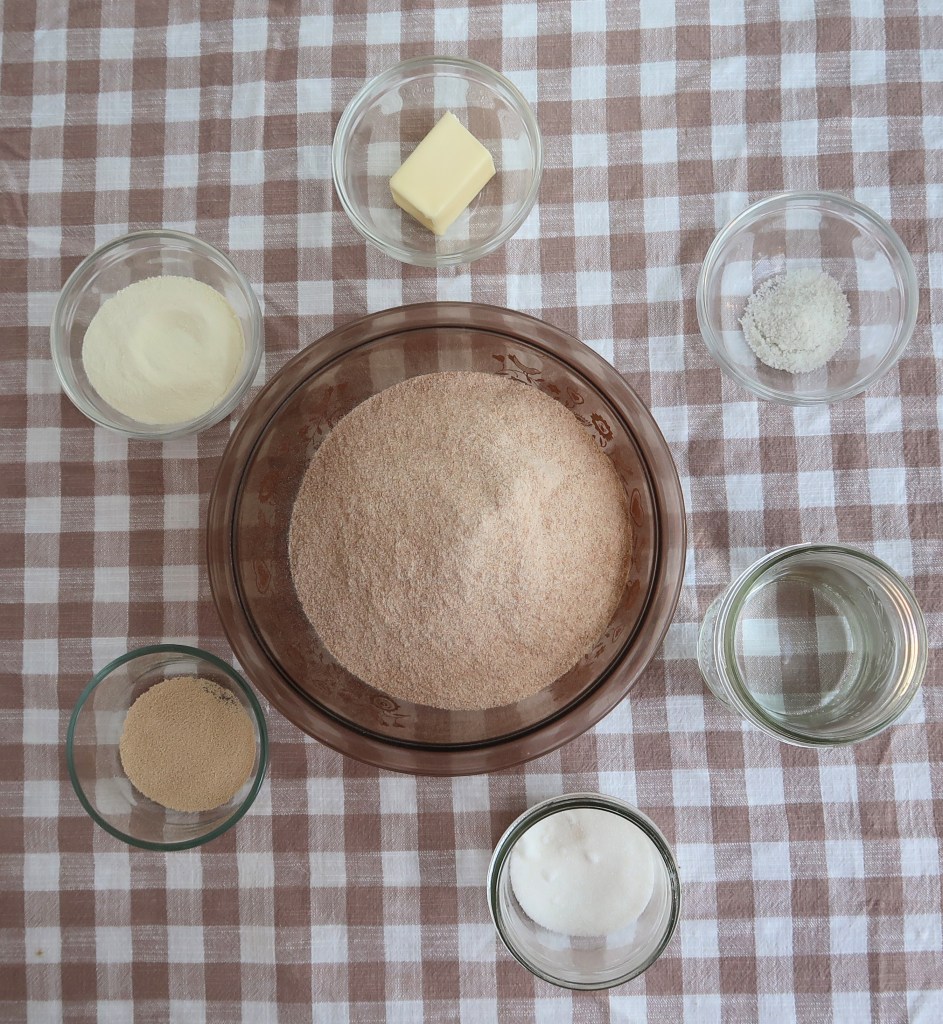
- Fresh-milled flour (I love a hard red called Yecora Rojo from Grand Teton)
- Water
- Softened, unsalted butter
- Sugar
- Instant powdered milk
- Salt
- Yeast
Powdered Milk Note: I use powdered milk in many of my bread recipes because it is economical, shelf-stable, and easy to keep stocked in the pantry. If you prefer to use regular milk, you can generally replace the water with an equal amount of whole milk and omit the powdered milk. I develop and test my recipes using powdered milk, so the recipe below reflects that version.
Step-by-Step: How to Make Fresh-Milled Hot Dog Buns
Step 1: Mill Your Grains and Autolyse
Mill your hard wheat berries on a fine setting. I recommend Yecora Rojo, a hard red wheat from Grand Teton, for this recipe.
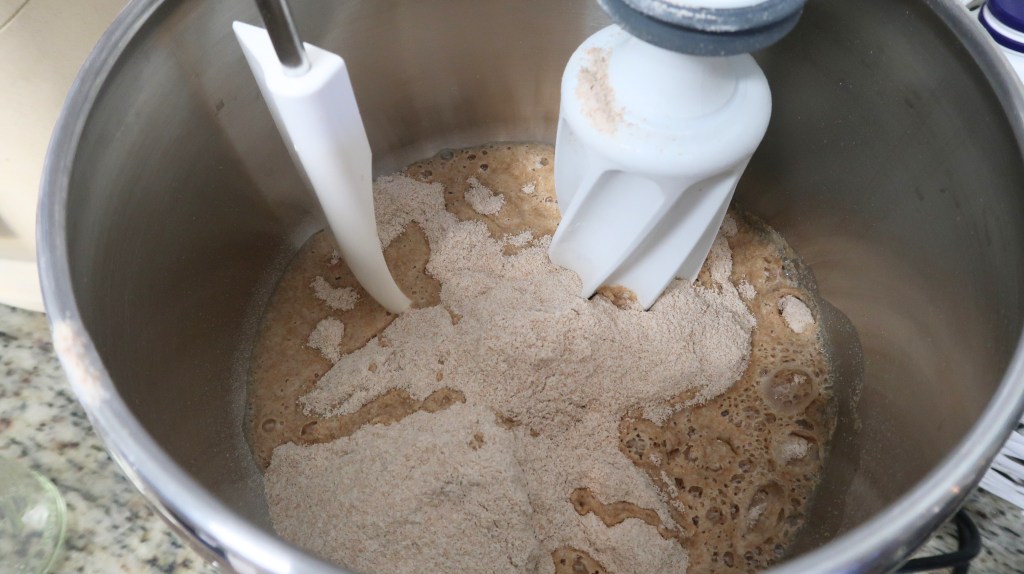
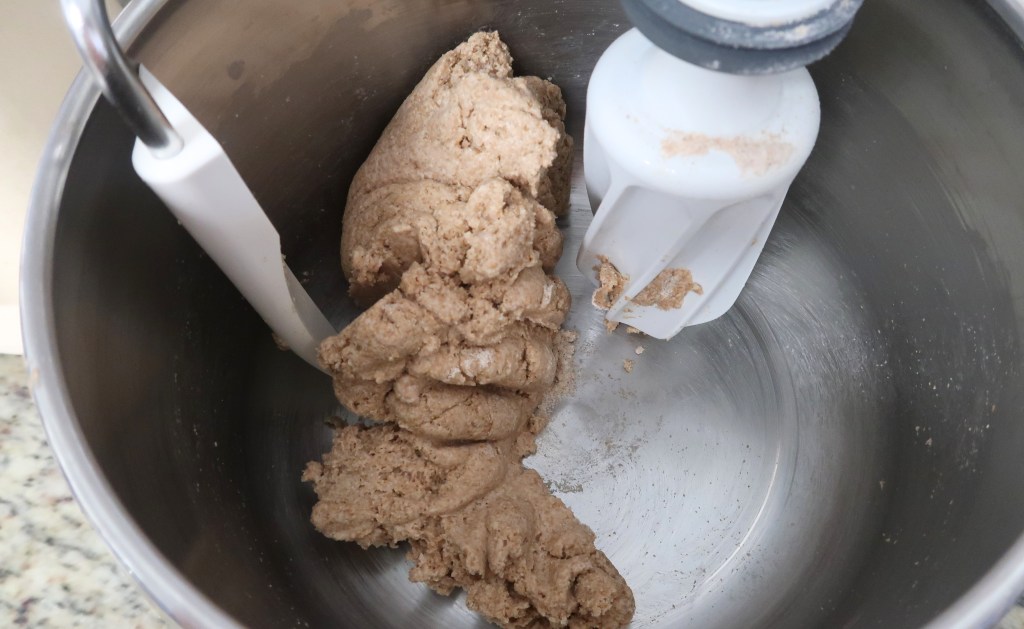
Set out your butter to soften.
Combine the flour and water, cover, and let rest (autolyse) for 1 hour.
Step 2: Mix and Knead
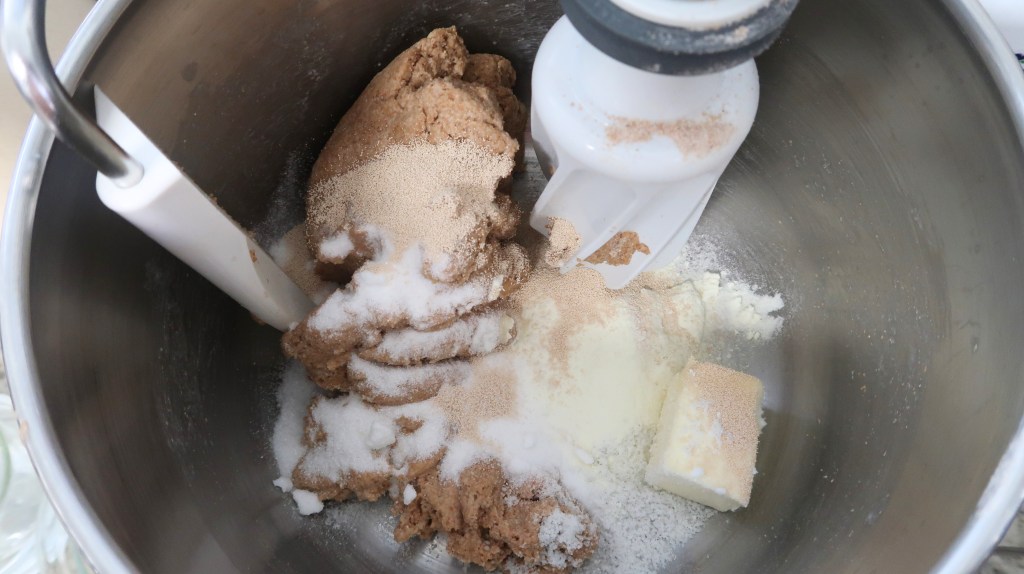
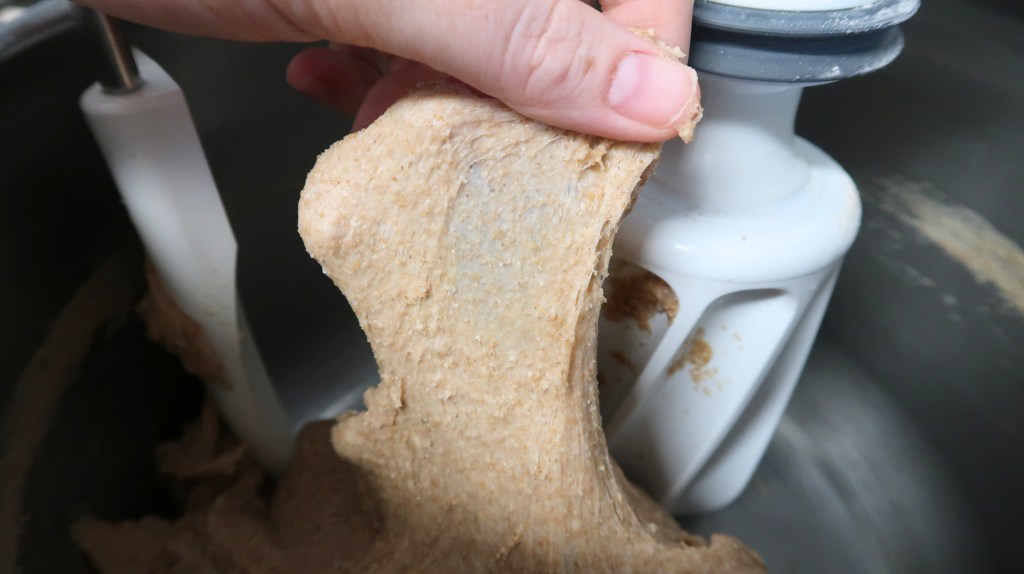
Add sugar, powdered milk, salt, yeast, and butter. Knead until the dough reaches windowpane consistency, or can stretch without tearing.
Step 3: Bulk Rise
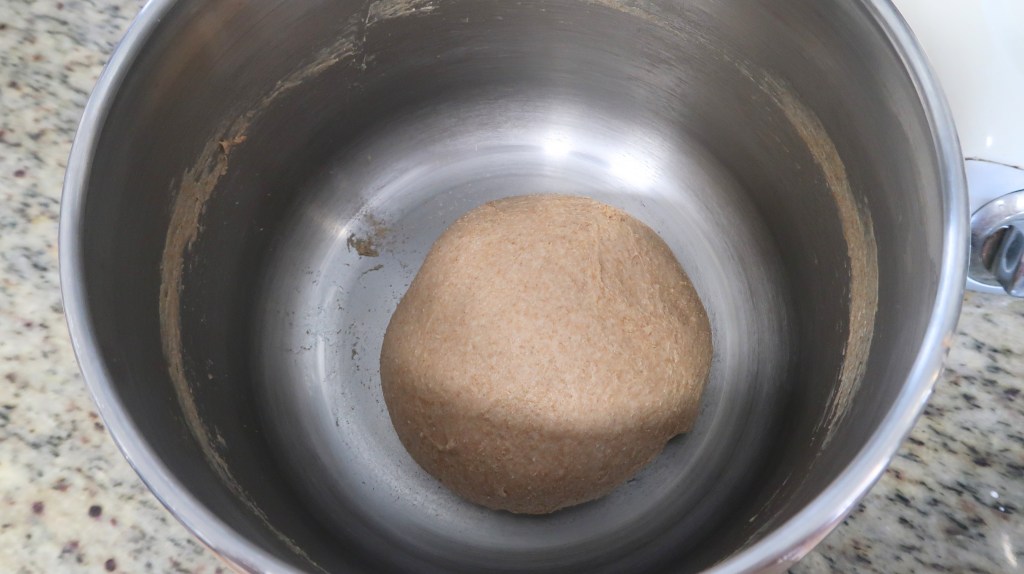
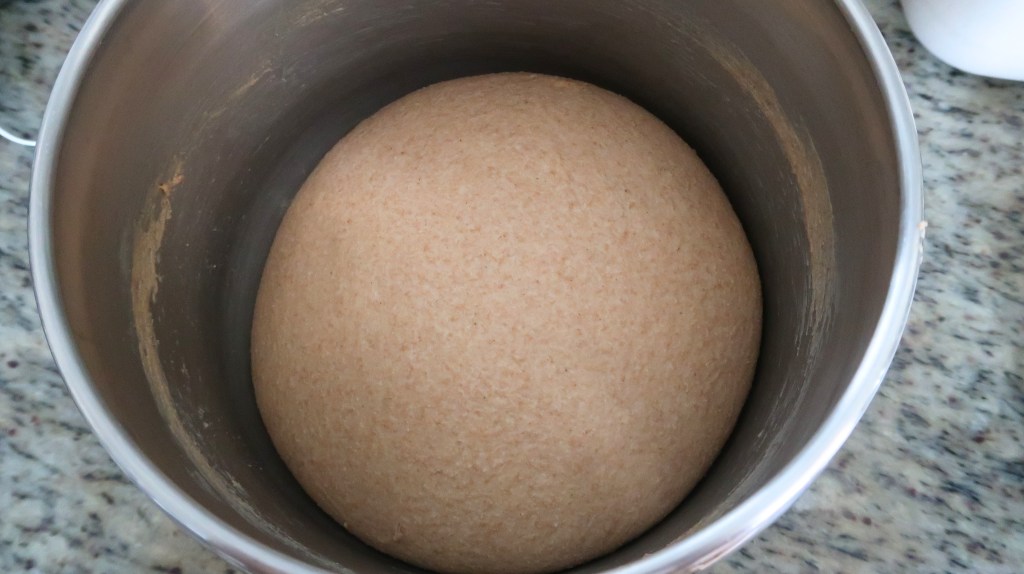
Shape the dough into a ball and let it rise until doubled in size. This usually takes about 1 hour and 30 minutes at 72–74°F.
To easily track the rise, use a clear bowl and mark the dough’s height on the outside with a dry-erase marker. This is especially helpful for new bakers.
Step 4: Shape and Rise
Line a baking sheet with parchment paper.
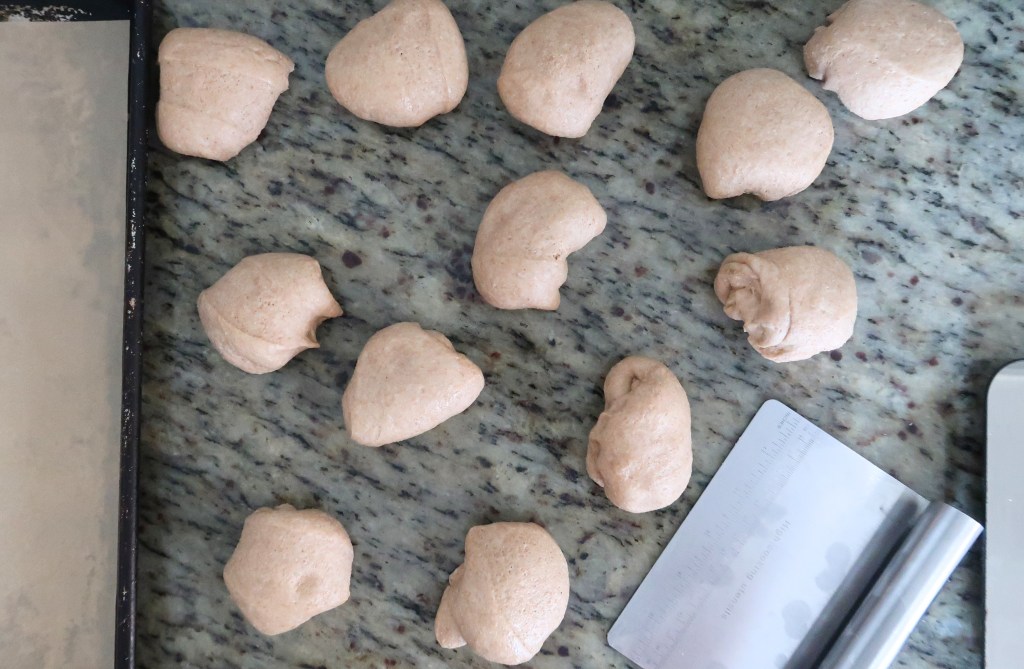
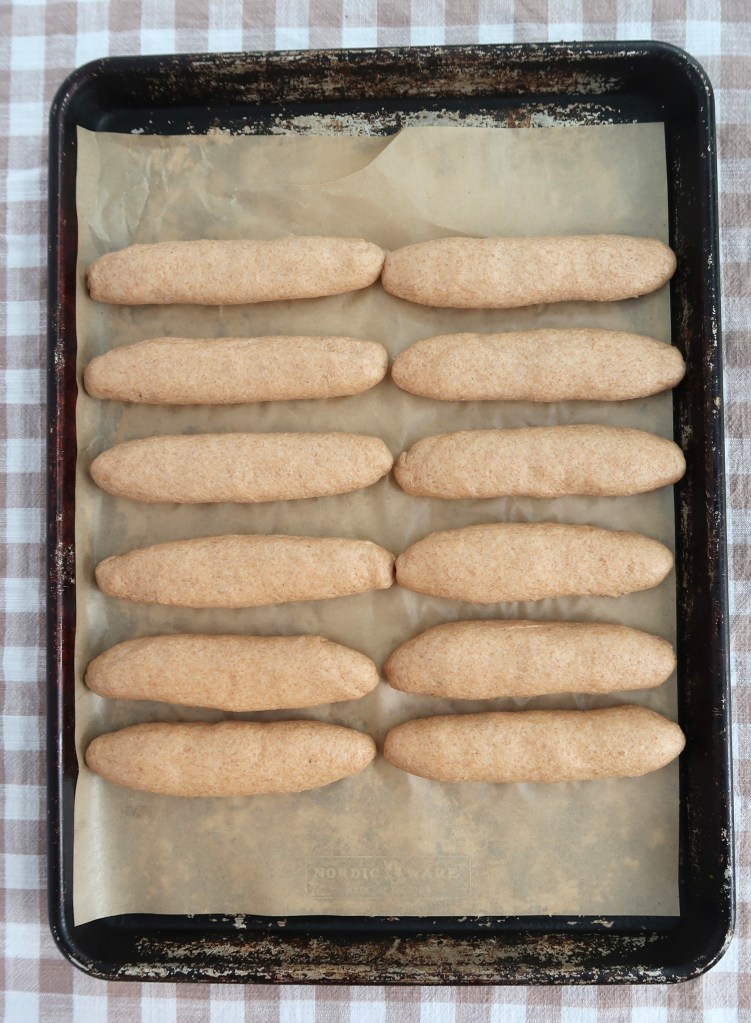
After the dough has risen, divide it into 12 equal pieces (78–80 grams each). Gently flatten each piece into a rectangle, then roll it up from the far end, pinching the seams and tucking in the edges. Pinch the seam closed and shape into a 6-inch log by rocking back and forth. Repeat for all pieces and place them about 1/2 inch apart on the baking sheet.
Check out the video above for more help with shaping.
Cover with greased plastic wrap.
Set your oven to preheat to 350℉.
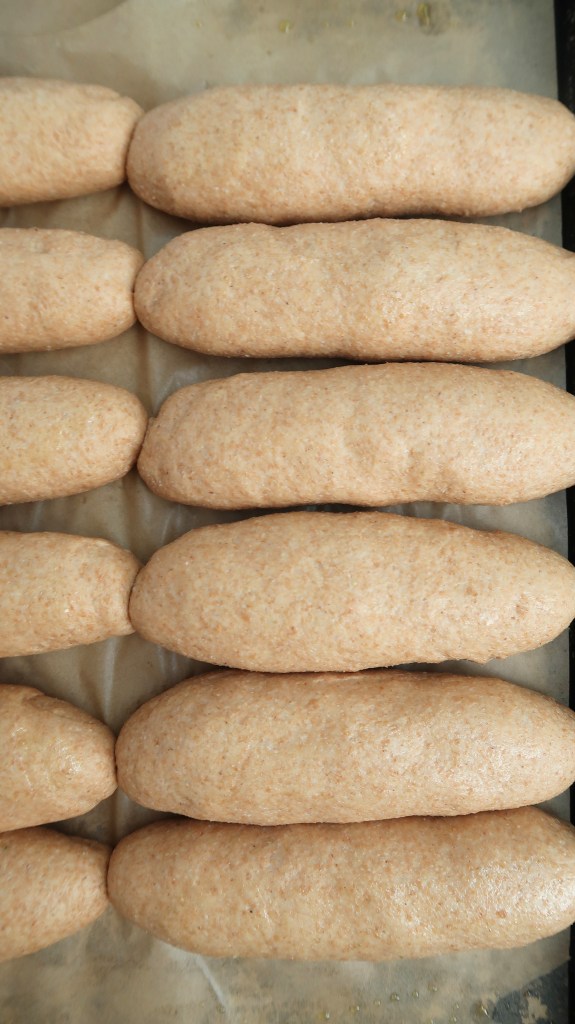
Let the dough logs rise until puffy and just touching each other, about 20–30 minutes.
Step 5: Bake
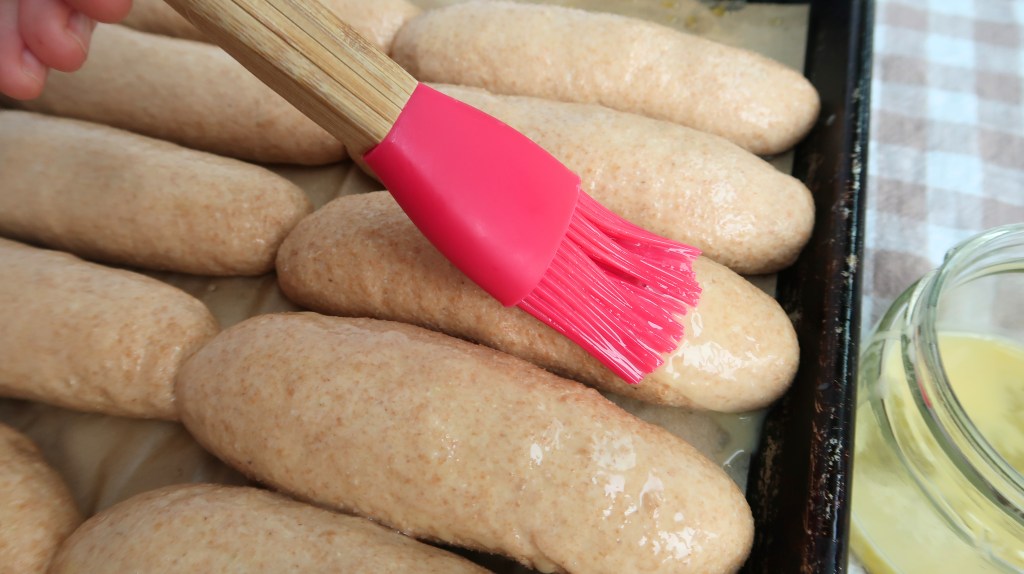
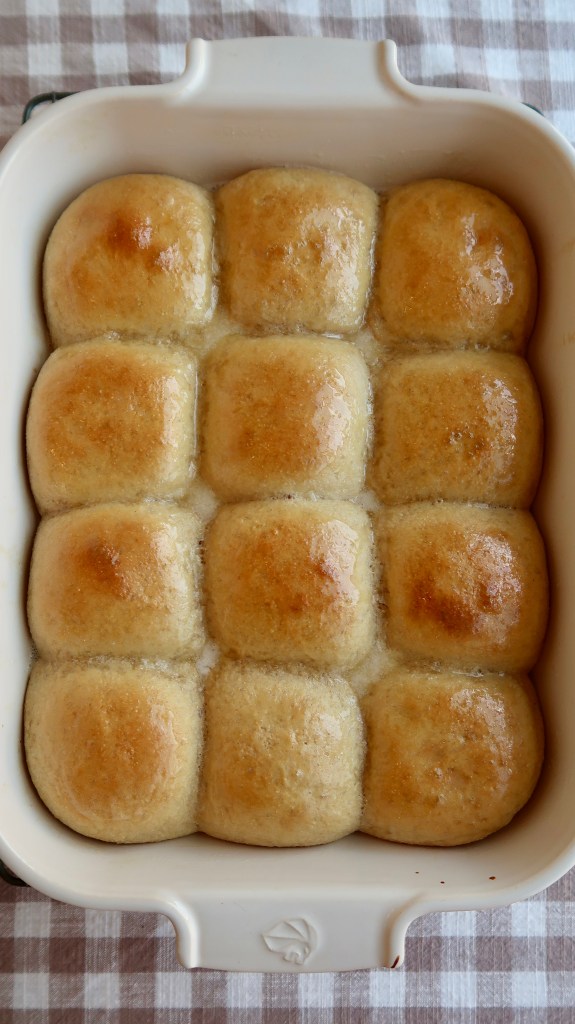
If desired, brush the tops with an egg wash (1 egg beaten with a splash of water). Bake for 20 minutes, or until golden. Transfer the buns to a cooling rack and brush with butter for extra softness.
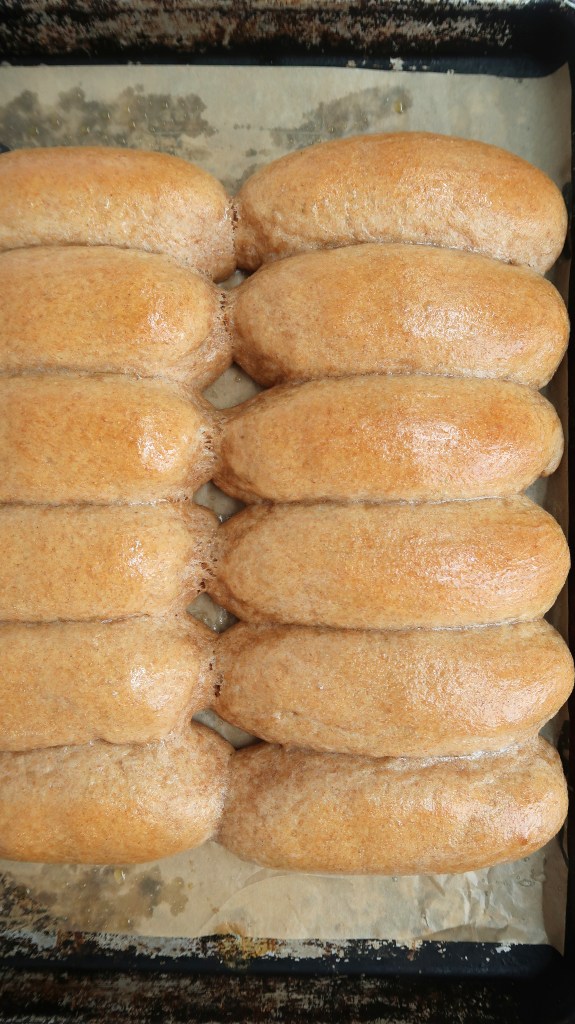
Let cool and enjoy!
Soft Fresh-Milled Hot Dog Buns
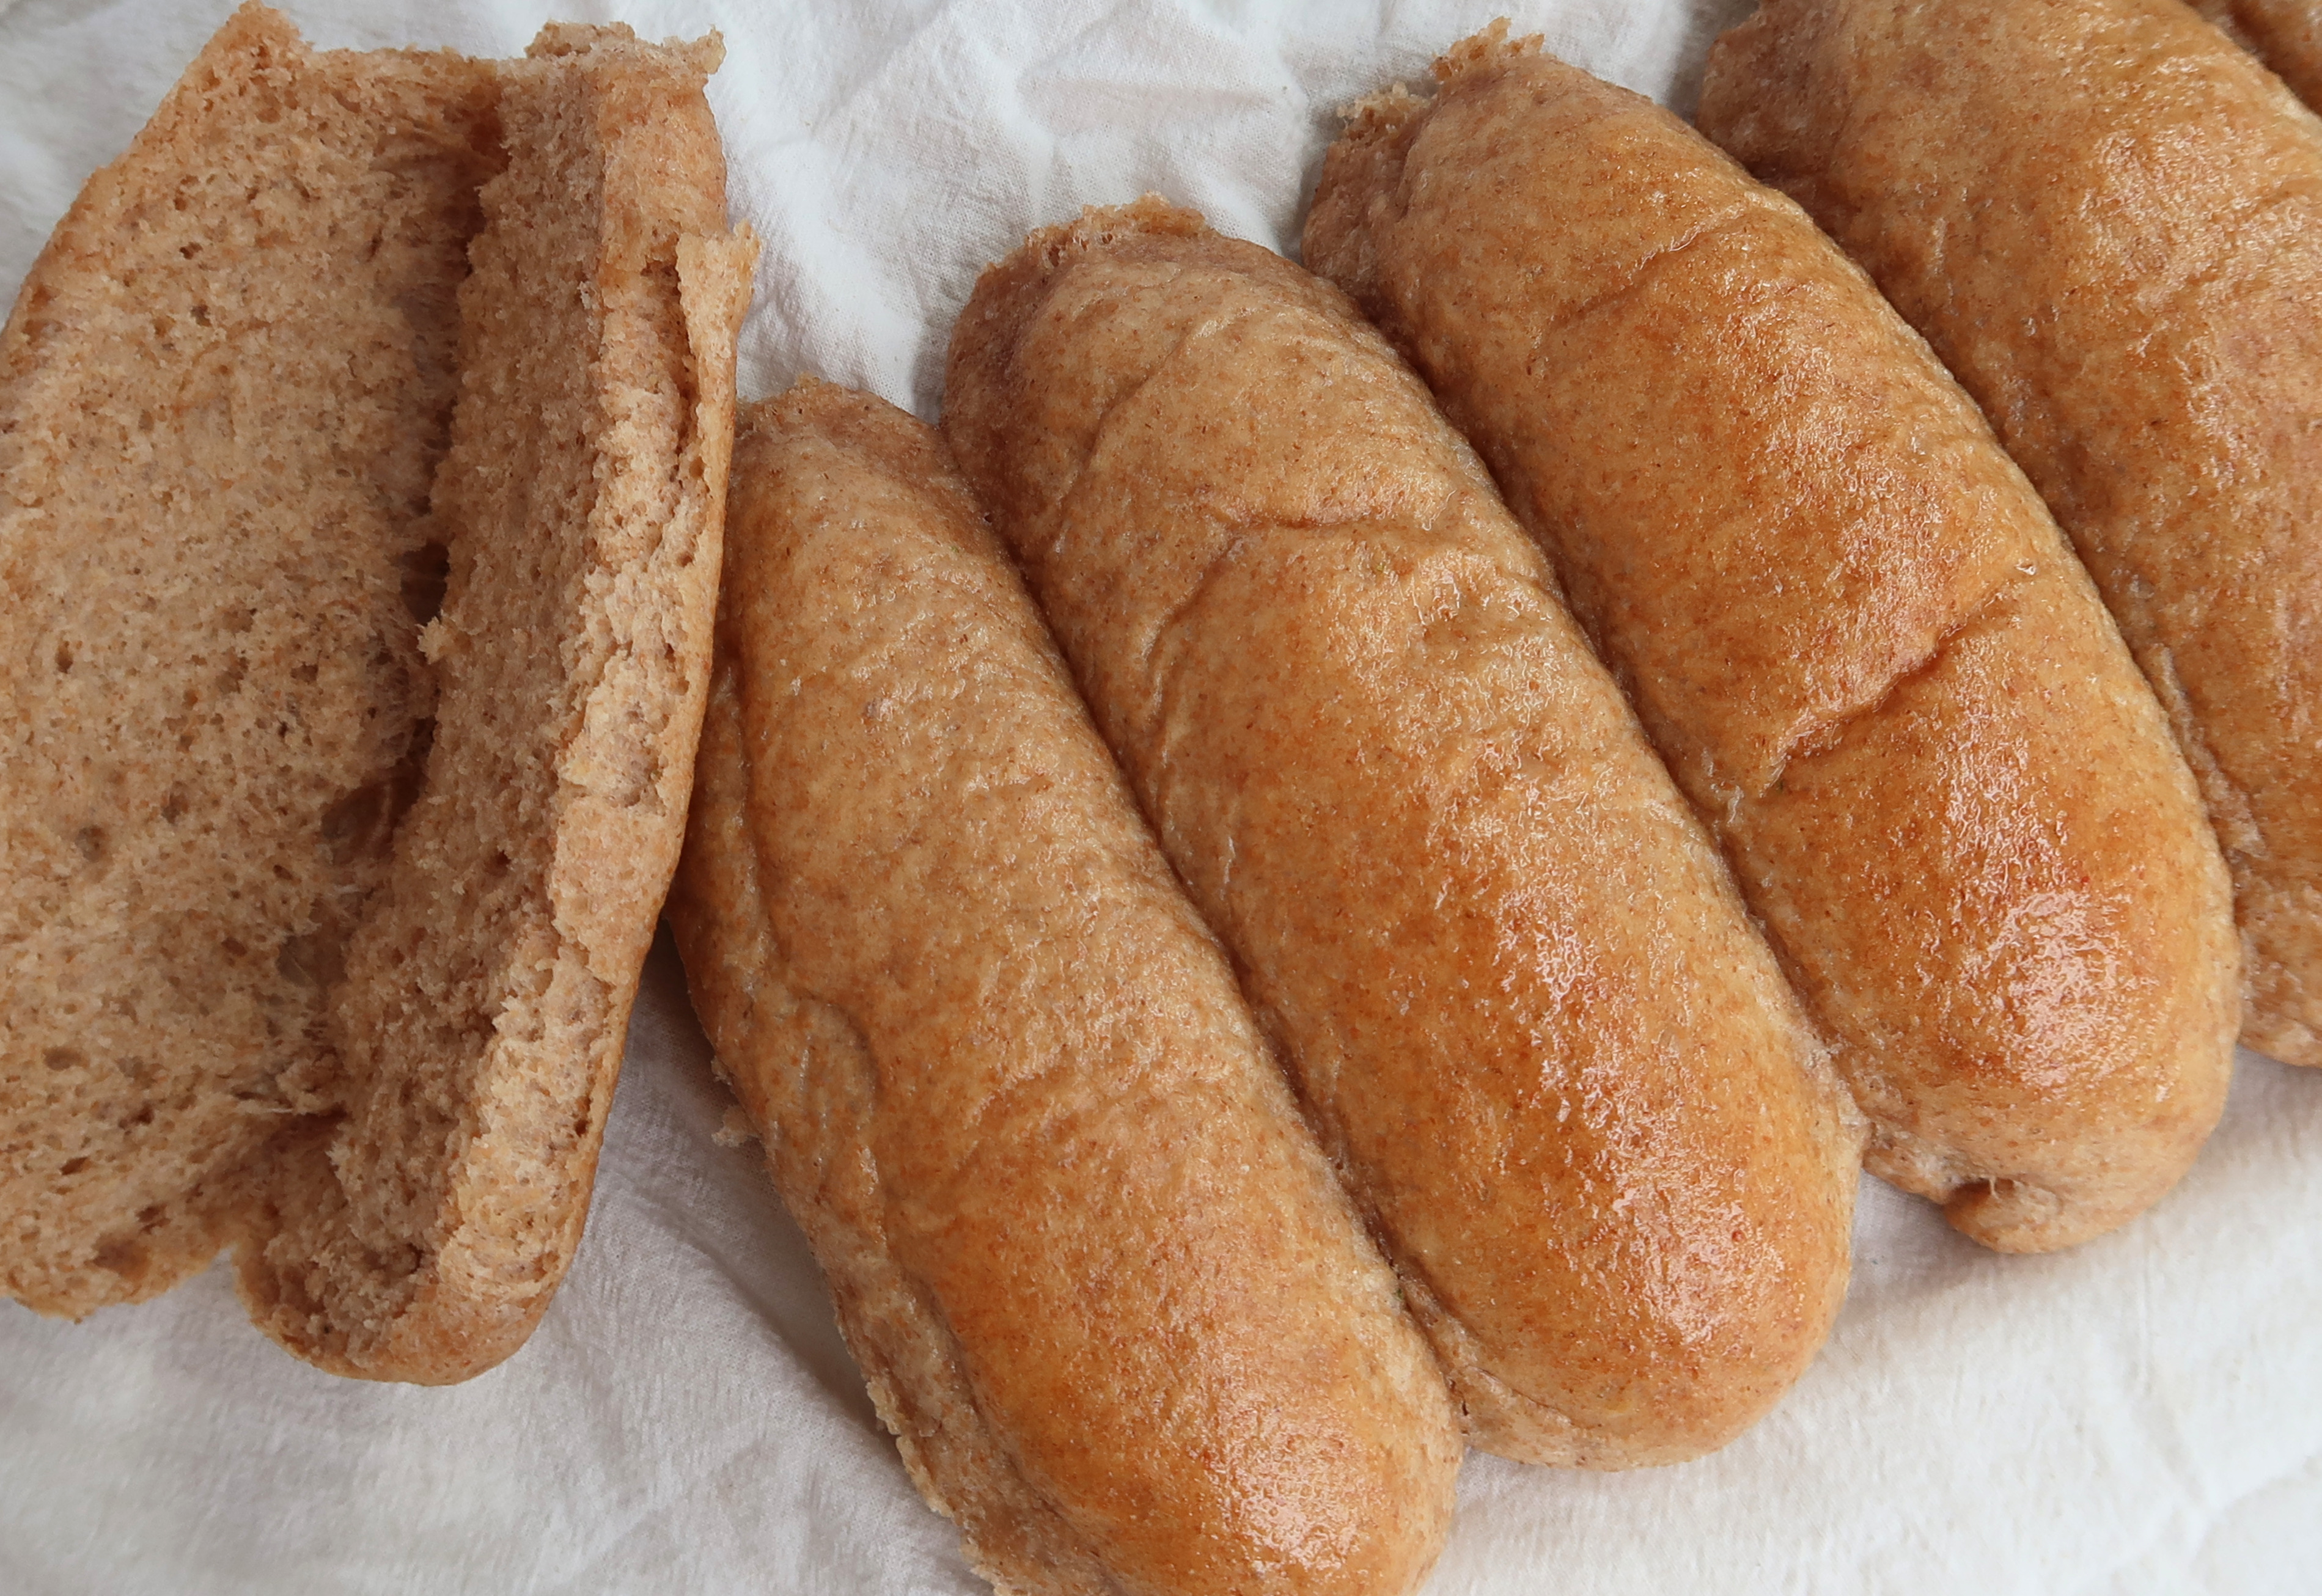
Important: Use a kitchen scale for best results with fresh-milled flour. Gram measurements are most accurate. Volume estimates are provided only as a convenience.
Powdered Milk Tip: I use powdered milk in my bread recipes because it is economical, shelf-stable, and easy to keep stocked in the pantry. If you prefer, you can generally replace the water with an equal amount of whole milk and omit the powdered milk. This recipe was developed and tested using powdered milk.
Ingredients
- 485 g fresh-milled hard wheat (about 3¾ cups)
- 345 g water (about 1½ cups)
- 35 g sugar (about 2½ tbsp)
- 35 g powdered milk (about ⅓ cup)
- 9 g salt (about 1½ tsp)
- 8 g instant yeast (about 2½ tsp)
- 43 g unsalted butter, softened (about 3 tbsp)
Step 1 – Mill & Autolyse
Mill hard wheat on a fine setting. Mix the flour and water until combined. Cover and let rest for 1 hour. Meanwhile, set the butter on the counter to soften.
Step 2 – Make the Dough
Add the sugar, powdered milk, salt, yeast, and butter. Knead until the dough is smooth, elastic, and reaches windowpane consistency.
Step 3 – First Rise
Shape into a ball, cover, and let rise until doubled, about 1½ hours at 72–74°F.
Step 4 – Shape the Buns
Divide into 12 pieces (78–80 g each). Flatten into rectangles, roll tightly, pinch the seams closed, and shape into 6-inch logs. Place on a parchment-lined half sheet pan about ½ inch apart. Cover with greased plastic wrap.
Step 5 – Final Rise
Preheat the oven to 350°F. Let the buns rise until puffy and just touching, about 20–30 minutes.
Step 6 – Bake & Cool
Brush with egg wash if desired. Bake for 20 minutes, or until golden. Transfer to a cooling rack and brush with butter for an extra-soft crust.
Recipe Notes
For the softest buns, allow them to cool completely before slicing.
No specialty hot dog bun pan is required. These buns are designed to bake beautifully on a standard half sheet pan.
Tips for Success
- Mill your hard wheat on a fine setting
- Let your flour and water rest, covered, for one hour
- Knead well, until you can stretch the dough easily and have some translucency
- Pay close attention to my video on shaping the buns
- Let your shaped buns rise with 1/2″ in between them
- Bake as soon as your buns are puffy and touching the sides of the other buns
Storage and Freezing Tips
These hot dog buns last up to 5 days. They’re at their best within 3 days. I recommend storing any baked goods in a container like this bread bag, or a bread box would work well, too.
Freezing bread is always a wonderful option! Let your buns completely cool. I wouldn’t personally preslice these, but you could always try it out. Wrap them in freezer-safe paper, then either wrap them a second time with plastic wrap or place them in a large freezer bag. Be sure to label and consume within 3 months.
FAQ
Can I make these hot dog buns with store-bought whole-wheat flour instead of fresh-milled flour?
Absolutely! Understand, though, that shelf-stable whole-wheat flour is a different product than fresh-milled flour. I recommend holding back maybe 20-30 g of water at first, then adding more if your dough seems too dry.
What is the best wheat for fresh-milled hot dog buns?
You will succeed with this recipe if you choose a hard wheat with a high protein content. My top choice is a hard red from Grand Teton called Yecora Rojo.
How should I store homemade hot dog buns to keep them soft?
My preference is a bread bag, but a bread box or anything else you have handy works just fine. I don’t typically recommend plastic Ziploc bags for bread, as they can retain excess moisture.

Homemade hot dog buns with freshly milled flour have transformed a humble cookout into something spectacular in our home. I hope that you give this recipe a try and love it as much as we do!
What’s your favorite way to enjoy a hot dog on a fresh-milled bun?
Blessings,
Payton



 thecontentedhearth.com
Leave a comment